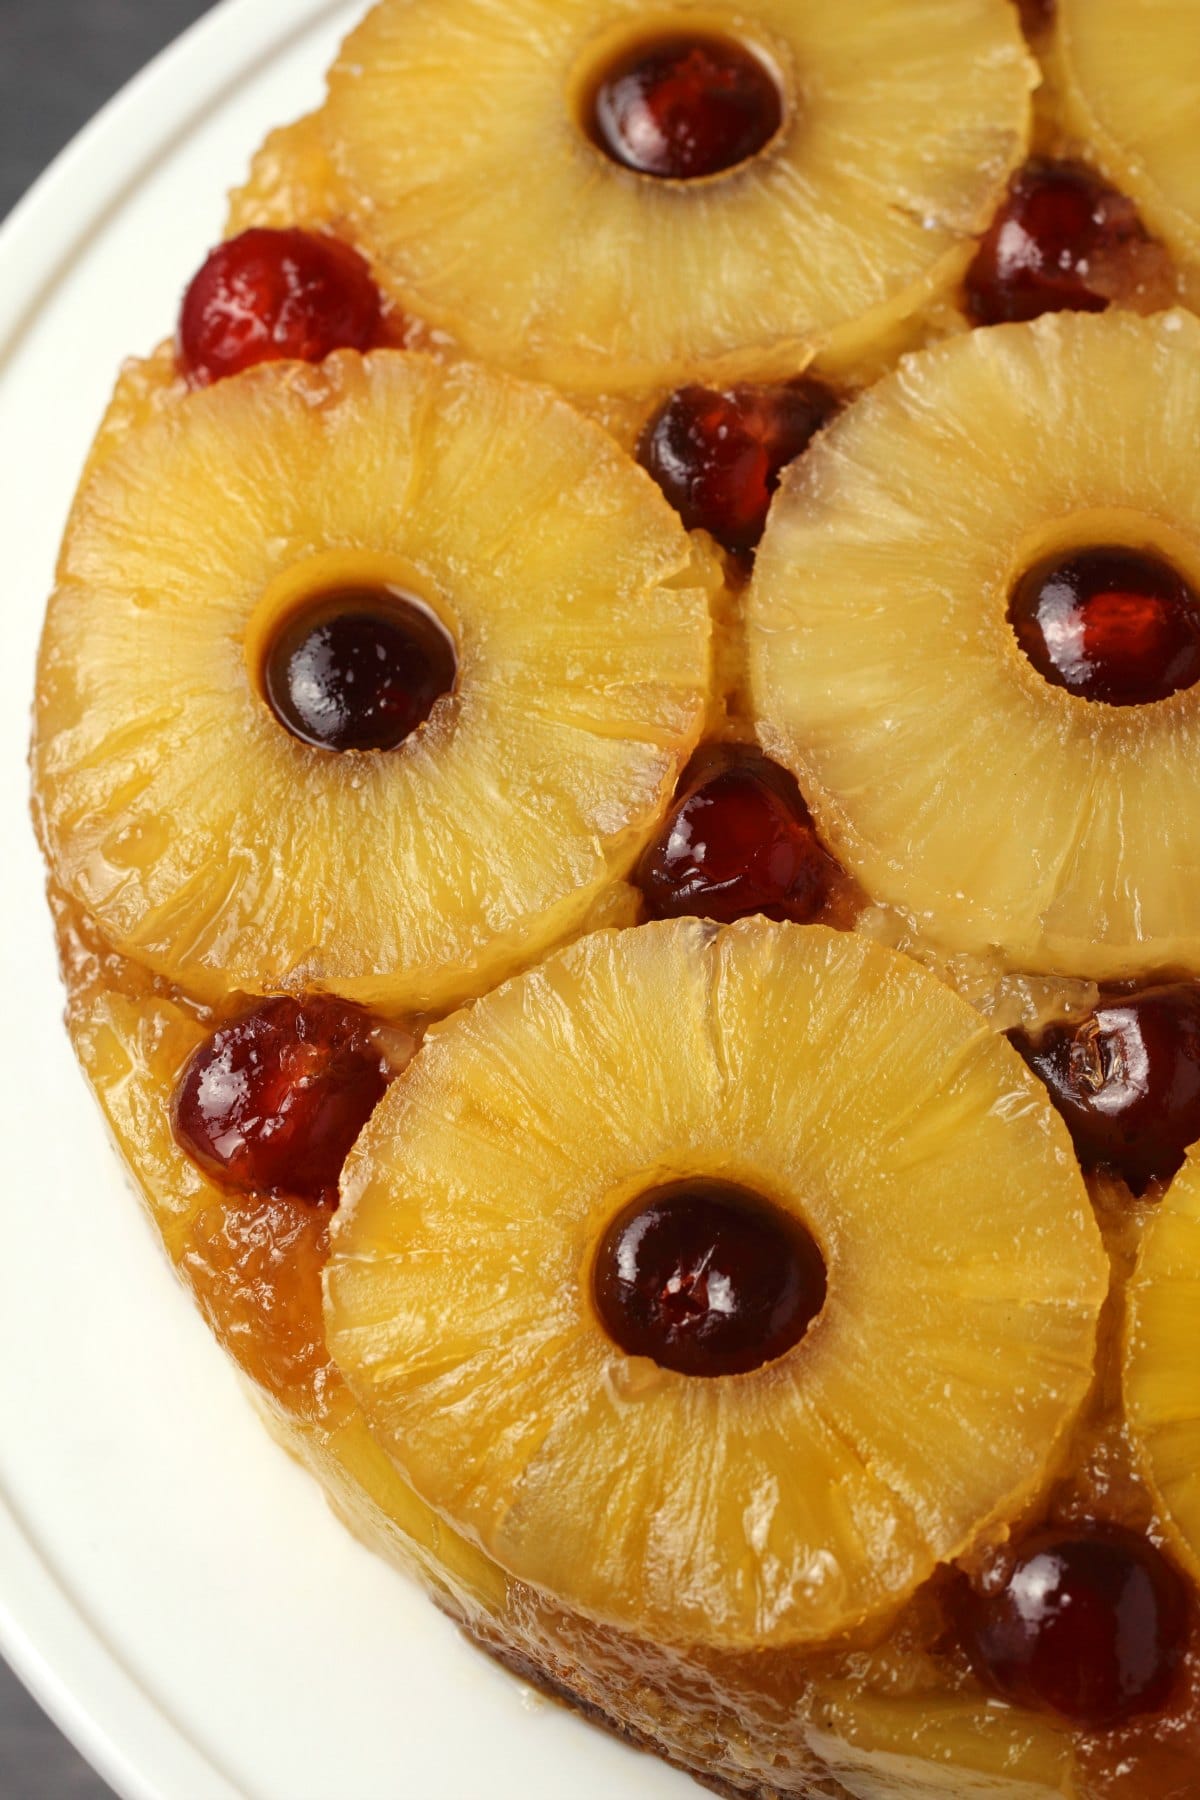
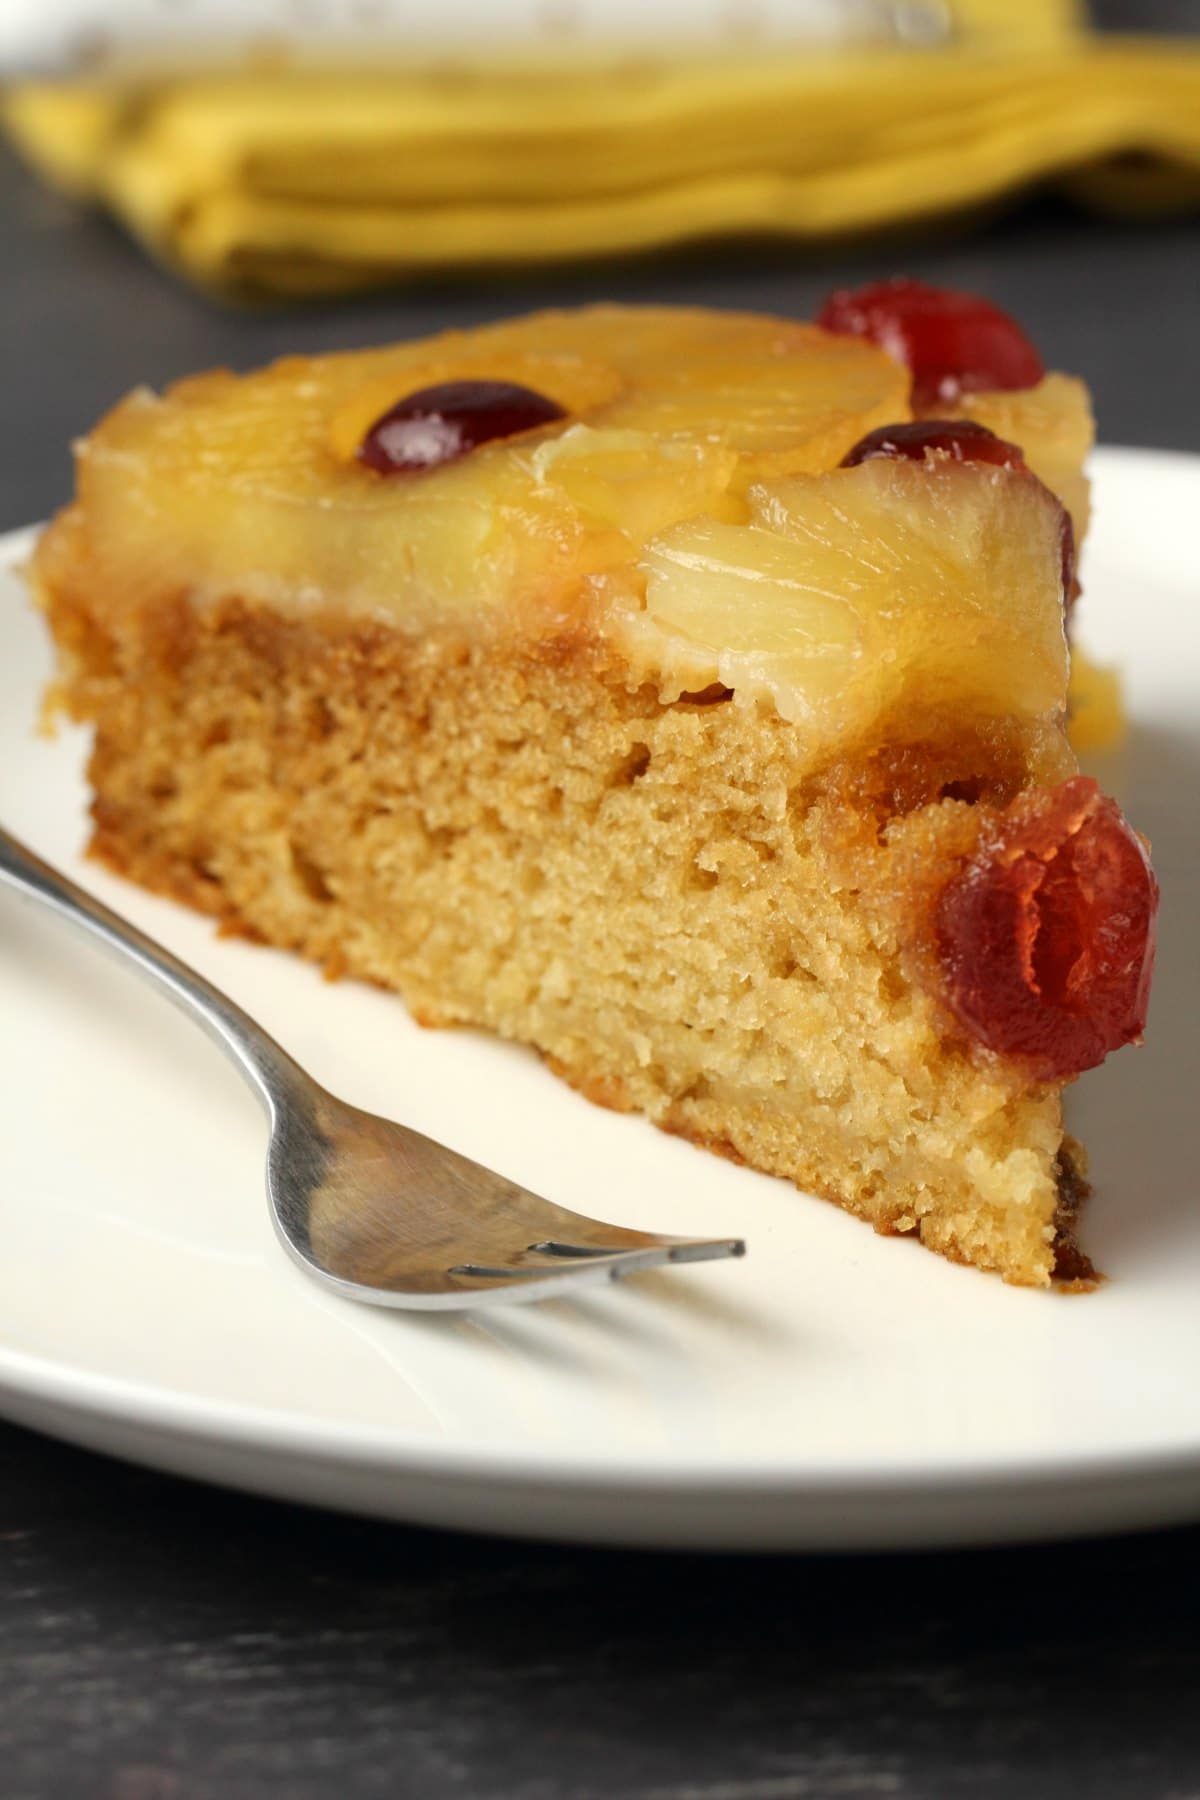
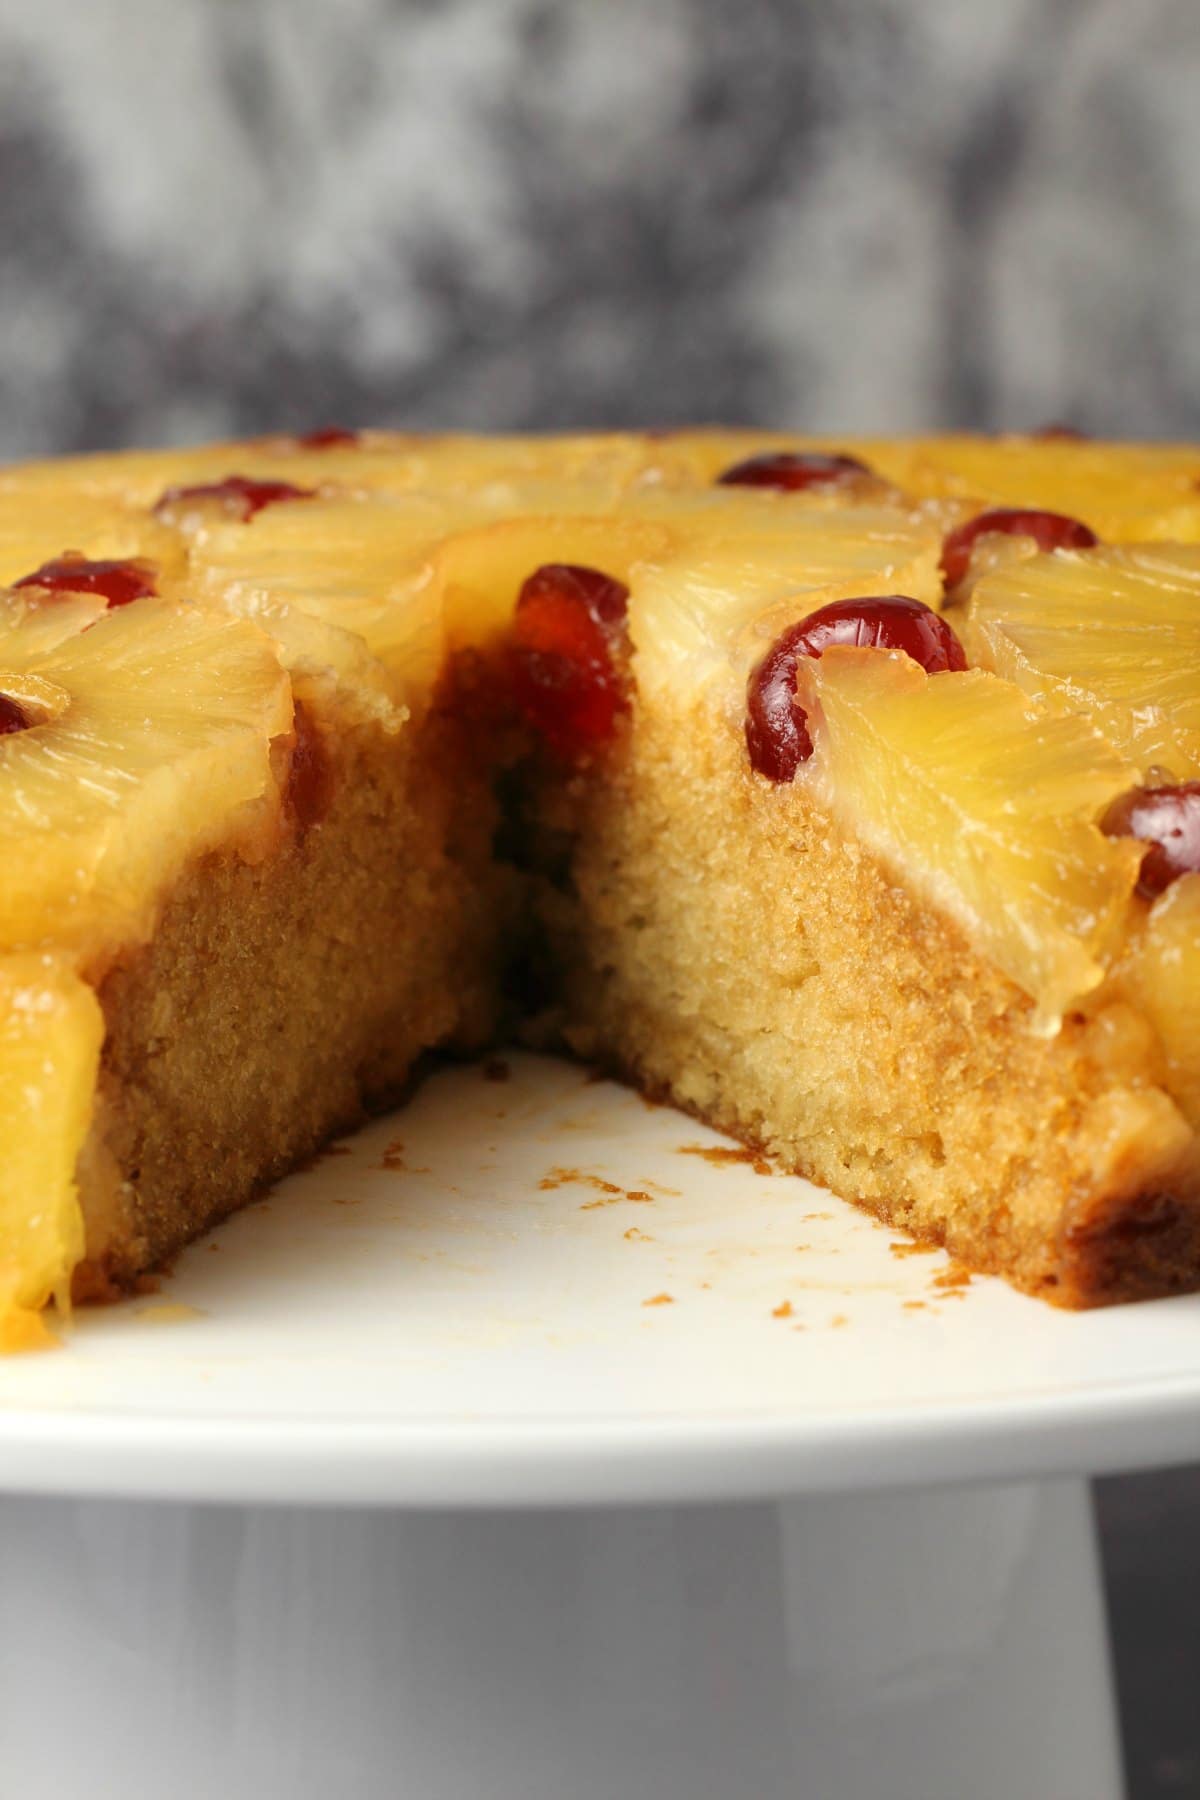
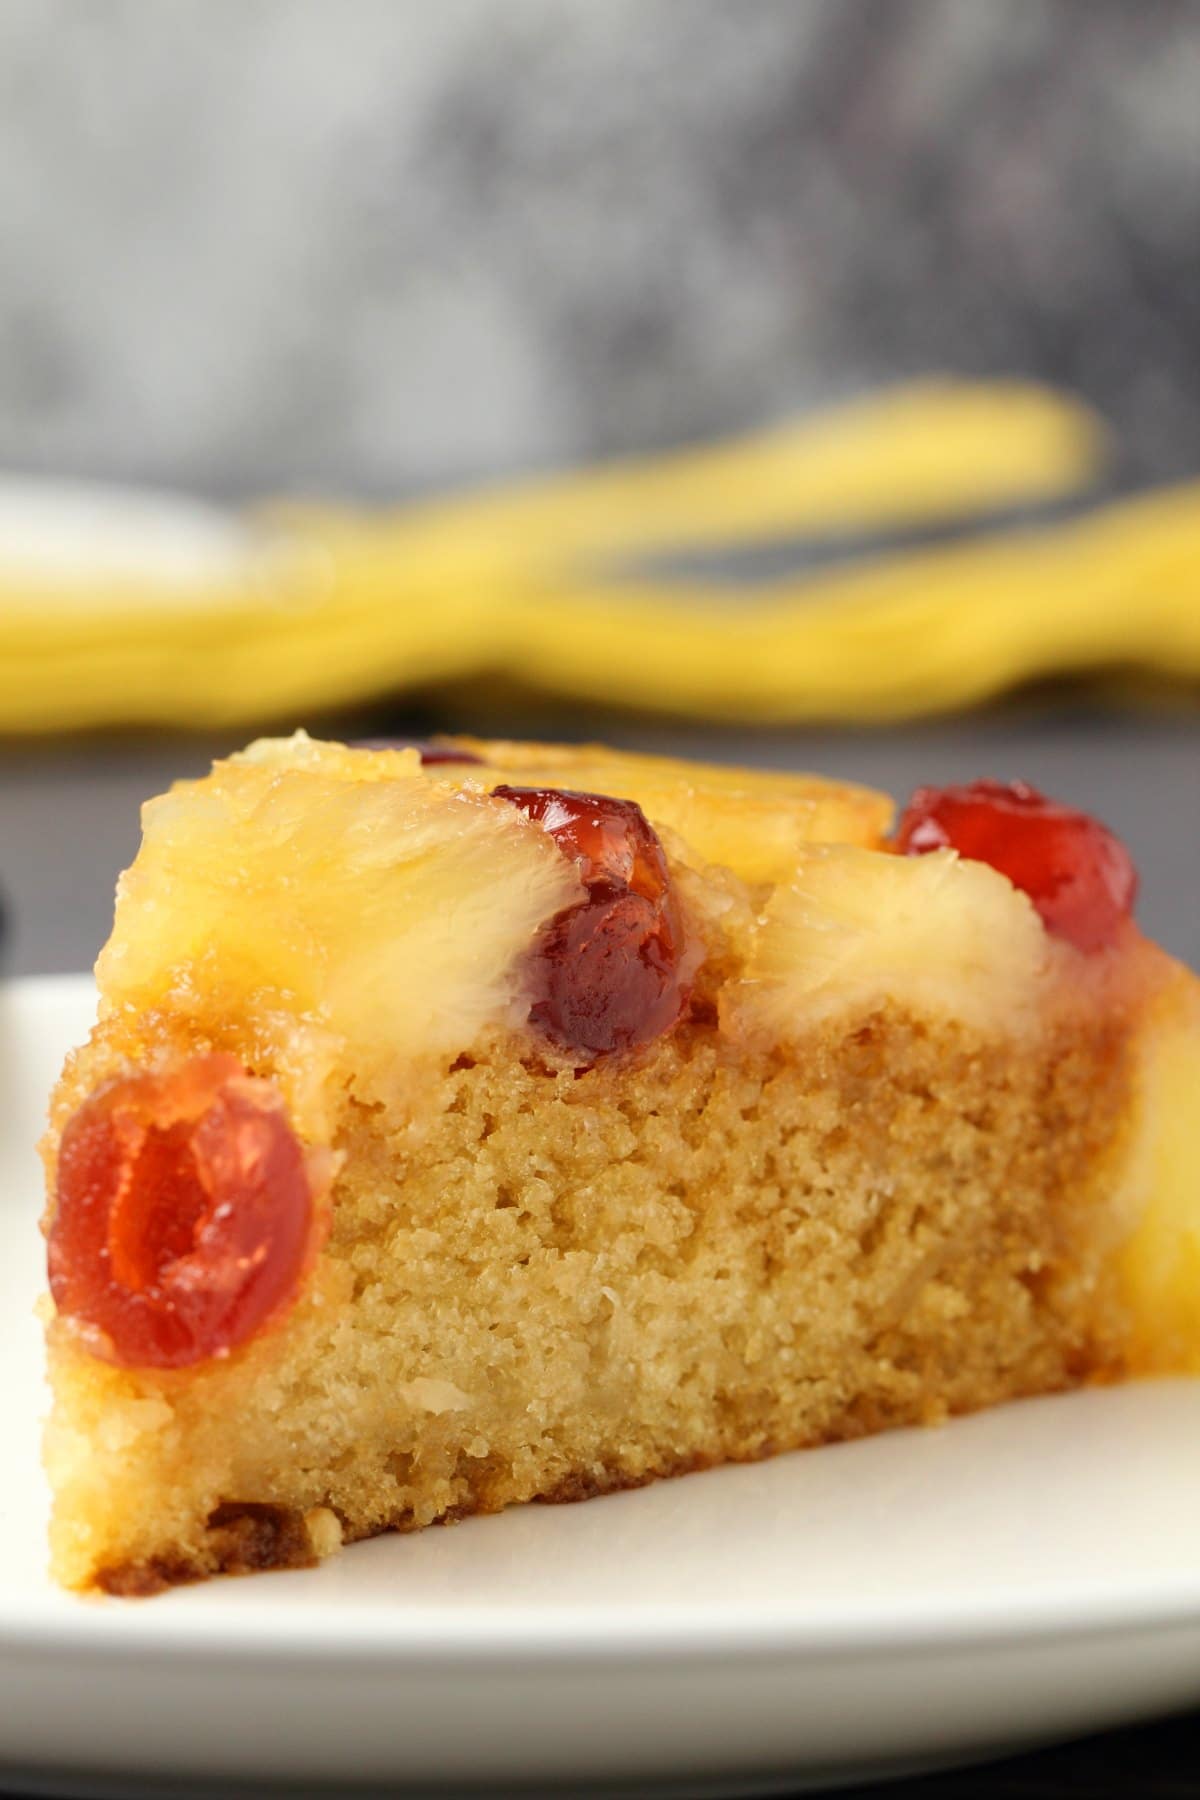
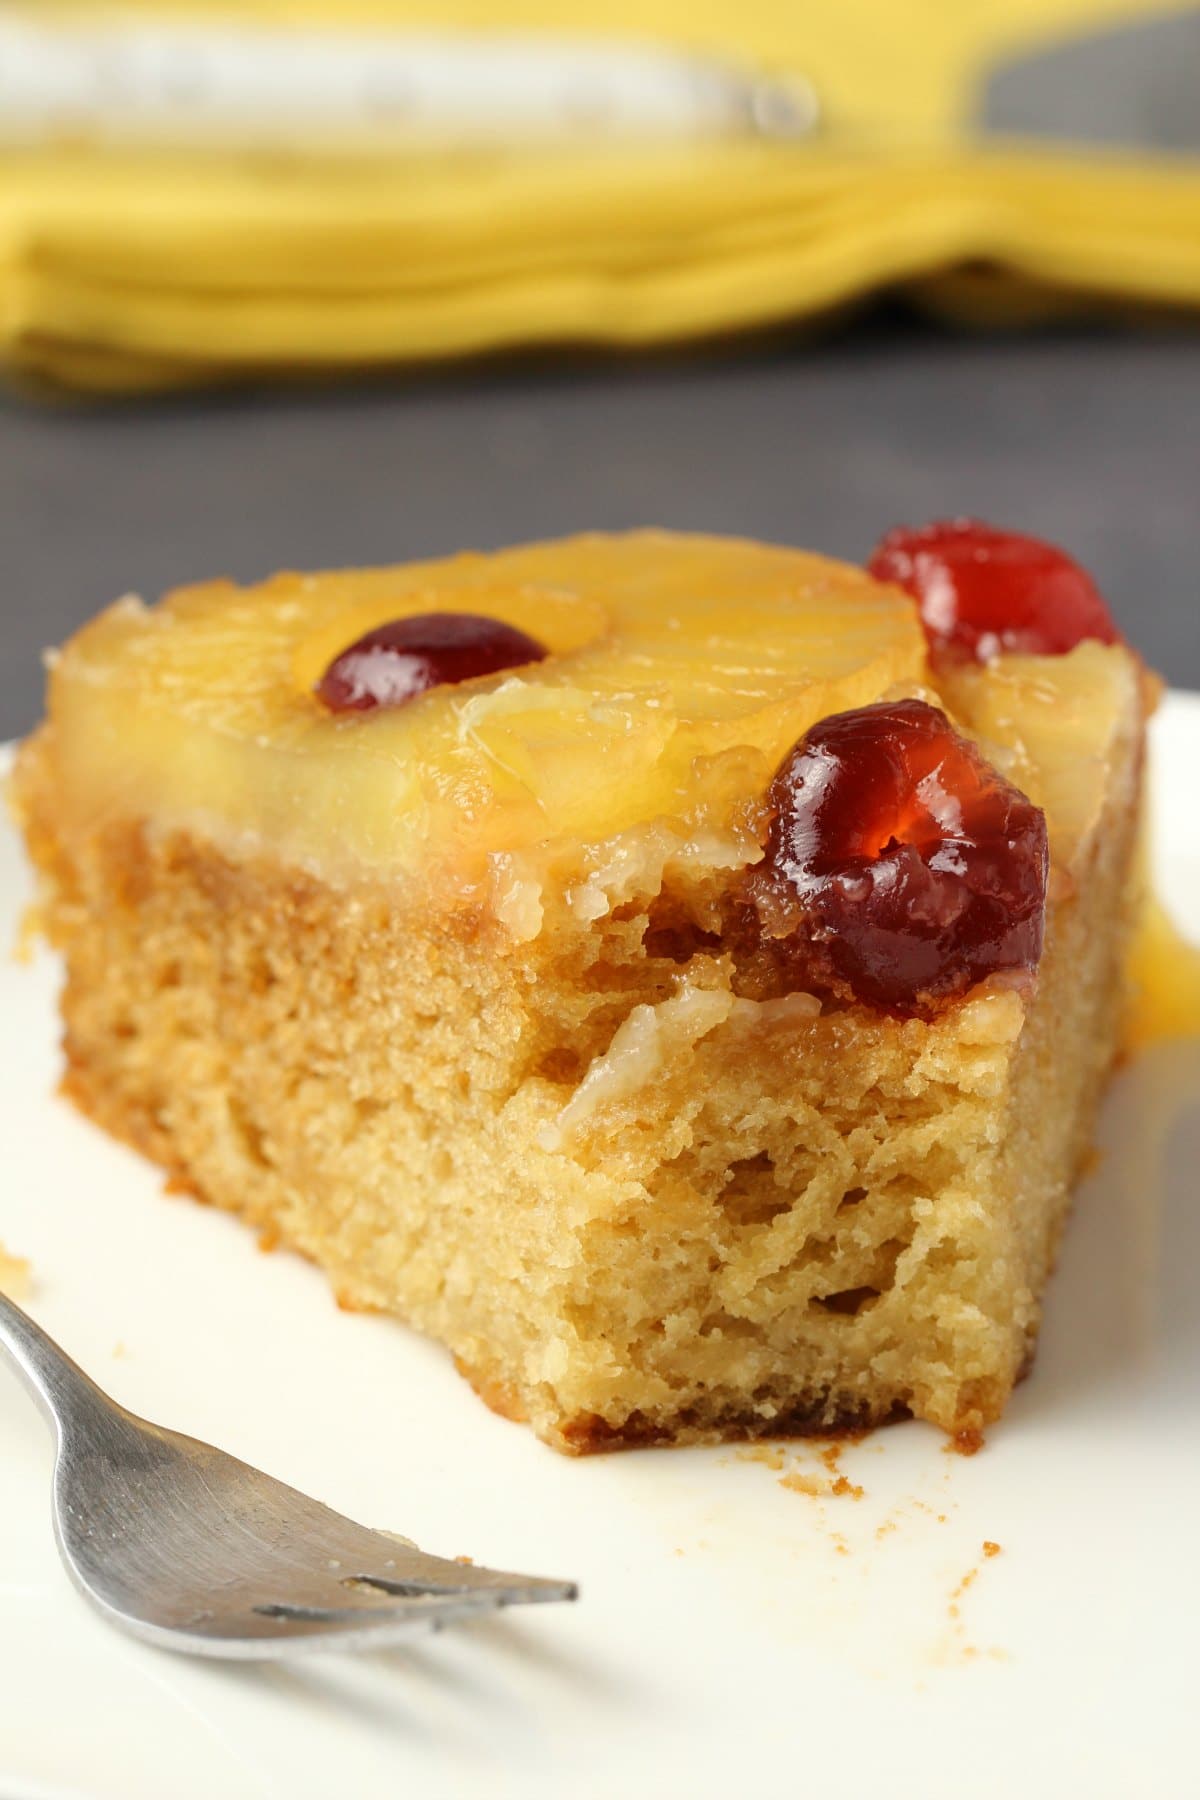
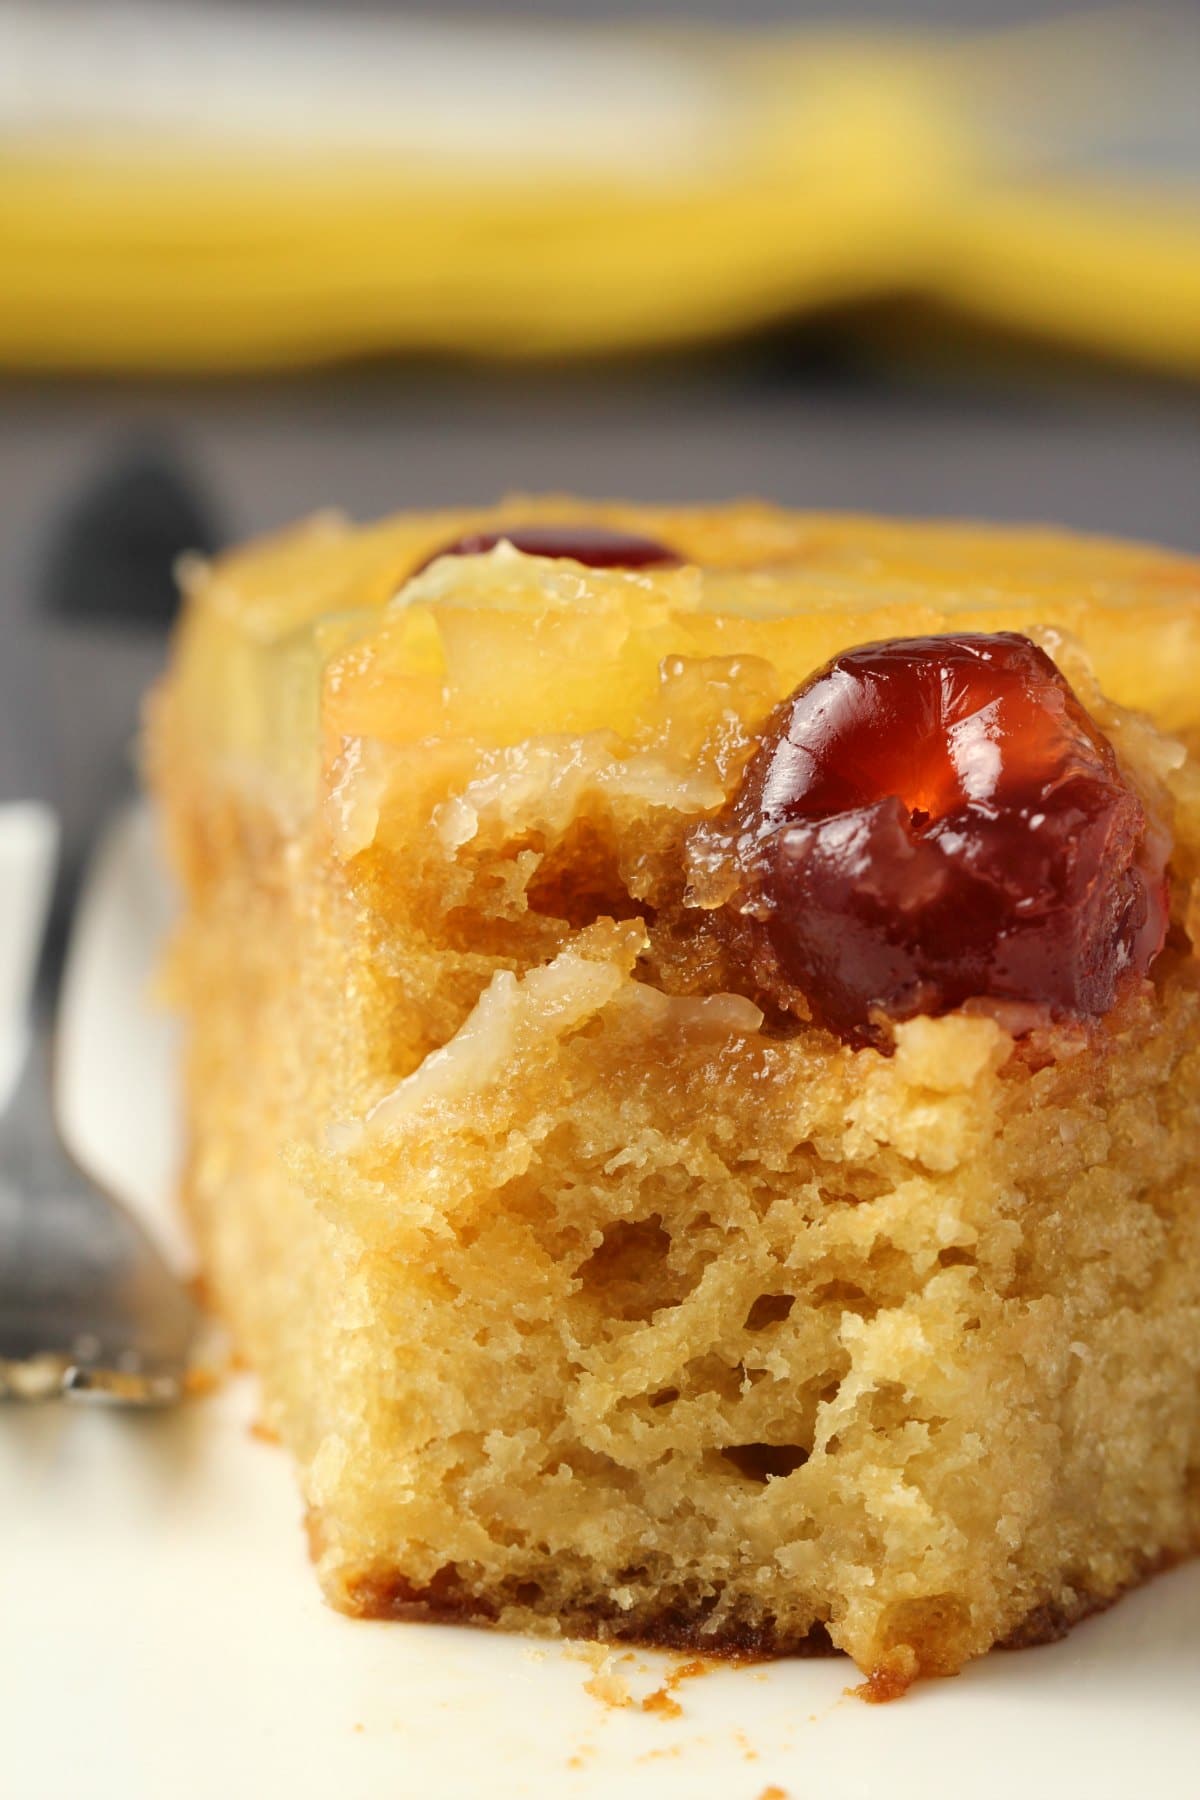
This delicious vegan pineapple upside down cake is moist, rich and topped with pineapple, cherries and caramelized brown sugar.
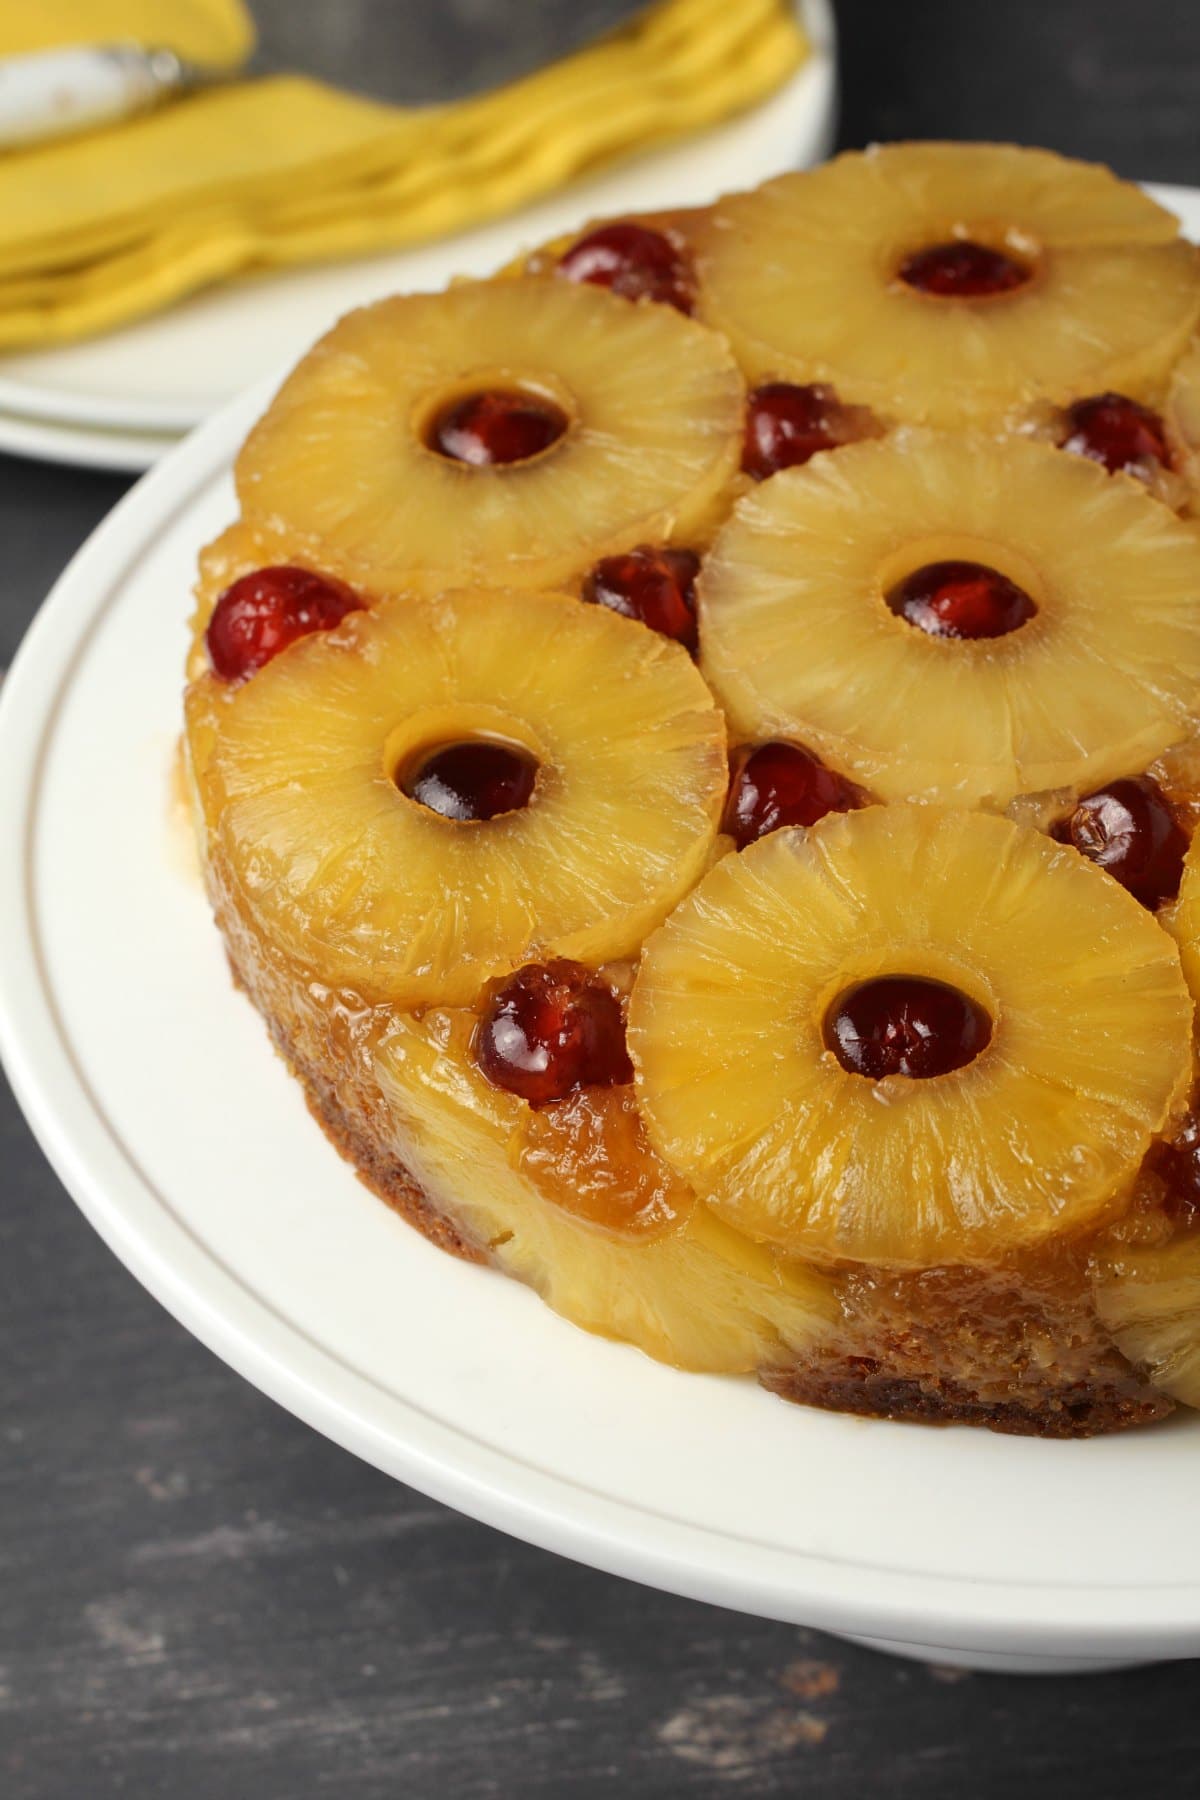
Vegan pineapple upside down cake is here! And I am thrilled about it.
It’s a gorgeous cake that can be made any time of year since you use canned pineapple, and it has a wonderfully rich flavor that almost tastes a bit like a little something something (ahem, I mean something boozy) has been added. But there isn’t any booze. Just delicious pineapple flavor.
Pineapple juice is added to the cake batter and you have brown sugar caramelizing on the top with those pineapple slices and cherries and the result is really spectacular.
How To Make Vegan Pineapple Upside Down Cake
This cake is so easy! You don’t even need a mixer as there is no frosting.
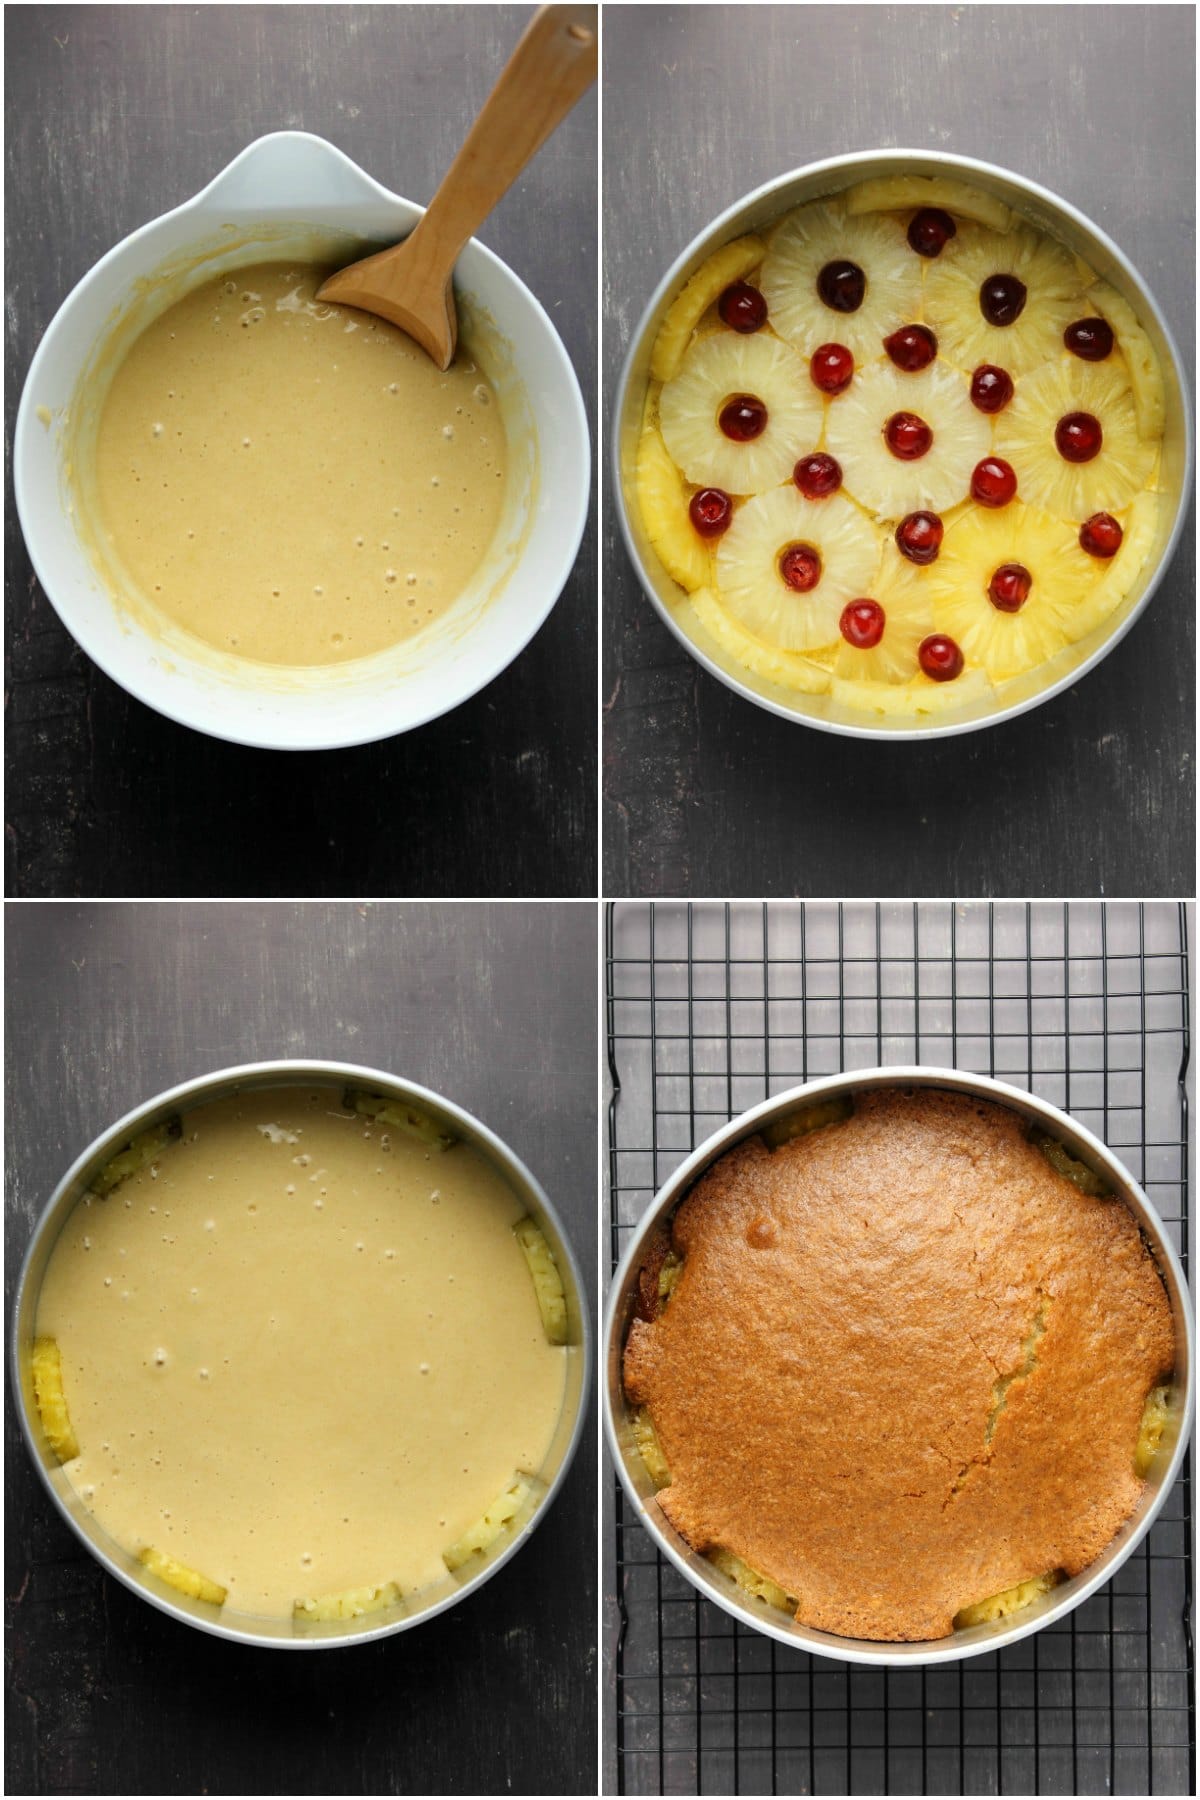
You start off by melting some vegan butter and then pour that out onto the bottom of a 9 inch round cake pan (sprayed with non-stick spray).
Then you sprinkle on some brown sugar and then layer slices of pineapple along the bottom of the cake pan. I cut some slices in half and then put the half slices up the sides of the cake pan as well.
Place maraschino cherries everywhere you can find a gap.
The cake itself is a simple single layer vanilla cake. I adapted the recipe from our vegan vanilla cake.
That gets poured over the top of the pineapple slices and smoothed out and then you bake the cake for around 55 minutes.
Recipe Tips
Use canned pineapple slices. Not only is this easier, but you will get more consistent results. If you use fresh pineapple slices, they will tend to release more moisture during the baking process which can affect your outcome.
Also, when you use canned pineapple you can also just use the juice from the can in the cake batter, whereas if you use fresh pineapple you will need to buy pineapple juice separately.
Don’t use parchment paper to line the bottom of your cake pan, just spray the cake pan with non-stick spray. Parchment paper will interfere with your pineapple topping and trap some of the caramelized brown sugar. I tried it that way in one of my recipe tests and I don’t recommend it.
Cover the cake with foil after it has been baking for 30 minutes to prevent over-browning.
My 9 inch cake pans are quite deep so I only had to loosely cover the top with foil and didn’t need to ‘tent’ it with foil. If your cake pans are more shallow, then tent with foil so that the foil doesn’t touch the top of the cake and interfere with the baking.
Tenting just means to create a sort of tent shape over the top, instead of having the foil flat across the top of the cake pan.
Let it cool for around 10 minutes after it has come out of the oven and then do the flip.
Doing The Flip!
The flip can be the trickiest part of the entire cake making process!
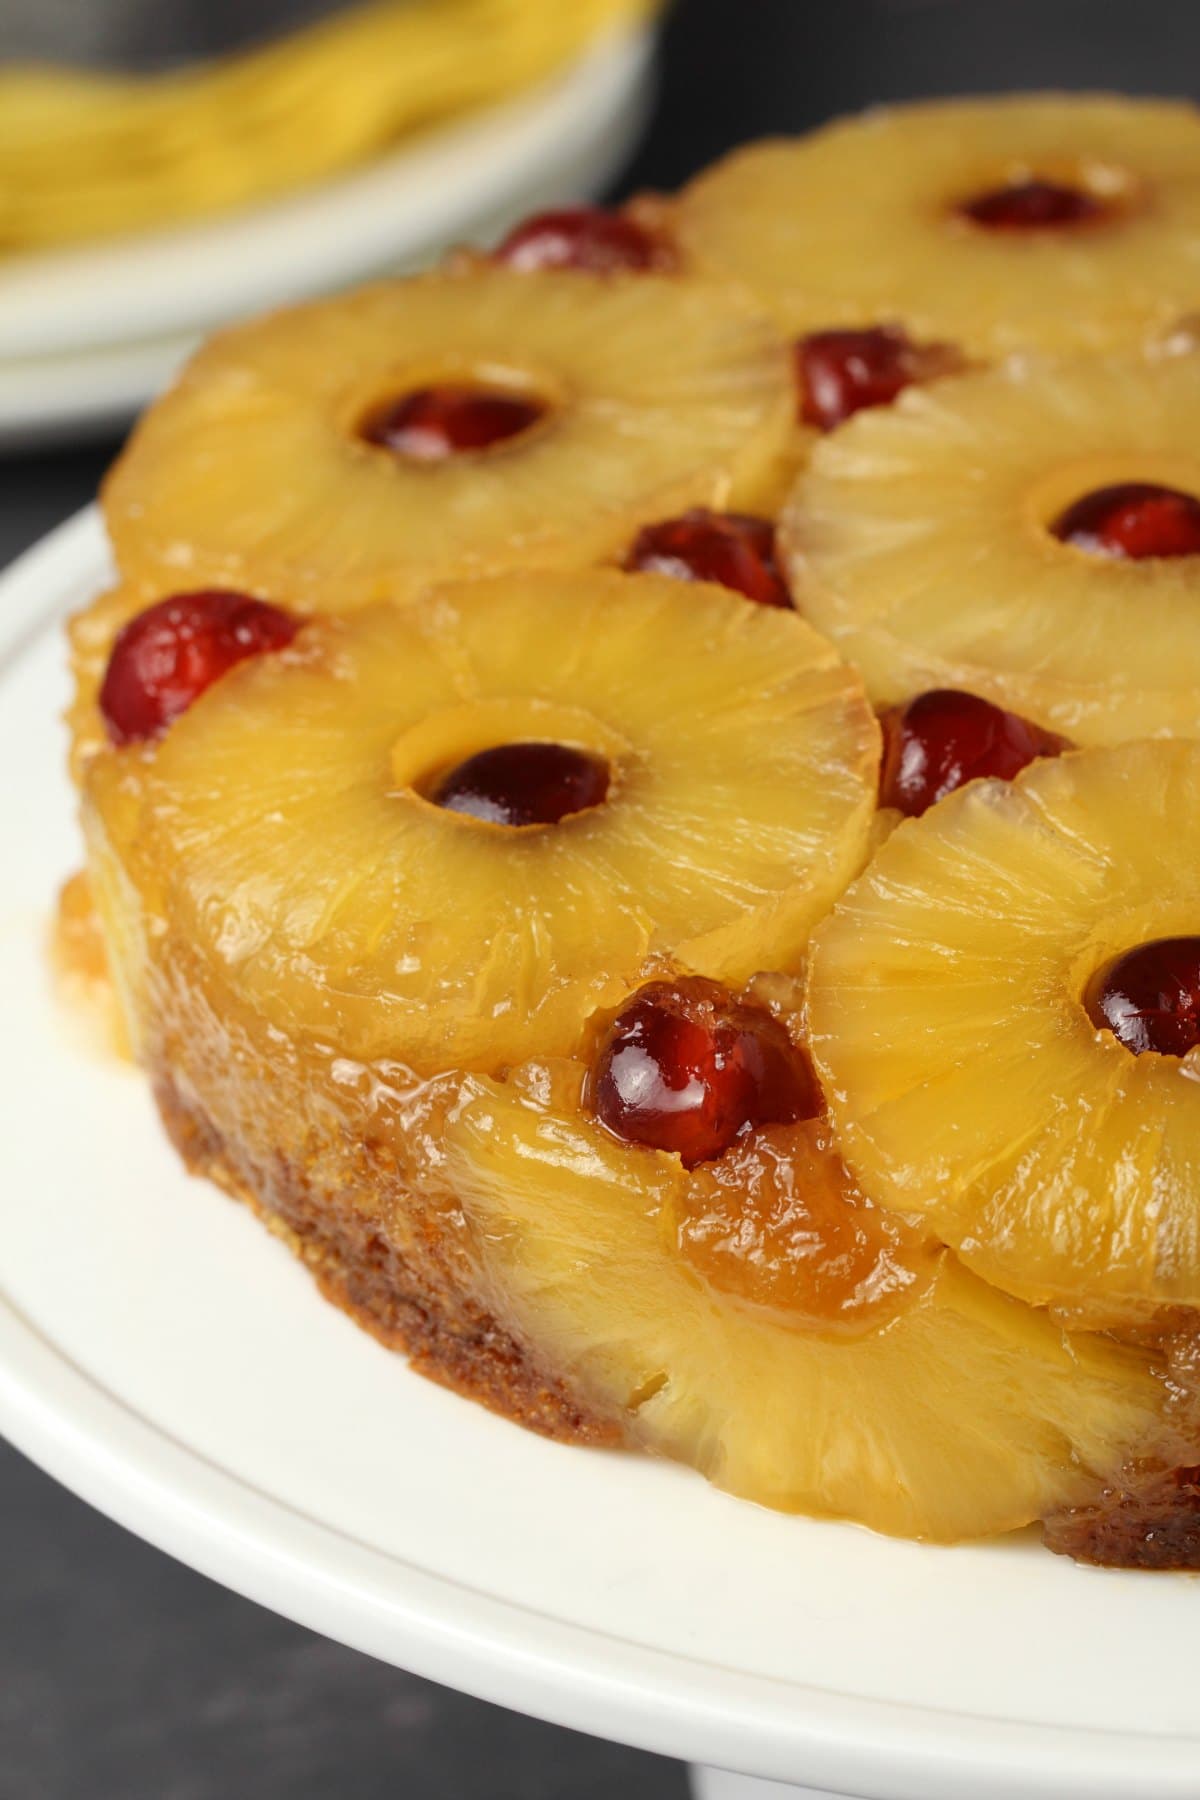
Basically you want to put a plate or cake stand on top of the cake pan and then flip it so that you have your cake pan upside down on top of the plate or cake stand.
Leave it for a few seconds as you want all that brown sugar to drip down over your cake, and then remove the cake pan and there’s your pineapple upside down cake!
The part I found tricky is that in doing the flip, sometimes you fail to hold the two things (cake pan and plate or cake stand) in the same position while flipping. On one of my test versions I ended up with a cake that was not at all in the center of the plate but rather all the way over on one side of the plate!
And let me tell you, once you’ve done the flip that cake is NOT moving. Where it lands is where it’s gonna stay.
Hahaha, this cake does not co-operate when you try to move it. So take a breath, visualize the perfect flip in your mind and then go for it.
Make It Gluten-Free
If you want to make this cake gluten-free you can use our recipe for gluten-free vegan vanilla cupcakes for the 9 inch round single cake layer.
The only adjustment you would make to that recipe is to use ¾ cups (180ml) of non-dairy milk instead of 1 cup and add in ¼ cup (60ml) of pineapple juice.
Storing Tips
This cake is at it’s best when totally fresh and still warm from the oven! Serve it as is or with some vegan vanilla ice cream!
Keep leftovers covered in the fridge. You can cut a slice and warm it gently in the microwave if you prefer it warm, or just serve it cold. Consume within 3 days.
It is also freezer friendly for up to 3 months. The best method is to wrap and freeze individual slices.
More Delicious Vegan Cake Recipes
- The Most Amazing Vegan Chocolate Cake
- Vegan Coffee Cake
- Vegan Lemon Cake
- Vegan Strawberry Cake
- Vegan Carrot Cake
- Vegan Victoria Sponge
Did you make this recipe? Be sure to leave a comment and rating below!

Vegan Pineapple Upside Down Cake
Ingredients
For the Topping:
- ¼ cup Vegan Butter (56g) Melted
- ½ cup Light Brown Sugar (100g)
- 10-12 Slices Pineapple Canned
- 15-20 Maraschino Cherries
For the Cake:
- 1 ¾ cups All Purpose Flour (220g)
- 1 cup White Granulated Sugar (200g)
- 1 tsp Baking Soda
- ½ tsp Salt
- ¾ cup Soy Milk (180ml) or other non-dairy milk
- ¼ cup Pineapple Juice (60ml) reserved from the can or use fresh
- 2 tsp Vanilla Extract
- ⅓ cup Canola Oil (80ml) or other vegetable oil
- 1 Tbsp Distilled White Vinegar or Apple Cider Vinegar
Instructions
- Spray a 9-inch round cake pan with non-stick spray.
- Melt the vegan butter and then pour it out into the bottom of the cake pan and spread it around so it lines the bottom evenly.
- Sprinkle the brown sugar over the melted butter and spread it around evenly.
- Then layer the pineapple slices along the bottom. Cut some slices in half and use those to go up along the sides (see our photo).
- Place maraschino cherries everywhere you find a gap.
- Set the prepared cake pan aside while you prepare your cake batter.
- Preheat the oven to 350°F (180°C).
- Sift the flour into a mixing bowl and add the white sugar, baking soda and salt and mix together.
- Then add in the soy milk, pineapple juice, vanilla, oil and vinegar and whisk together with a hand whisk until just combined.
- Pour out over the pineapple slices and smooth down with the back of a spoon.
- Place into the oven and bake for 55 minutes. Bring it out at the 30 minute mark and cover loosely with foil and return to the oven for another 25 minutes. The foil will prevent it from over-browning.
- It’s ready when a toothpick inserted into the center of the cake comes out clean (don’t push it too far down or you’ll hit the base and then the toothpick won’t come out clean even if it is ready).
- Let the cake cool for 10 minutes before inverting it onto a plate or cake stand.
- To flip it, place a plate or cake stand against the cake pan and then flip it so that the cake pan is upside down on top of the plate or cake stand. Let it sit for a few seconds for the caramelized brown sugar to run down over the sides of the cake, and then lift the cake pan off.
- Slice and enjoy.
Notes
- Keep leftovers covered in the fridge. You can cut a slice and warm it gently in the microwave if you prefer it warm, or just serve it cold. Consume within 3 days.
- It is also freezer friendly for up to 3 months. The best method is to wrap and freeze individual slices.


I used almond milk. Otherwise followed recipe exactly. came out amazing. so moist. rose well.
Awesome Simone! Happy to hear you enjoyed the recipe and thanks so much for your great review!
I followed this recipe exactly, and unfortunately, when I flipped the cake (which looked done) the batter was raw, completely uncooked inside. I have no clue what went wrong as I followed the recipe, and even after reviewing it again and again, did everything correctly. We were really looking forward to it. Very disappointed to say the least!
So sorry to hear that Barbara. Sounds like your oven may have not been hot enough. We recommend getting an oven thermometer to ensure the temp is always correct. Hope you give the recipe another try soon!
I made this a few weeks ago and it was lovely. Made it again this morning but I’m sure the recipe has changed? Says it was last updated in 2021 though so I might be going mad?
Things that I am sure were different last time (not saying they have any bearing on the result).
It said grease the pan (rather than spray with oil).
Directions were to mix the butter and sugar before putting into the tin in the first step.
Didn’t cover with foil halfway through.
I am losing my mind?
Either way, today it came out far too oily, was a lot darker, and the topping was a bit overdone (almost crunchy). Could certainly be a result of my lack of ability.
So to hear Joe, but we haven’t changed anything on the recipe. Hope it turns out better next time!
Made this recently and it was delicious. Only had some fresh pineapple but it was still good. I wonder why it turned out so brown inside. No brown ingredients except brown sugar on the bottom! Is it some chemical reaction from the vinegar?
Thanks you so much for your review Liz! The baking soda and vinegar reaction does turn the cake a bit brown on the inside.
It came out quite well! My friends loved it!
But it was a bit too oily for my personal taste. Next time I’ll upset les butter and vegetable oil. I’ll post back then
No substitutions other than cooked in the air fryer for 15 minutes less (after covering with foil).
Cake turned out perfectly. Just like the picture and was delicious. Thank you
Glad to hear it worked out for you Laine! Thank you so much for sharing and for your great review!
Absolutely love this fruity cake snd it goes down very well with guests. I use black salt for a more eggy taste and flax eggs plus self raising flour rather than baking soda snd vinegar. I also add cinnamon to the batter. Thank you for a lovely recipe 😊
Thank you so much for sharing and for your wonderful review Mina!
I’ve made this twice this weekend. The first time I made individual ramekins. I found that the smaller can of pineapple fit perfectly in the base of the ramekin. I took these to a dinner and non-Vegans loved it too!
The second time I baked it in a 9-inch round pan. Again, it came out perfectly and everyone loved it.
Thanks so much for the great recipe!
Amazing! So glad to hear you enjoyed the recipe so much Susan! Thank you so much for your wonderful review!
is it possible to lower the oil amount and sub partly applesauce to lower the fat? would live to make for someone vegan low fat due to heart issues but this was always his favorite cake. any tips before I try would be appreciated.
Hi Judy. Unfortunately we haven’t tested the recipe that way.
Fantastic recipe. I let it sit in its pan several hours and turned it upside down just as you suggested and it was flawless. Beautiful and tasty, like all your recipes in fact. Have never had an instant worry with your instructions which are detailed and so helpful; you obviously did all the trouble-shooting for us! I have tried recipes from the New York Times that were slapdash and perhaps never even prepared by the author! With your website I know I’m dealing with a pro.
Amazing Victoria! Thanks so much for your great review and kind words!
I posted a question, but haven’t gotten a response, so I went for it anyway. I used melted coconut oil (instead of vegetable oil) and only 3/4 cup of granulated sugar in the cake. Baked for the recommended 55 minutes in a 9in round cake tin. Came out excellent.
Apologies for that Meg, but I’m glad it turned out great! Thanks for your awesome review! 🙂
This cake looks delicious and I’m planning to make it today. I’m wondering – can I use melted coconut oil instead of vegetable oil?