
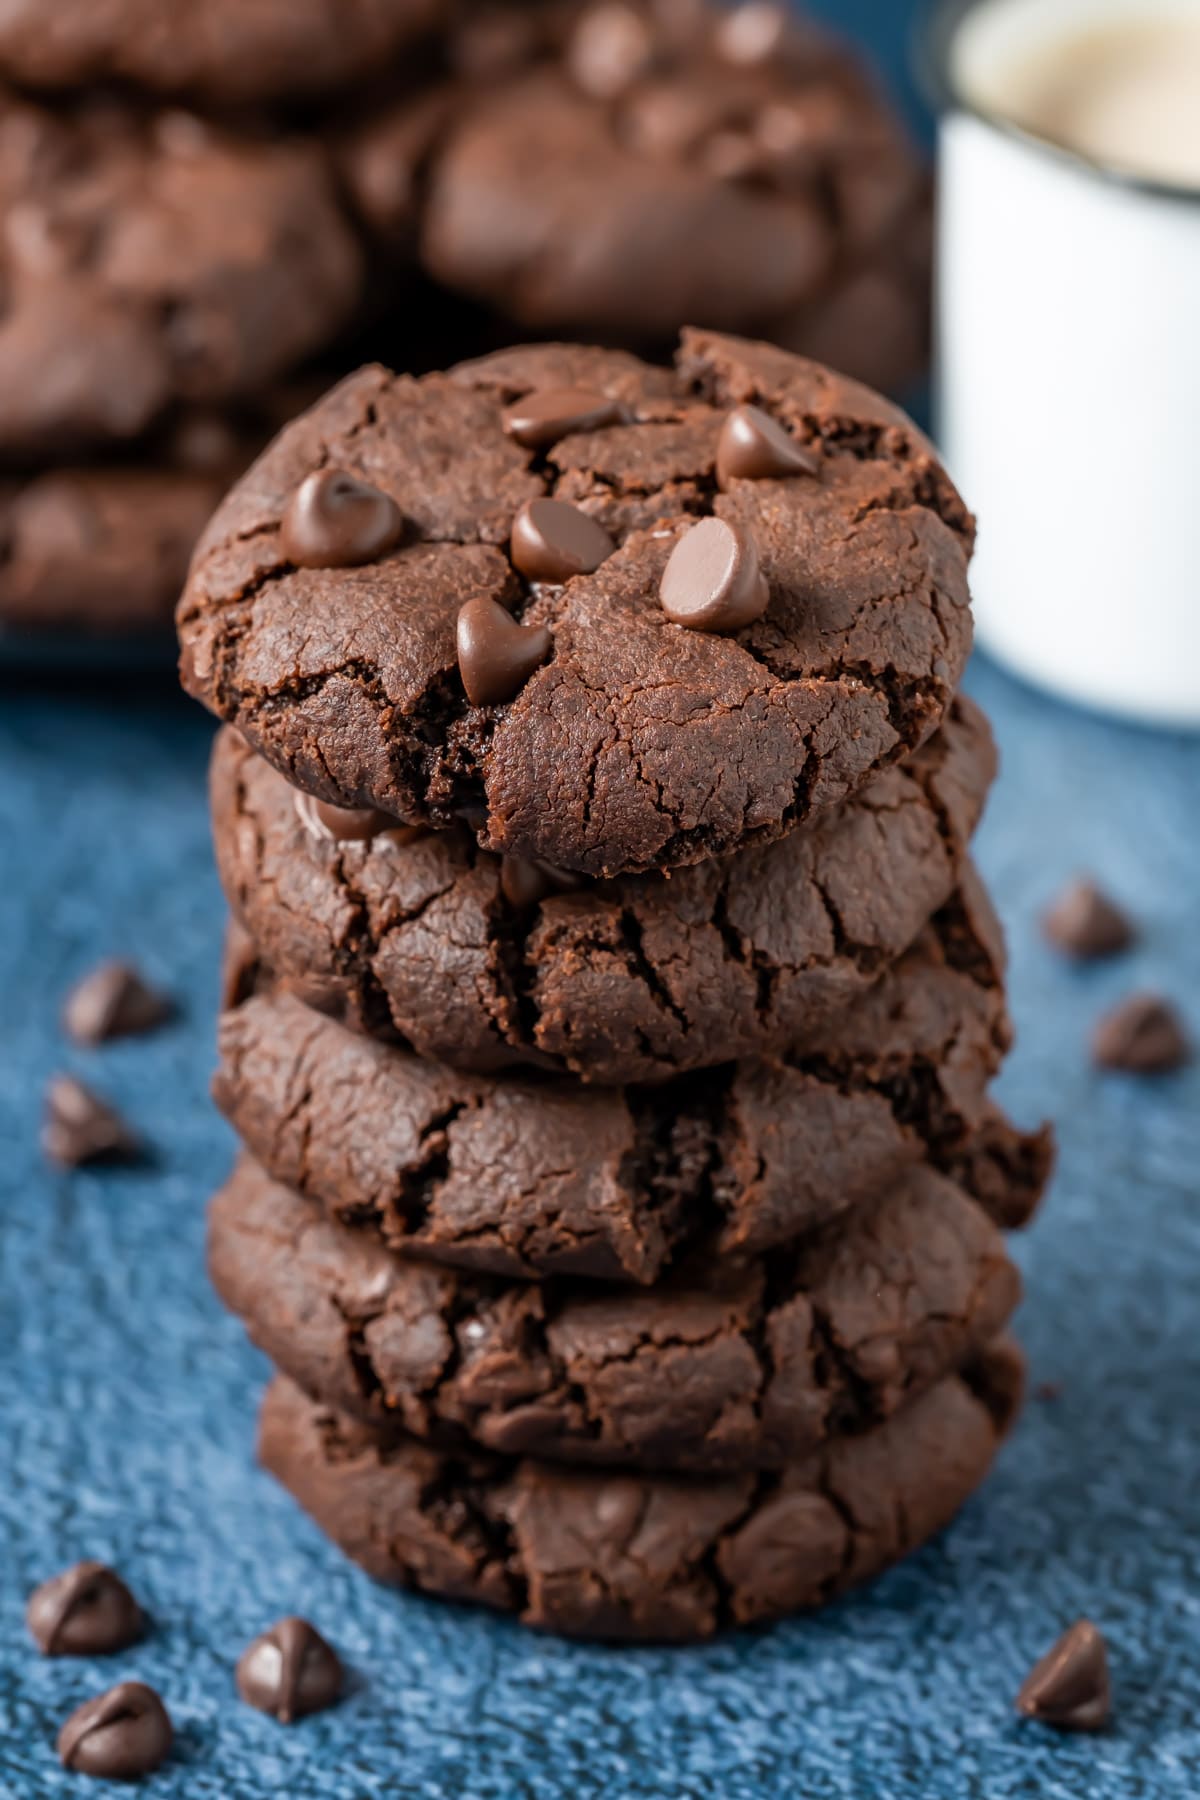
Delicious double-chocolate vegan chocolate cookies! Quick and easy, crunchy and soft, perfect for satisfying all your chocolate cravings.
What I love about cookies is that they’re so easy and quick to make.
These vegan chocolate cookies bake in 10 minutes! I mean really.
So if you’re in the mood for a batch of cookies there’s really not a lot standing between you and a tray of warm chocolate cookies straight from the oven complete with melting chocolate.
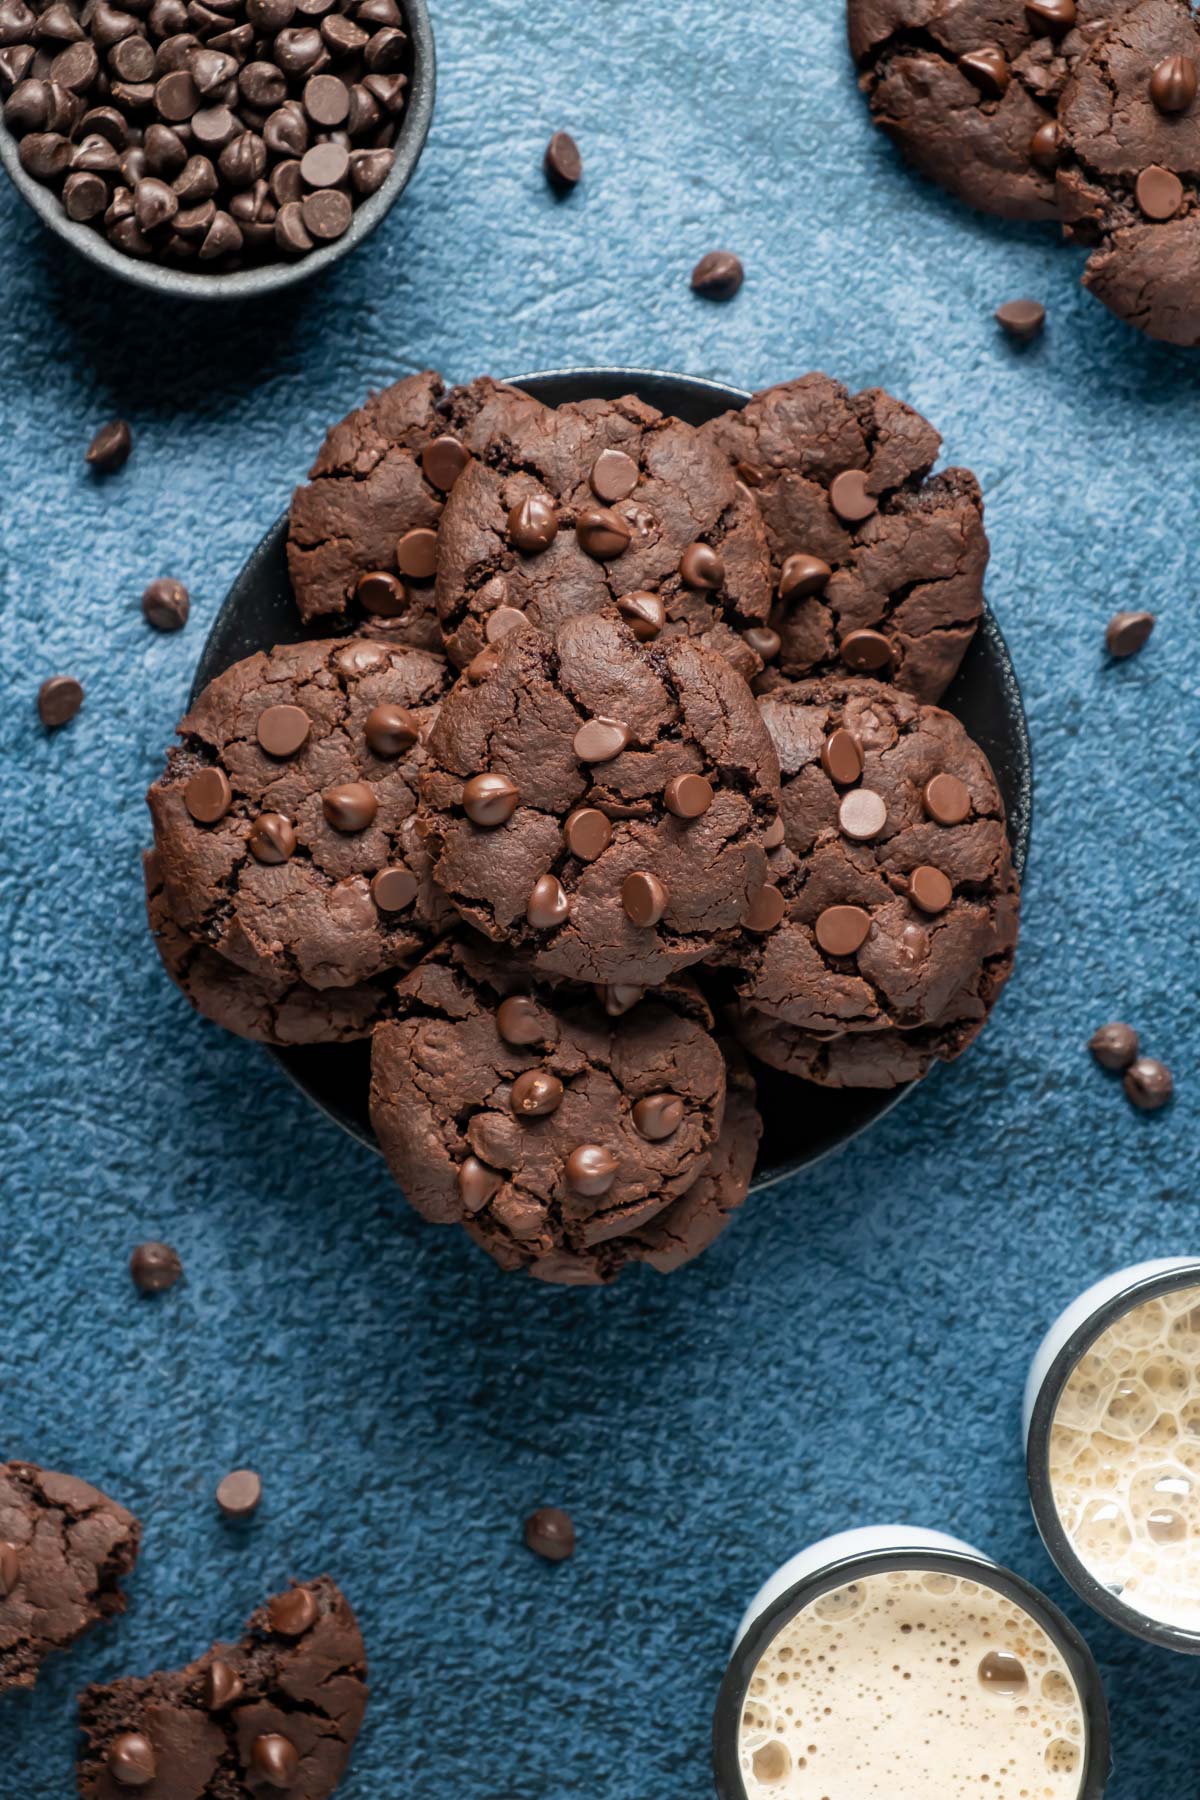
And what’s better than vegan chocolate cookies? Double chocolate cookies! I couldn’t resist adding chocolate chips to these cookies.
And aside from what’s baked into them, as soon as they came out of the oven, beautifully warm, I placed a few more chocolate chips right on top.
Because you can’t get too many chocolate chips in your chocolate cookies.
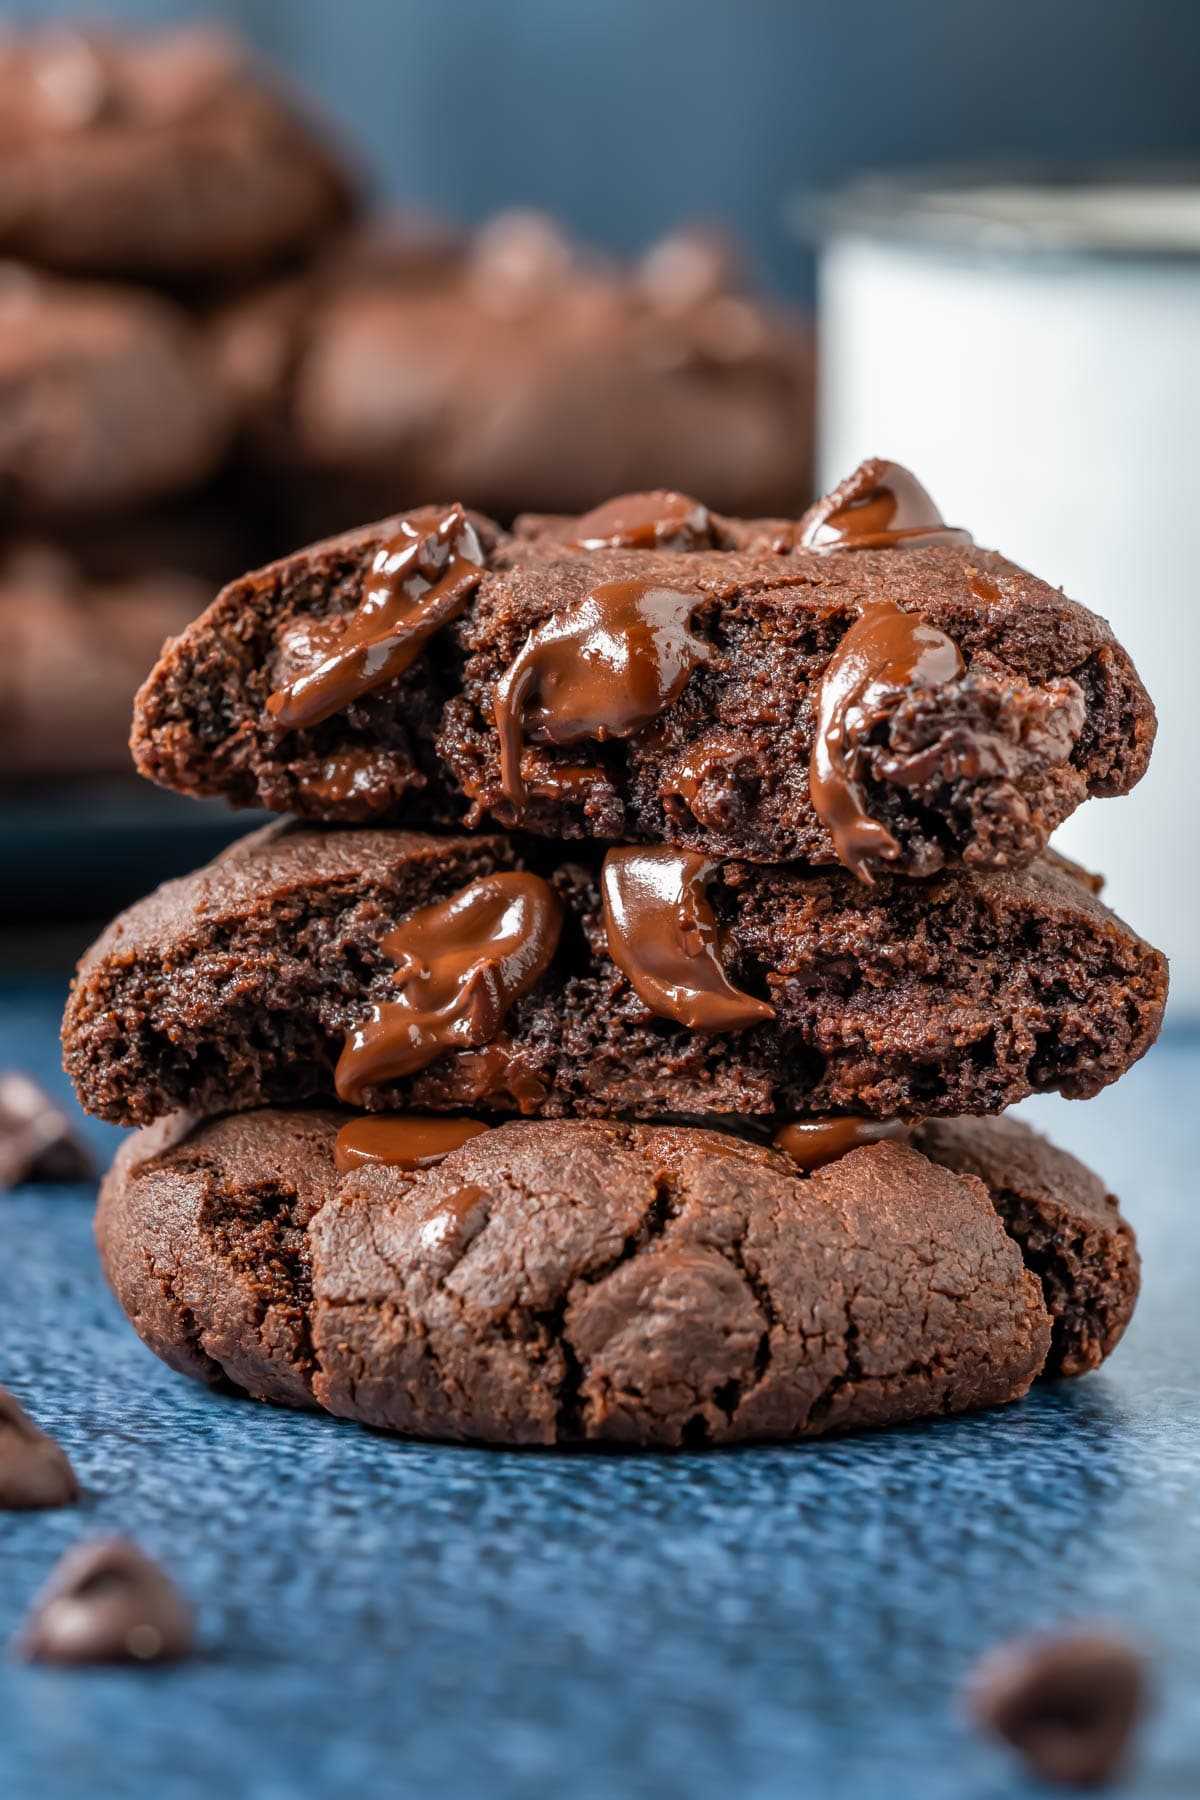
The result is a chocolate cookie with the perfect amount of crunch and the perfect amount of softness too.
What You Need To Make These Cookies:
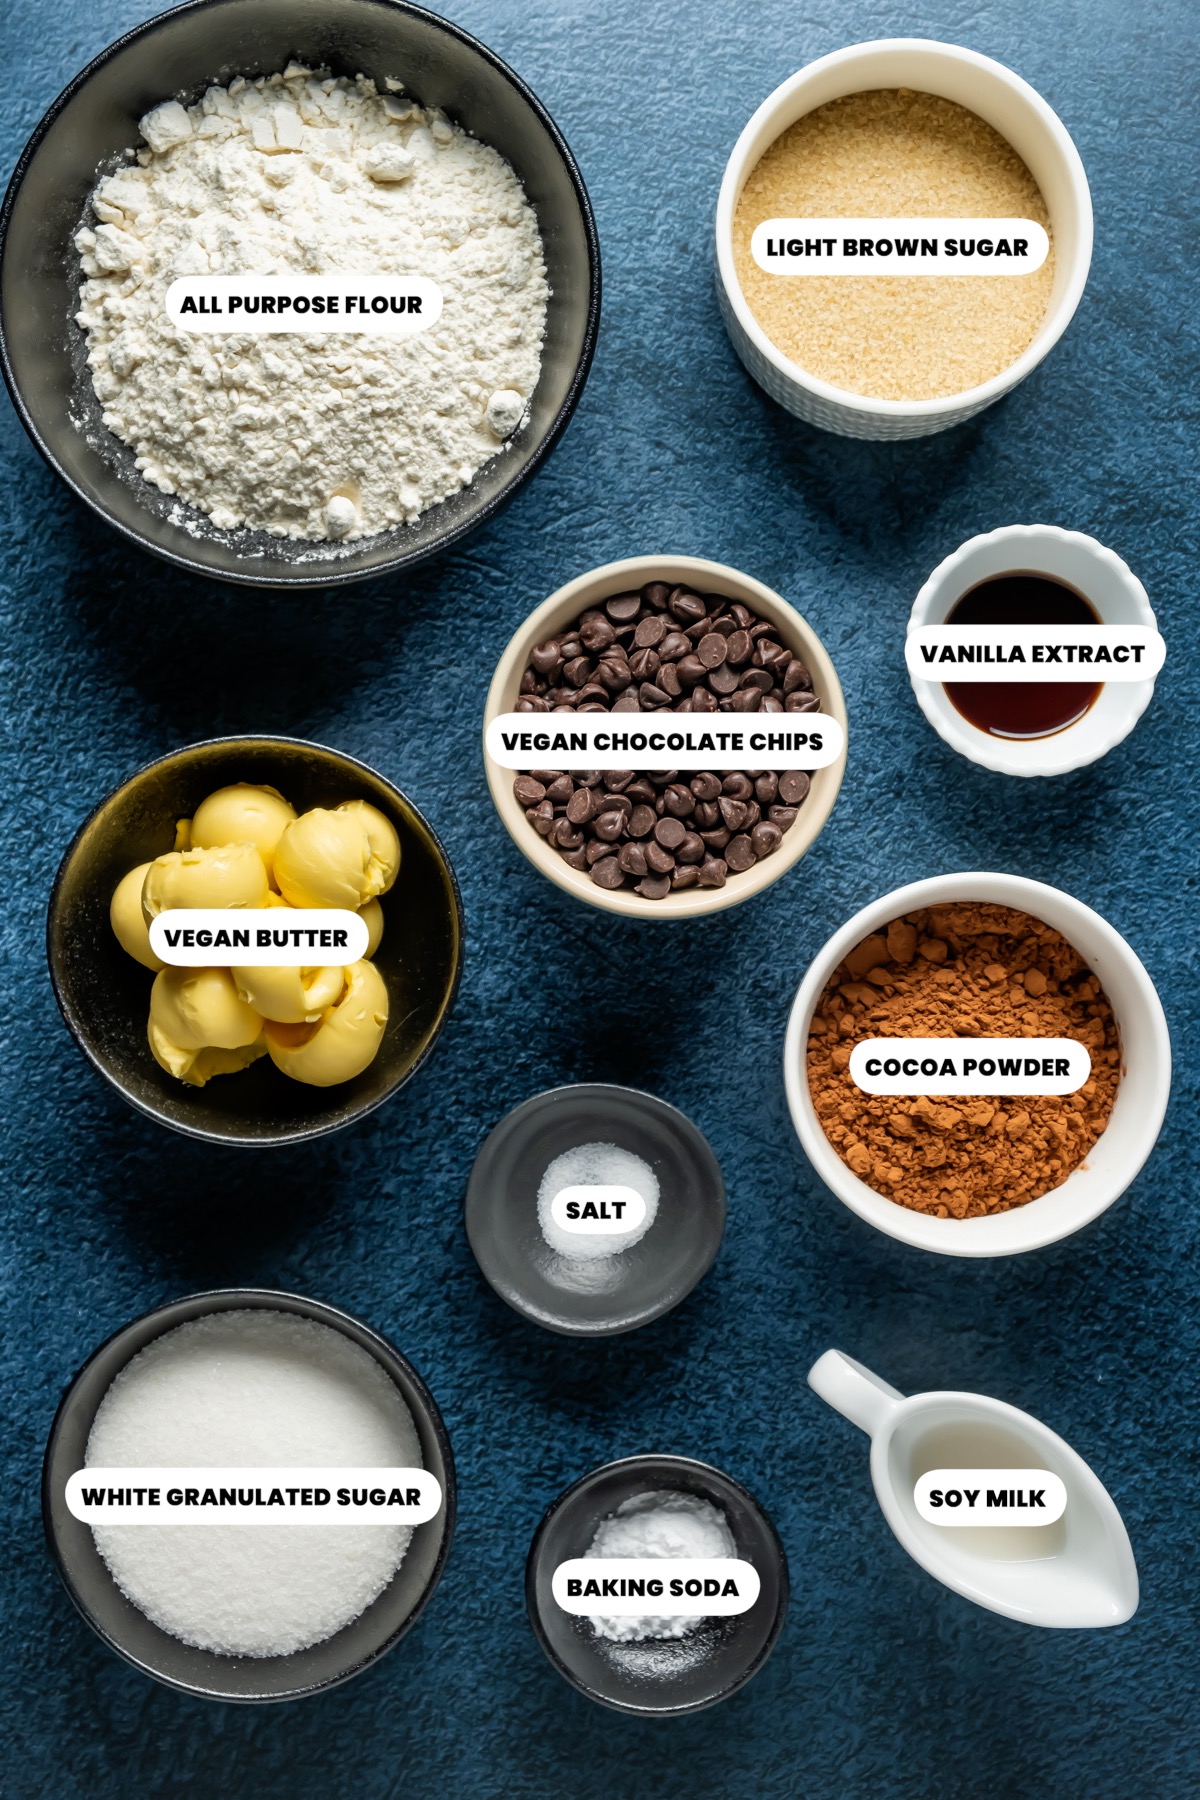
Ingredient Notes
- Chocolate Chips – you can use any vegan chocolate chips or chop up some vegan chocolate bars into chunks and use those instead.
- Soy milk – can be replaced with any non-dairy milk.

How To Make Vegan Chocolate Cookies
You will find full instructions and measurements in the recipe card at the bottom of the post. This is a summary of the process to go along with the process photos.
- Add vegan butter, white granulated sugar and light brown sugar to the bowl of your stand mixer and cream them together until smooth.
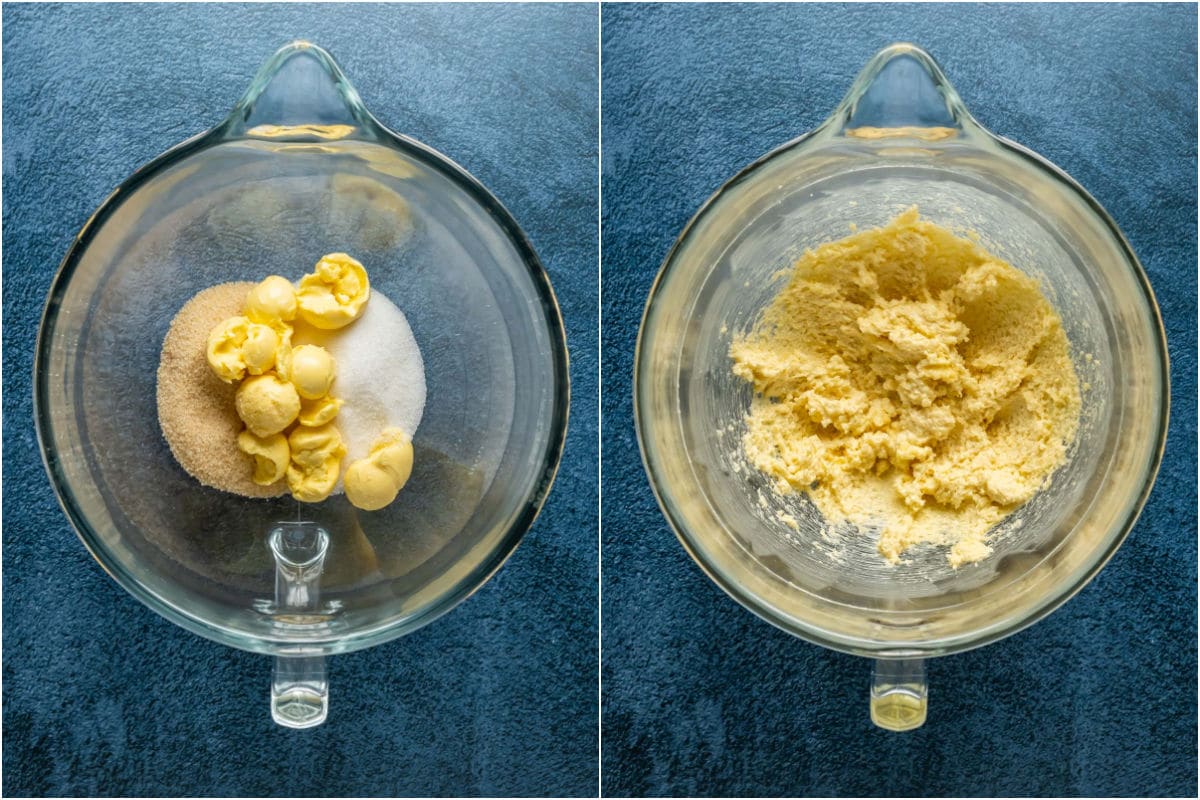
- Add vanilla extract and mix it in.

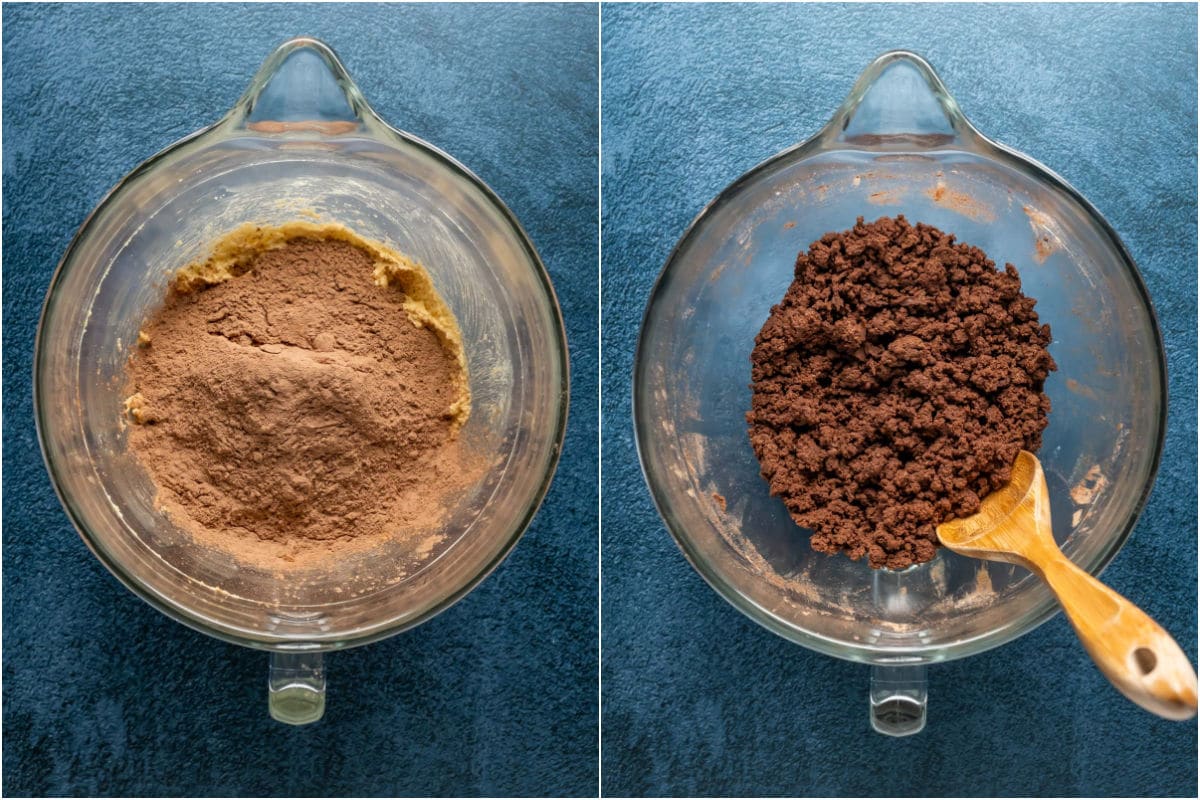
- In a separate bowl, sift all purpose flour and cocoa powder and add baking powder and salt. Mix together.
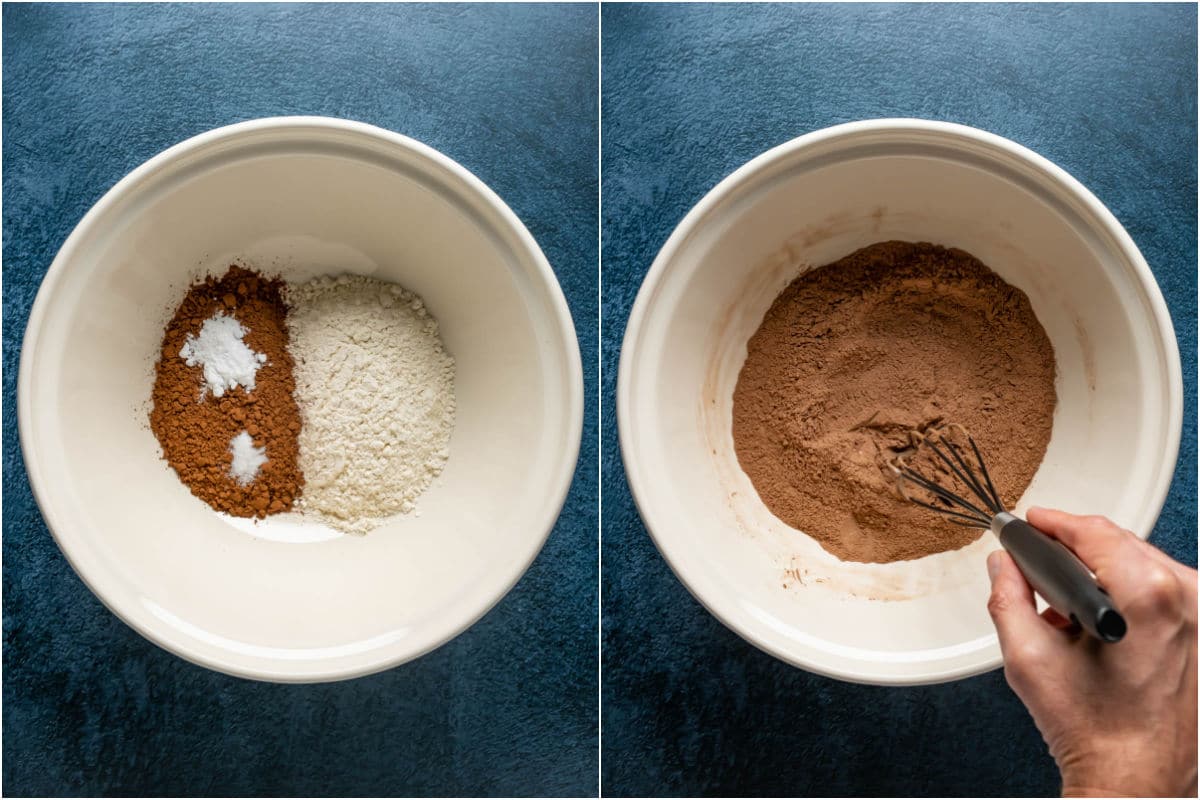
- Add the dry ingredients in with the wet and mix it into a crumbly cookie dough.
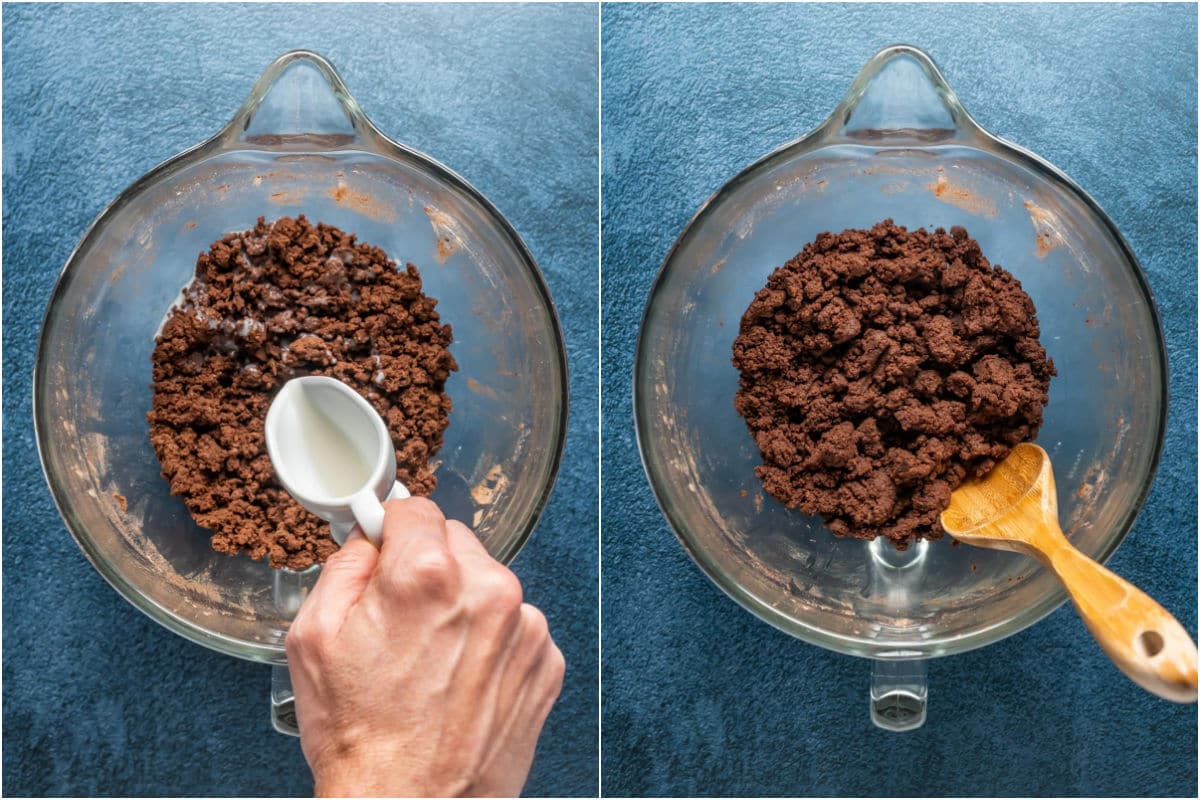
- Add soy milk and mix it into a thick cookie dough.
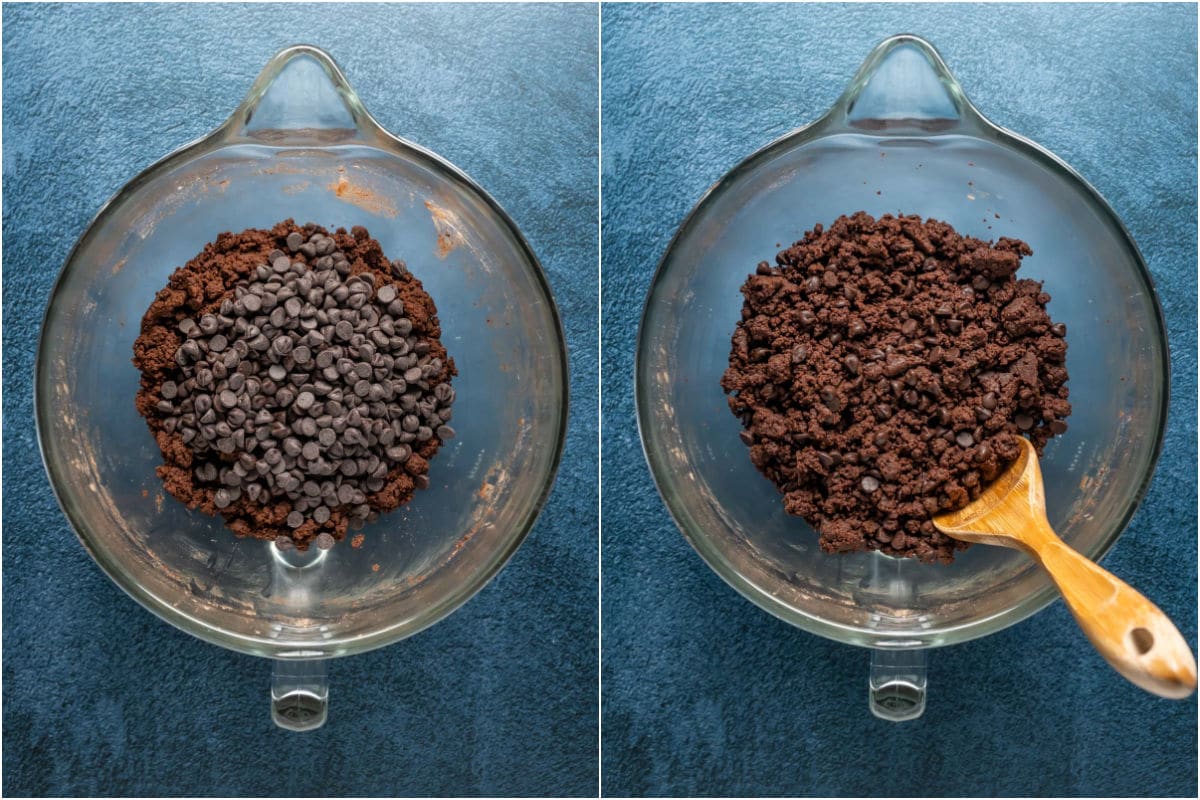
- Add chocolate chips and mix in.
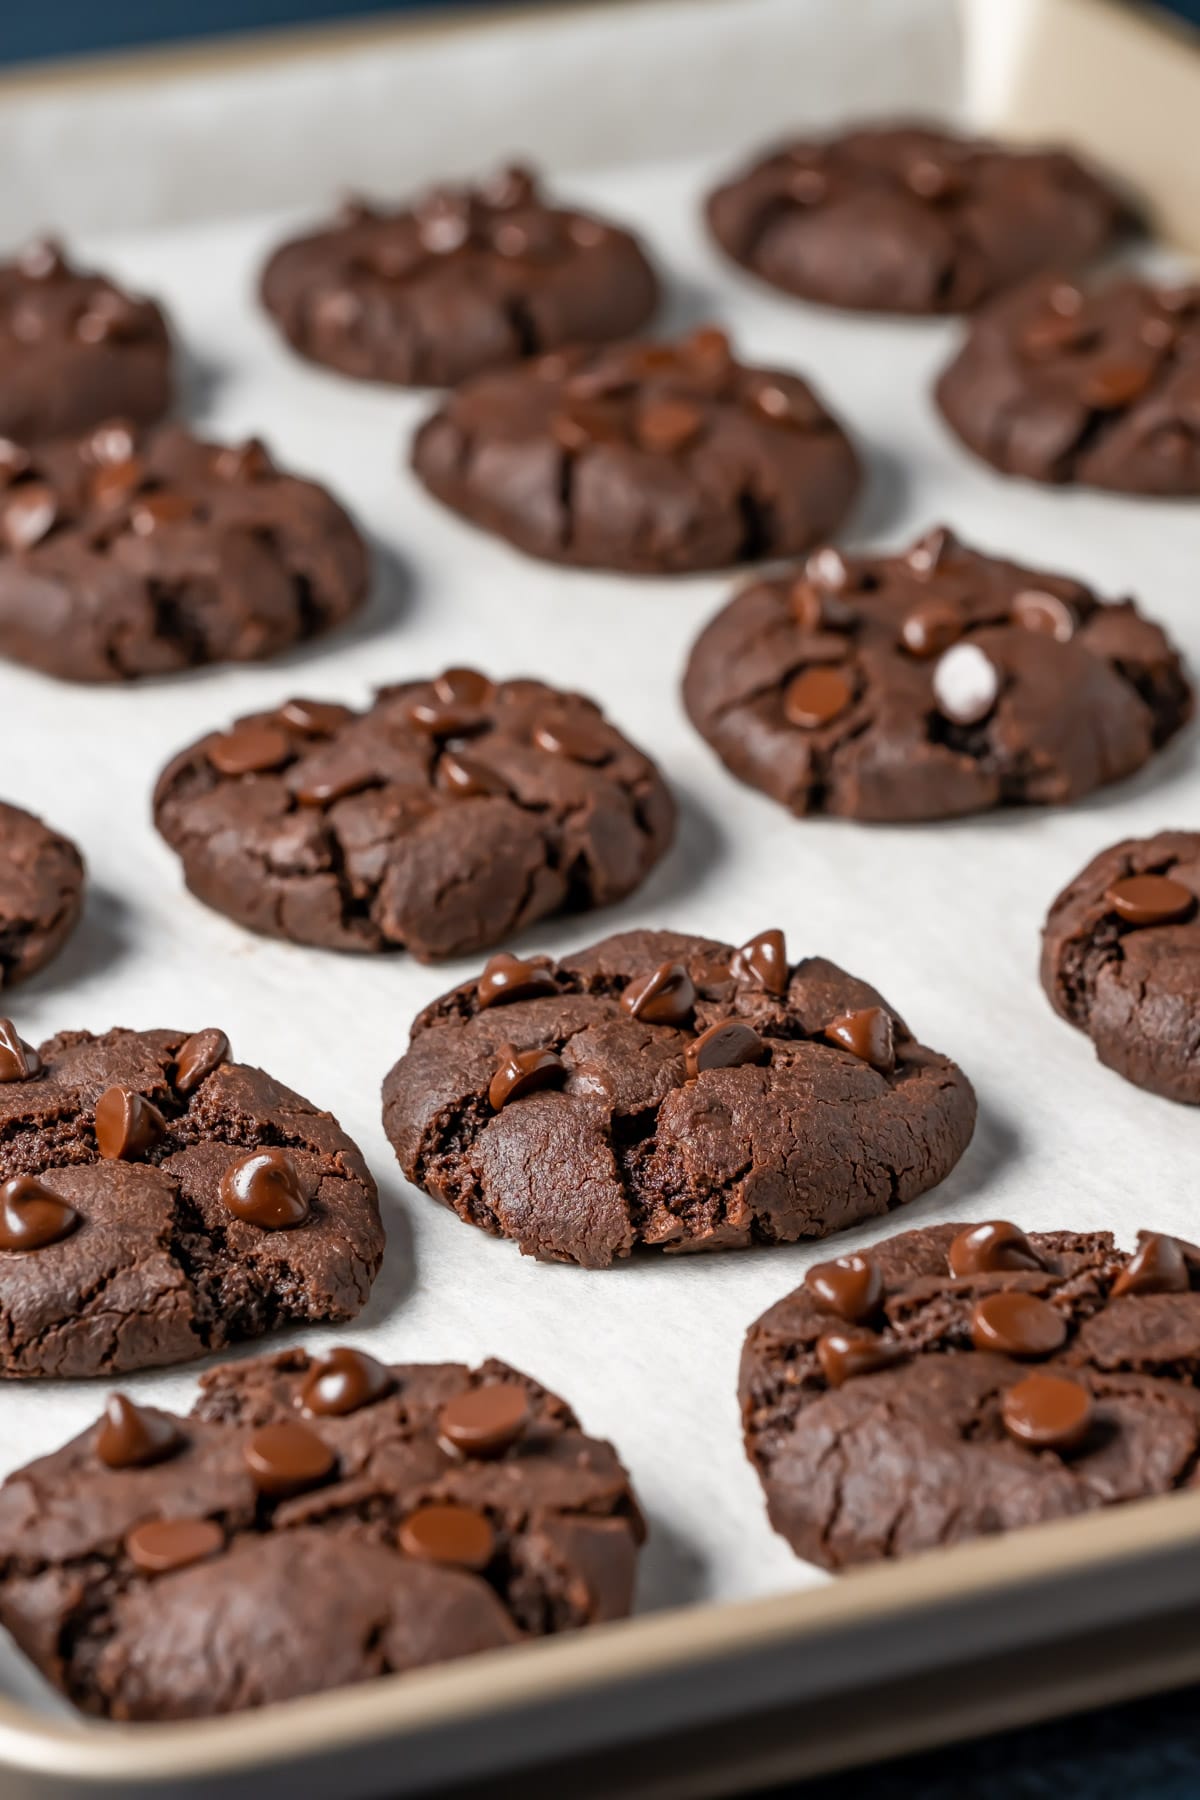
- Roll the cookie dough into balls and space them evenly on a parchment lined baking tray. Aim to get 20 balls from the batch.
- Bake at 350°F for 10 minutes.
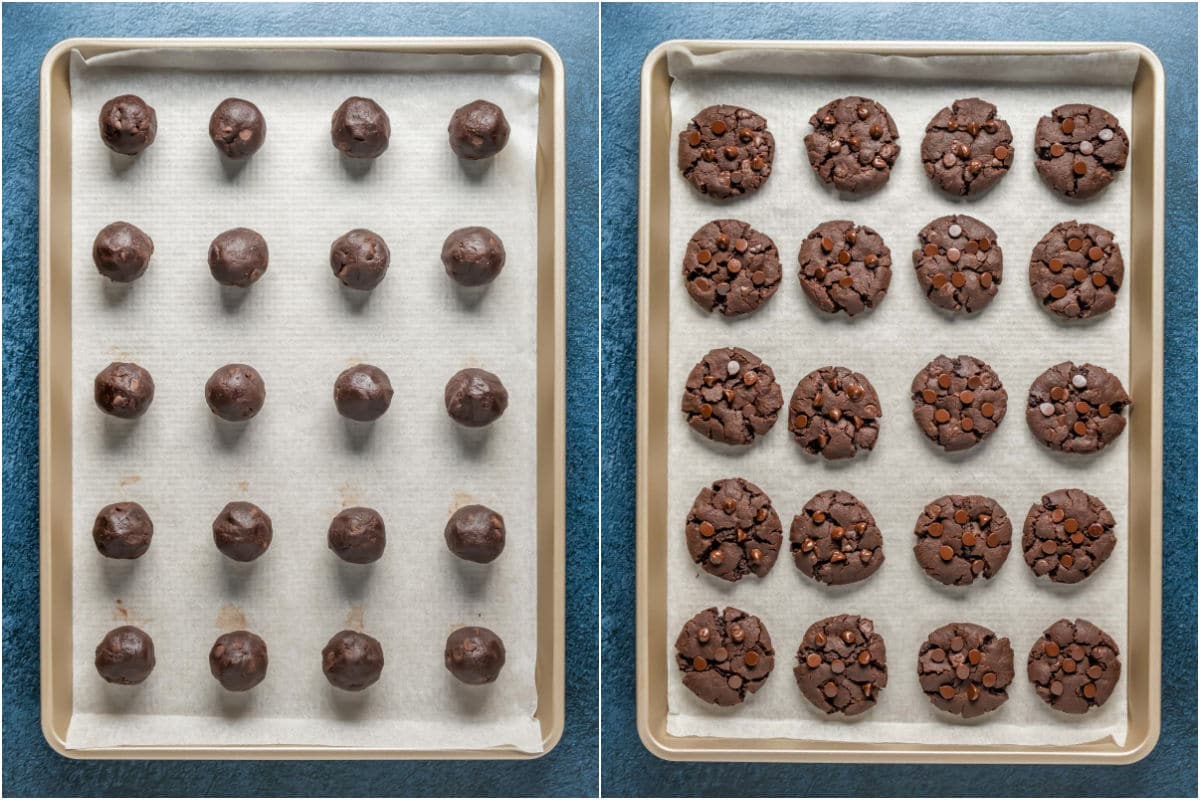
- As soon as the cookies come out the oven, press more chocolate chips directly into the tops of the cookies.
- Let the cookies cool and firm up directly on the tray.
Recipe Tips
The cookie dough is quite dry. As you can see from the photos, the cookie dough is quite dry. However, the cookies don’t come out dry at all, so don’t worry about that. The only thing to worry about is whether you can roll the dough into balls. If the dough is just way too crumbly and won’t roll into balls, then add in another tablespoon of soy milk (or other non-dairy milk) and try again.
If the cookies don’t flatten. These cookies usually spread on their own, but if they don’t, you can allow an extra couple of minutes baking time. If they still don’t spread/flatten then just press down on the tops gently with a fork to flatten them while they are still warm and soft from the oven. Then get busy adding those extra chocolate chips to the tops of the cookies.
Make Them Gluten-Free
These cookies work perfectly as gluten-free. You won’t know the difference.
All you have to do is replace the regular flour with a gluten-free all purpose baking blend.

Storing and Freezing
Keep your cookies stored in a covered container at room temperature where they will last for up to a week. You can also store them in the fridge (covered).
They are also freezer friendly for up to 3 months. Thaw them in the fridge and bring to room temperature on the counter before serving.

More Vegan Cookies
- Vegan Oatmeal Cookies
- Vegan Chocolate Chip Cookies
- Vegan Peanut Butter Cookies
- The Easiest Vegan Sugar Cookies
- Vegan Pumpkin Cookies
- Vegan Snickerdoodles
Did you make this recipe? Be sure to leave a comment and rating below!

Vegan Chocolate Cookies
Ingredients
- ½ cup Vegan Butter (112g)
- ½ cup White Granulated Sugar (100g)
- ½ cup Light Brown Sugar (100g)
- 1 teaspoon Vanilla Extract
- 1 cup All Purpose Flour (125g)
- ⅔ cup Cocoa Powder (56g) Unsweetened
- 1 teaspoon Baking Soda
- ¼ teaspoon Salt
- 1 Tablespoon Soy Milk or other non-dairy milk
- 1 cup Vegan Chocolate Chips (175g) + more for pressing into the tops of the warm cookies after baking
Instructions
- Preheat the oven to 350°F (180°C).
- Add the vegan butter and brown and white sugar to the bowl of your stand mixer and cream them together. Add the vanilla extract and mix in.
- Sift the flour and cocoa powder into a separate mixing bowl and mix in the baking soda and salt.
- Add the dry ingredients to the wet, mixing in by hand until crumbly.
- Add the 1 Tablespoon soy milk or other non-dairy milk and mix into a thick cookie dough.
- Add the chocolate chips and mix in. Your cookie dough will be very thick, but sticky enough to easily roll into balls.
- Roll into balls and space them evenly on a parchment lined baking tray. Aim to get 20 cookies from the batch.
- Bake for 10 minutes. The edges will be firm but the cookies will still be soft in the middle. This is fine, they will firm up as they cool.
- Press in a few more chocolate chips to the top of the cookies as they come out of the oven.
Video
Notes
- Chocolate chips or chunks. You can use vegan chocolate chunks (chopped up vegan chocolate) instead of chocolate chips. We used chocolate chips in these photos and chocolate chunks in the recipe video.
- You may need more soy milk. Depending on the brand of vegan butter you use, you may need 1 or 2 more tablespoons of soy (or other non-dairy) milk. But be patient with each addition of soy milk, stir well and see if you really need more. It is supposed to be a very thick, crumbly cookie dough. But if you try and roll a section into a ball and it just won’t hold together, then you’ll need a little more.
- If the cookies don’t spread: If you peep into your oven at the 10-minute mark and see that your cookies haven’t spread very much, you can bake for a couple of minutes longer. But even if they are quite puffy on the top, this is still fine, and you can just press down on them gently with a fork as soon as they come out of the oven still warm and soft.
- Gluten-free: These cookies work perfectly as gluten-free. You won’t know the difference. All you have to do is replace the regular flour with a gluten-free all purpose baking blend.
- Storing: Keep your cookies stored in a covered container at room temperature where they will last for up to a week. You can also store them in the fridge (covered).
- Freezing: They are also freezer friendly for up to 3 months. Thaw them in the fridge and bring to room temperature on the counter before serving.
These are very good and taste a lot like brownies. My usual double chocolate chip cookie recipe is on a cargo ship on its way to me in New Zealand and I couldn’t find it online. I followed the recipe exactly and made a double batch. The dough was crumbly but did stick together. It didn’t flatten at all so I used a fork right out of the oven but it didn’t exactly make pretty round cookies. They are a little ugly but still taste good. After about a little more than half the cookies, I decided to try adding more oat milk. I don’t know how much, I just splashed it in. The rest turned out so much better and they did spread. I also flattened the balls slightly before baking. I would recommend a test cookie to make sure they spread out a little bit and if they don’t, add some more soy/almond/oat milk to the mixture. They are delicious.
Thanks so much for sharing and for your lovely review Michele!
I love the recipe, my cookies turned out beautiful, delicious crunchy from outside and soft inside. I substituted white and light brown sugar for raw sugar only.
I also substituted vegan butter for coconut oil.
instead of using soy milk I used two tablespoon boiling water to dissolve the sugar
Thanks so much for sharing your substitutions Shireen! Happy to hear you enjoyed the recipe!
I made these today and they received a 5/5 from everyone that ate them.
Adjustment: only used half the amount of choc chips and it was still ample.
Awesome! So glad to hear you enjoyed the recipe Michelle!
Yum yum yum
Yay!