
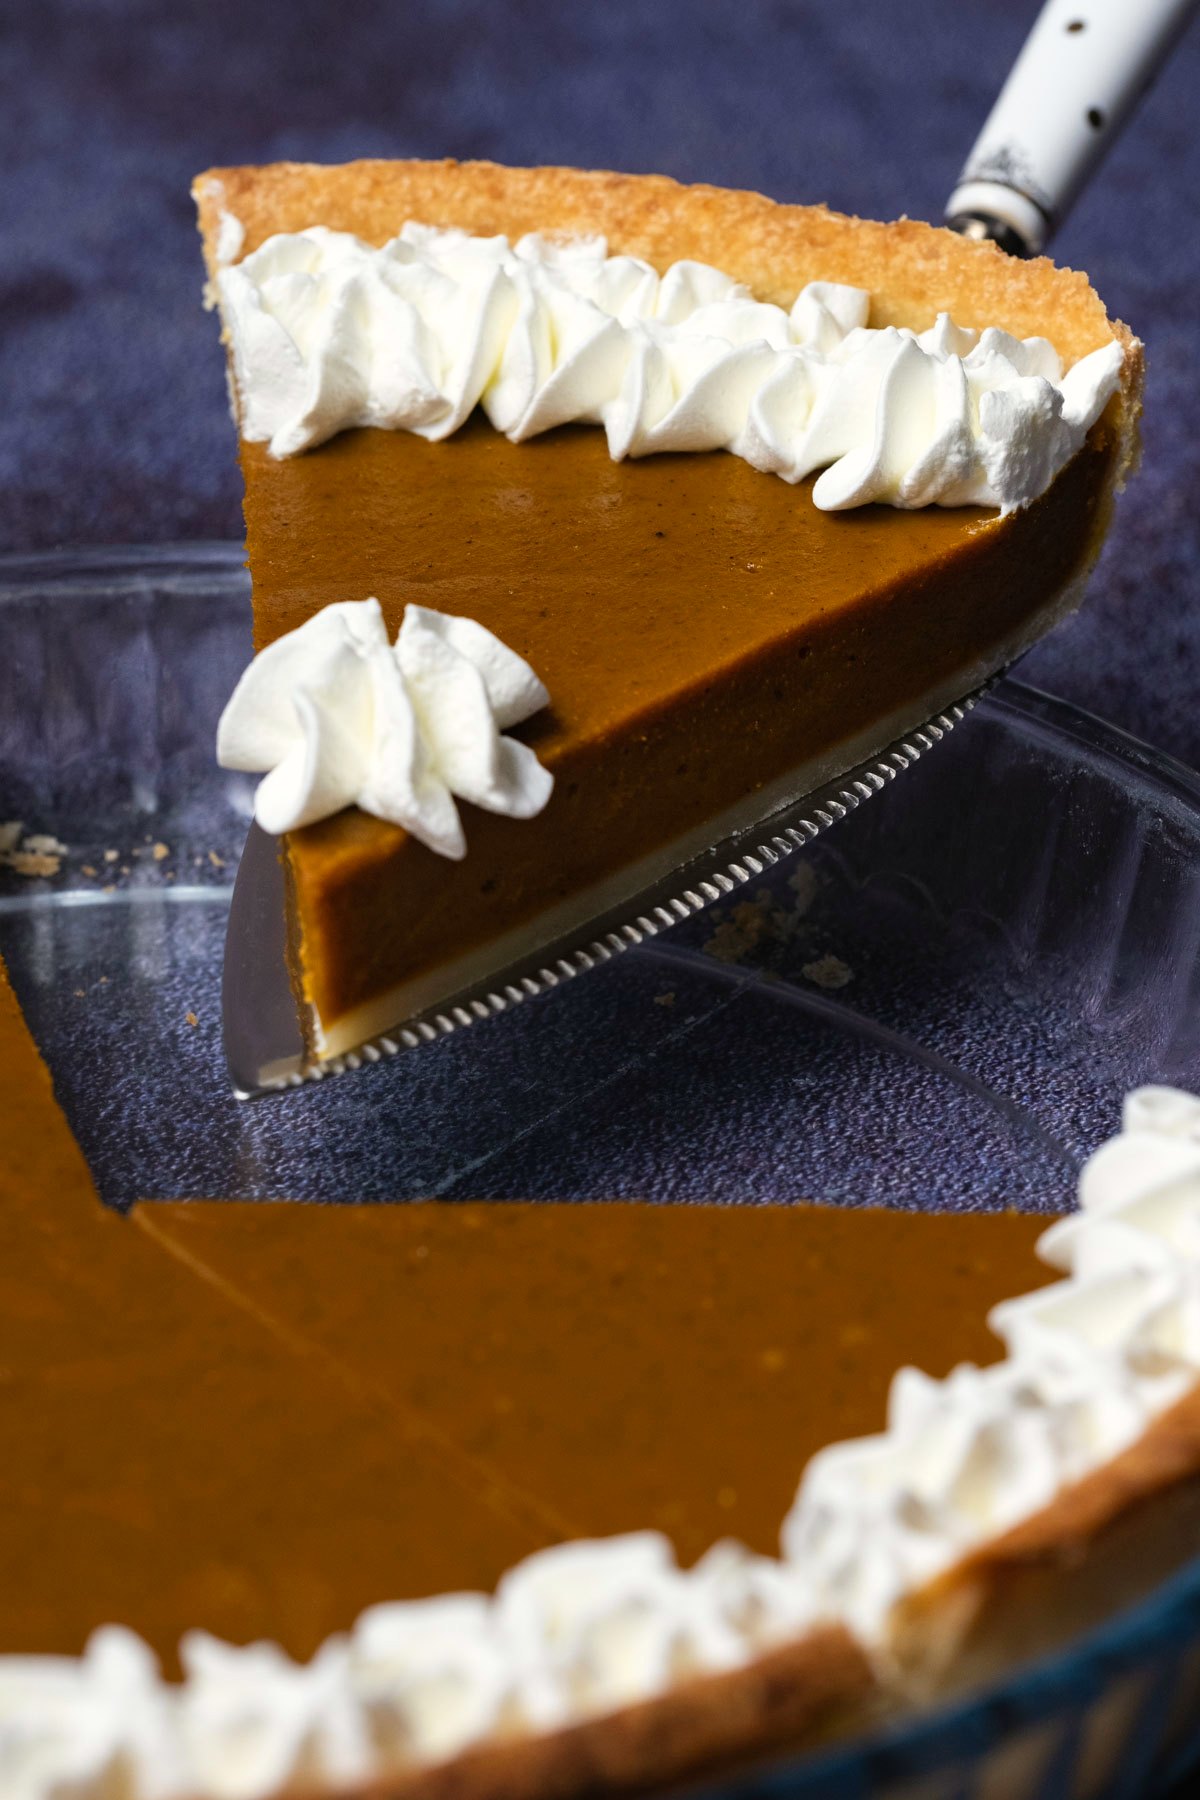
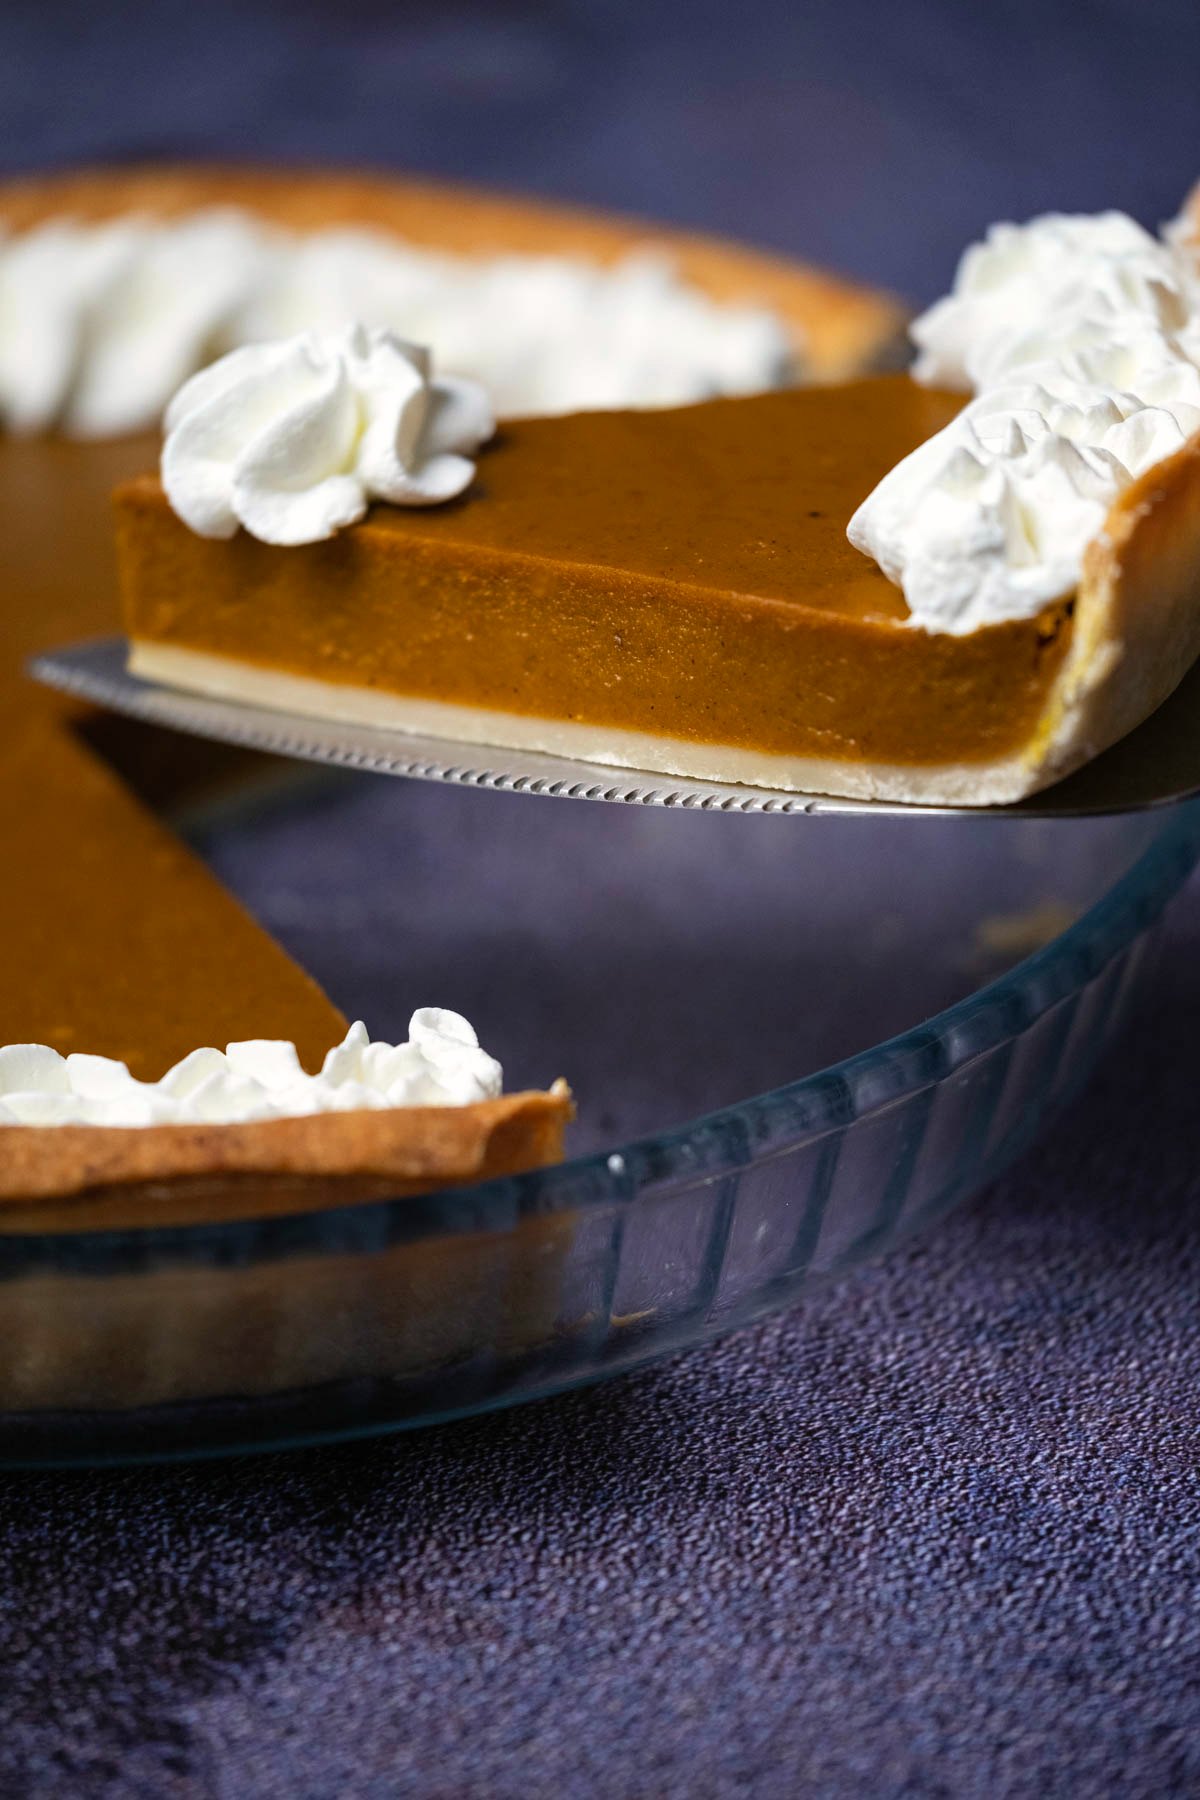
This is the best vegan pumpkin pie ever and the only recipe you’ll ever need! It’s rich, creamy, deliciously spiced and perfect for the holidays.

This vegan pumpkin pie is seriously delicious. It’s perfectly sweet, loaded with fall spices and flavors and absolutely NO ONE would be able to guess that it’s vegan.
It’s also the easiest pie you’ll ever make, especially if you use a store-bought pie crust. It’s as simple as adding your ingredients to a blender, blending it, pouring it out into your pie crust, baking it, cooling it and voilà!
Of course if you want to make your pie crust from scratch then we’ve got you covered with that too.
This pie is heaps of fun to make, comes out perfectly every time and is the perfect Thanksgiving pie.
And if you love some delicious vegan holiday pies, then check out our vegan sweet potato pie and our vegan apple pie too.
How To Make Vegan Pumpkin Pie
You will find full instructions and measurements in the recipe card at the bottom of the post. This is a summary of the process to go along with the process photos.
The Crust:
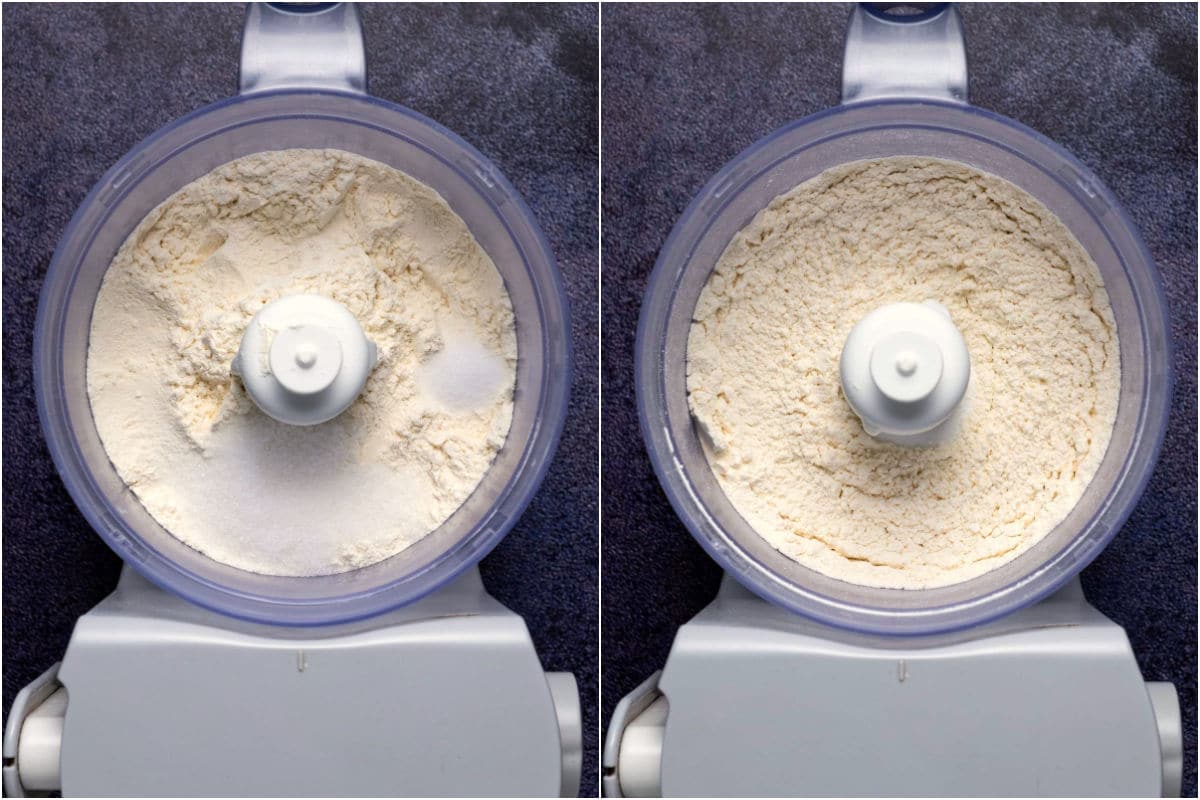
- Add all purpose flour, sugar and salt to the food processor and pulse to combine.
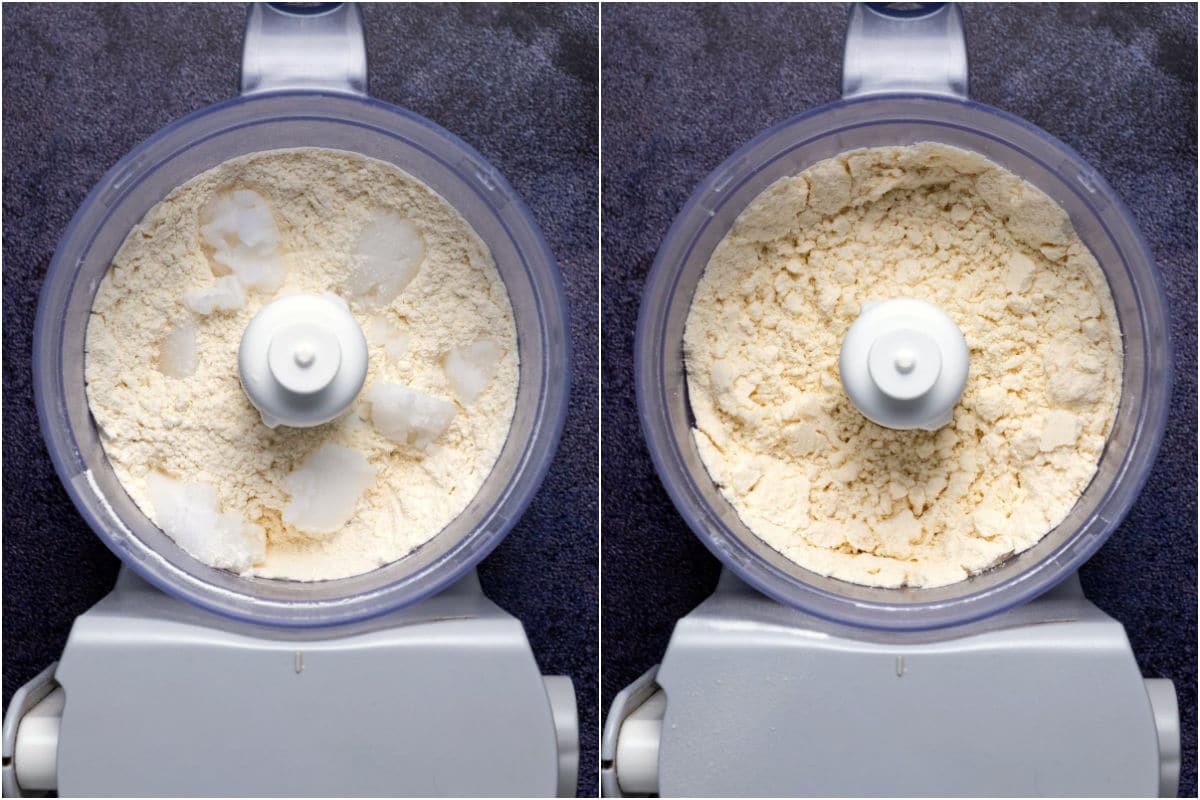
- Now add coconut oil (must be solid, not melted) and pulse until the mixture is crumbly.
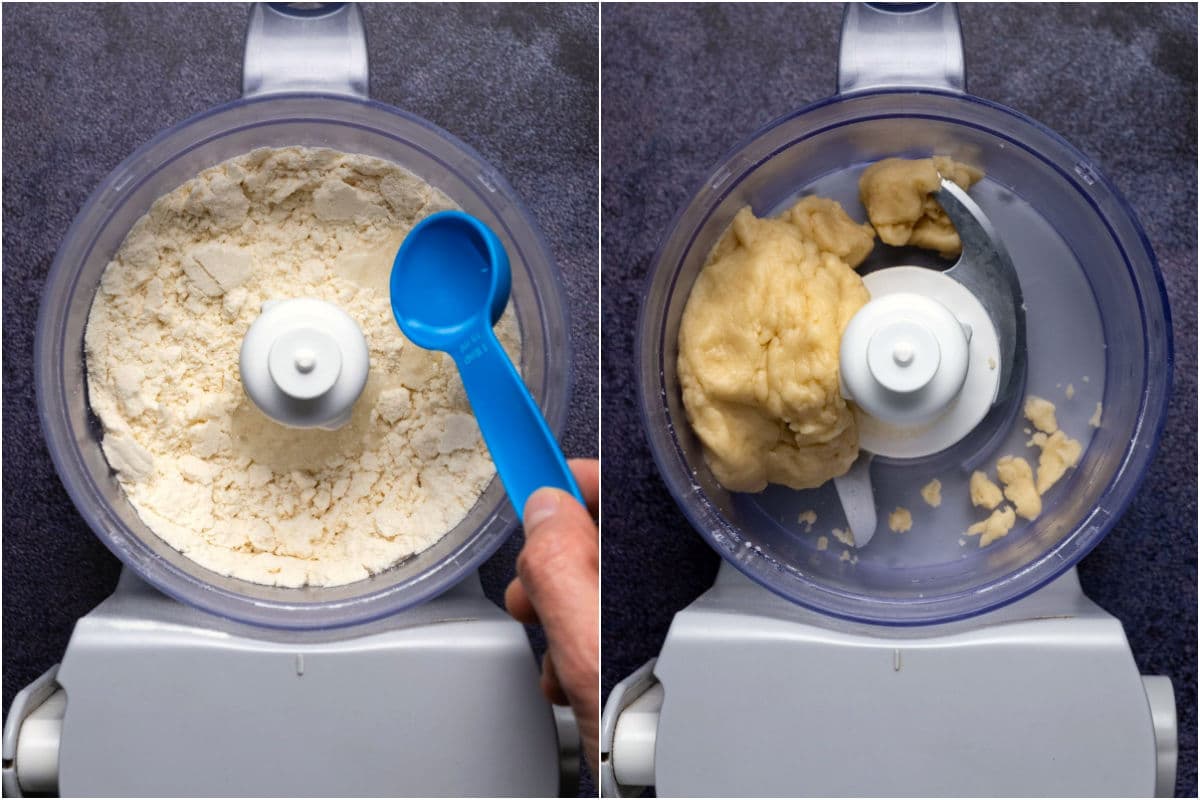
- Add ice water and pulse it to combine. It should look like a dough now and if you break off a piece and roll it in your hands it should easily roll into a ball.
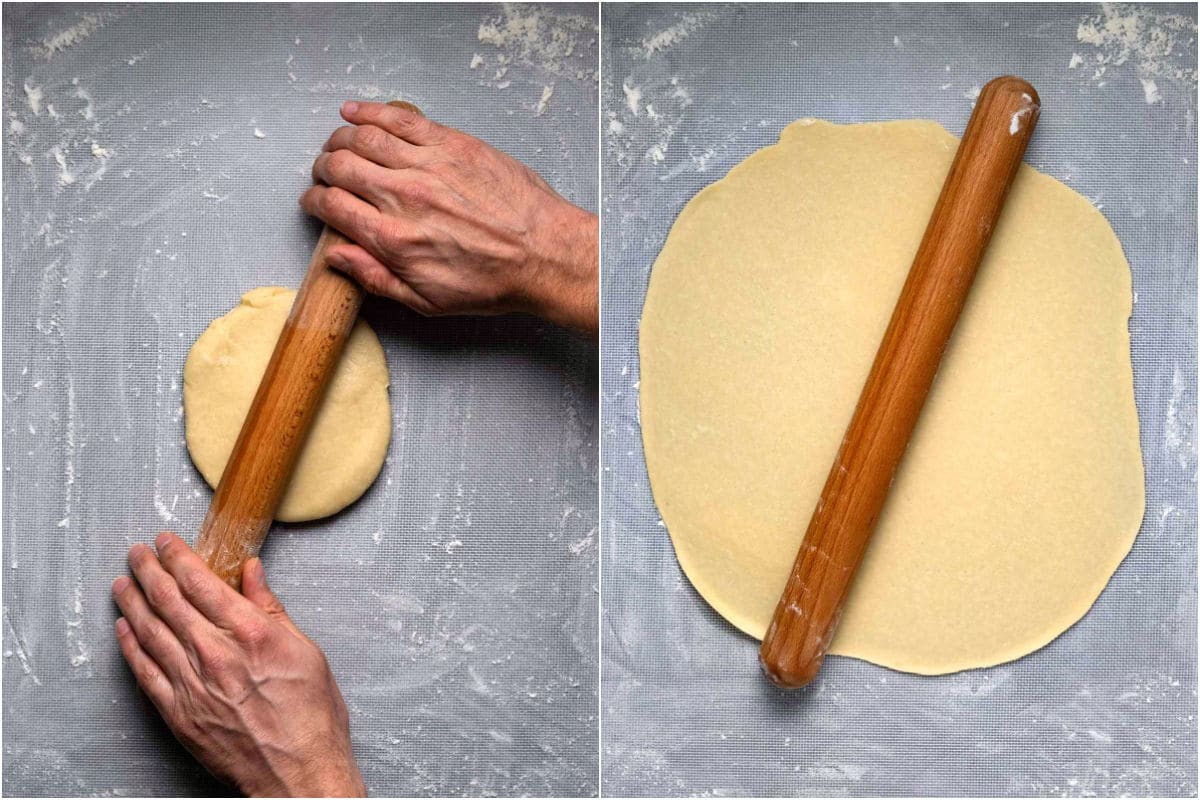
- Remove the dough from the food processor, transfer to a floured surface and roll the dough into a big round ball.
- Using a rolling pin roll out the dough from side to side into a large circle that is wider than your 9-inch pie dish.
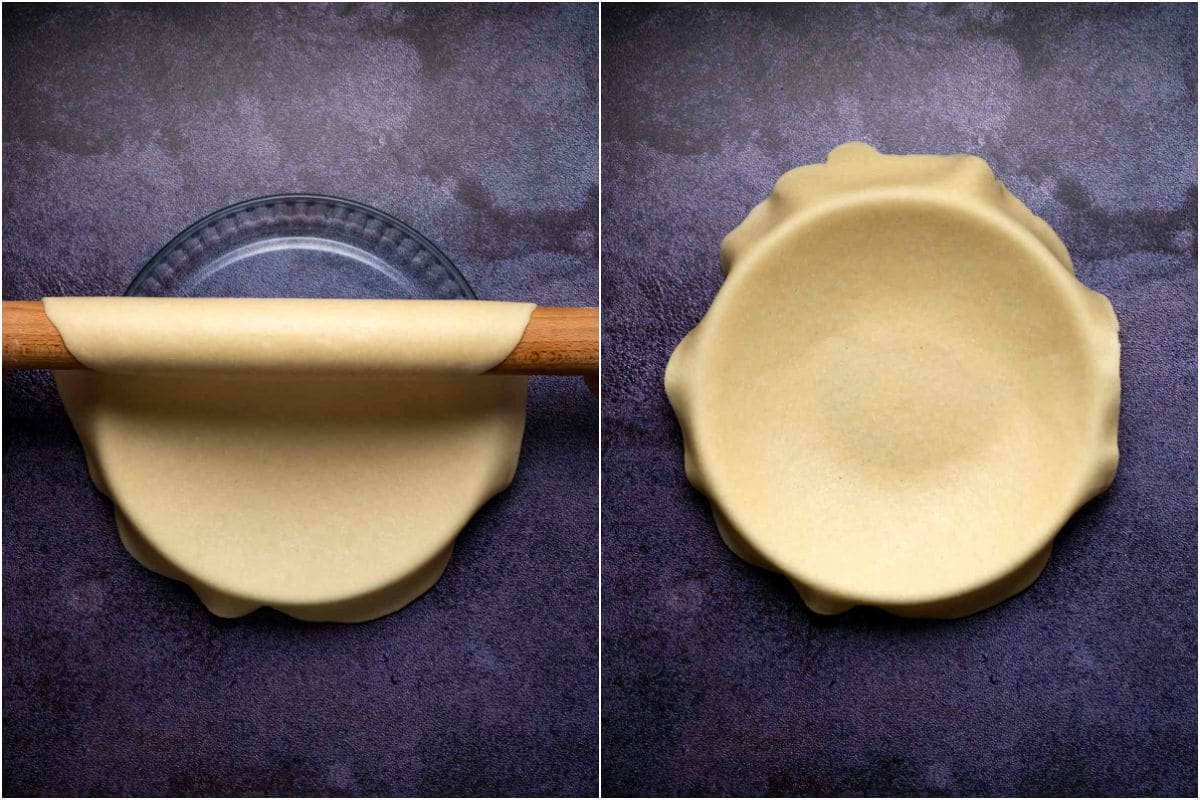
- Spray your pie dish with non-stick spray and then roll up the crust in your rolling pin (or just pick it up carefully) and carefully unroll it over the top of your pie dish. Carefully tuck the crust in along the edges of your pie dish.
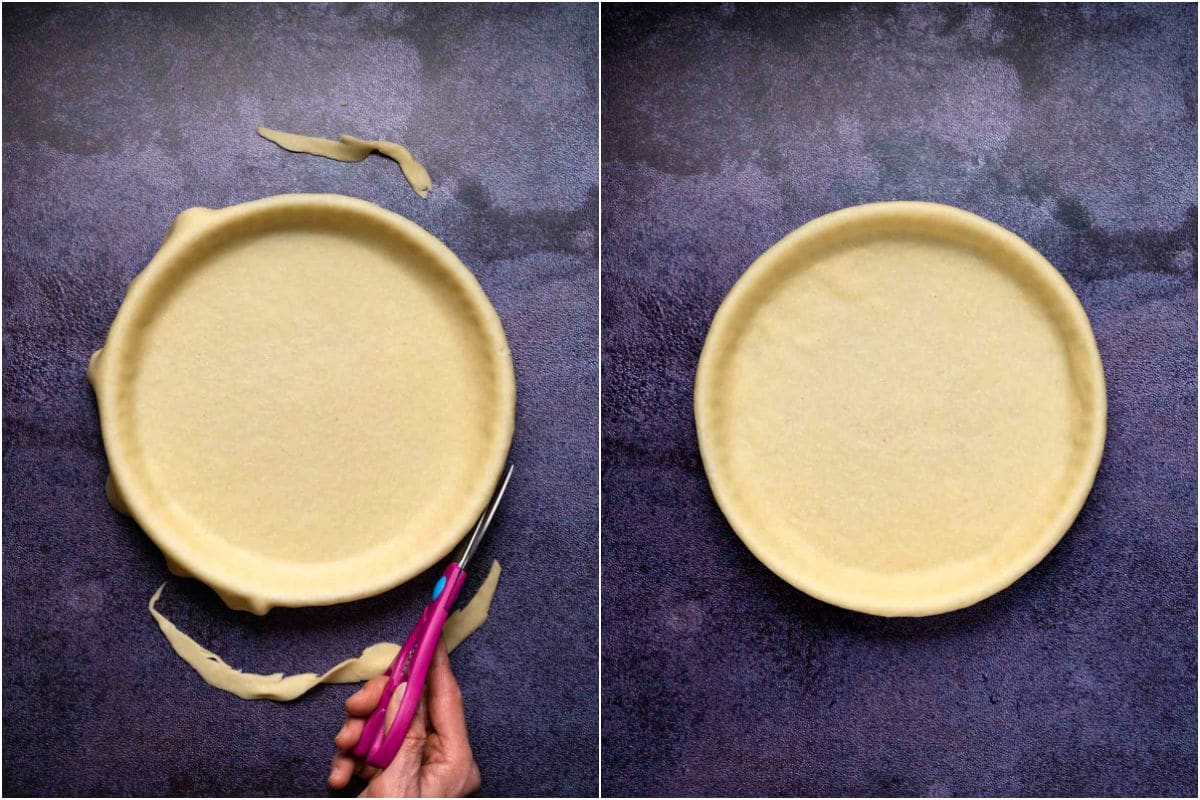
- Take a scissors and trim off any excess dough but make sure that there is a little overhang over the edges of the dish.
- Place your pie crust into the fridge while you prepare your pie filling.
The Filling:
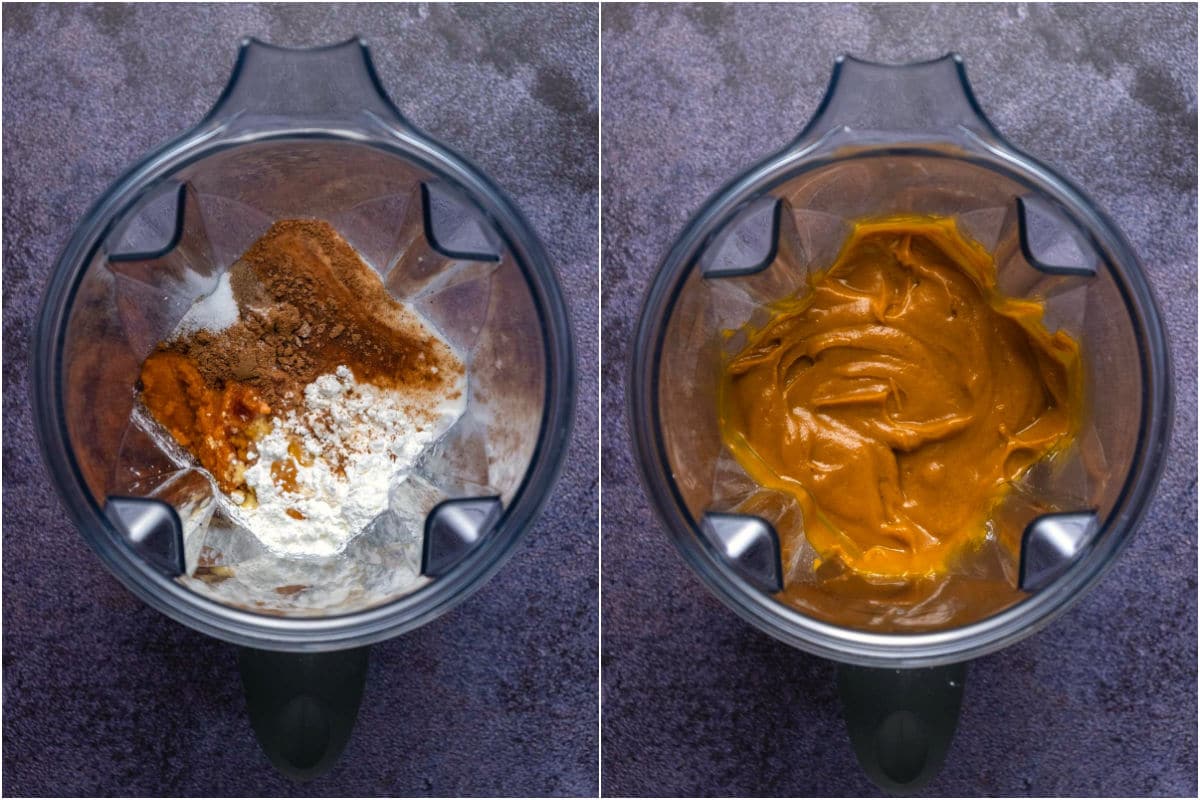
- Add canned pumpkin, coconut milk, brown sugar, maple syrup, cornstarch, pumpkin pie spice, vanilla extract and salt to your blender and blend until smooth. If you don’t have a blender, then just add all ingredients to a mixing bowl and use a hand whisk to whisk it until smooth.
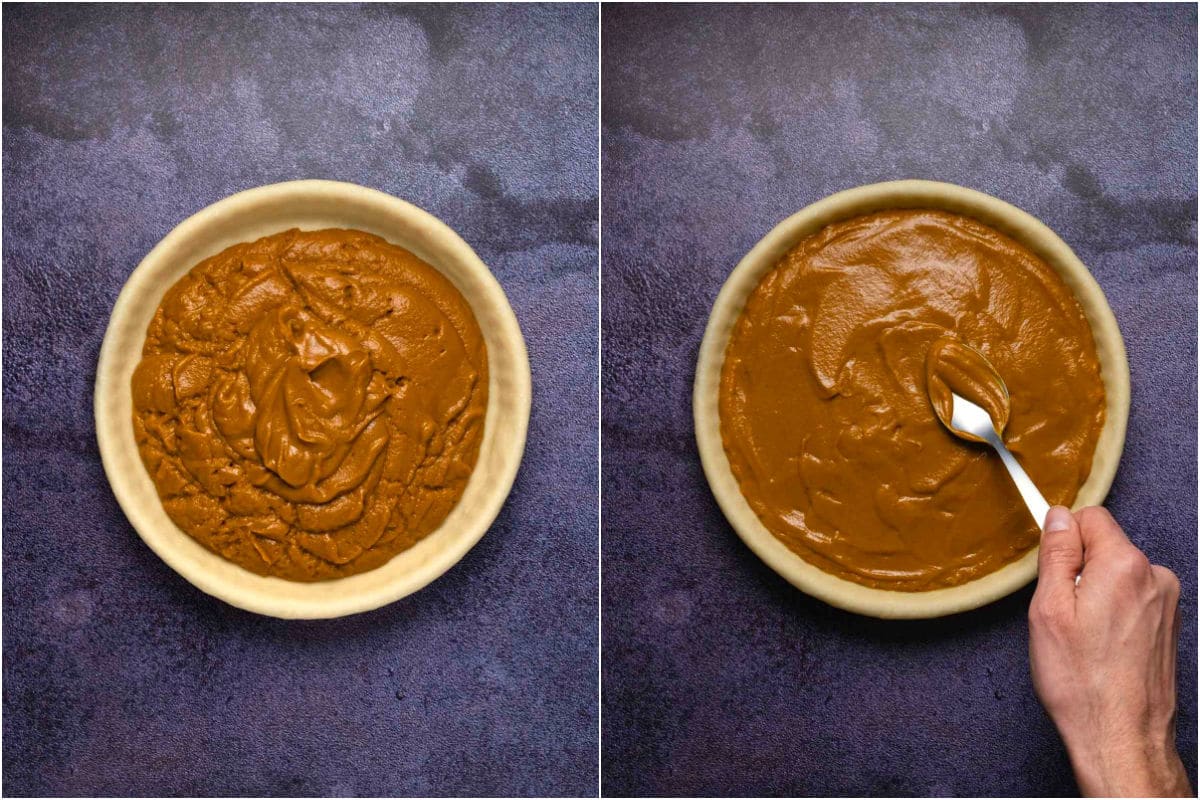
- Pour this out over your pie crust and smooth down with the back of a spoon.
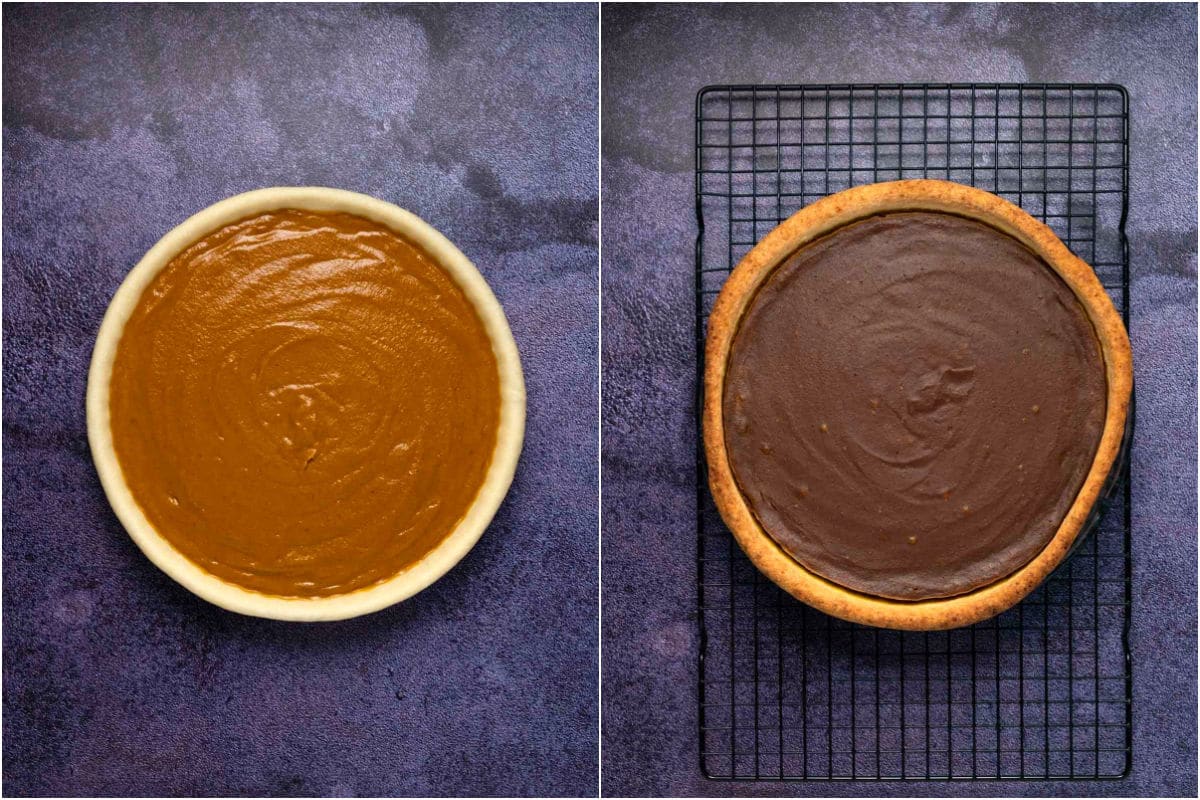
- Place into the oven to bake for 60 minutes at 350°F.
- Allow to cool on the counter until it reaches room temperature and then place into the fridge for at least 4 hours or overnight until set.
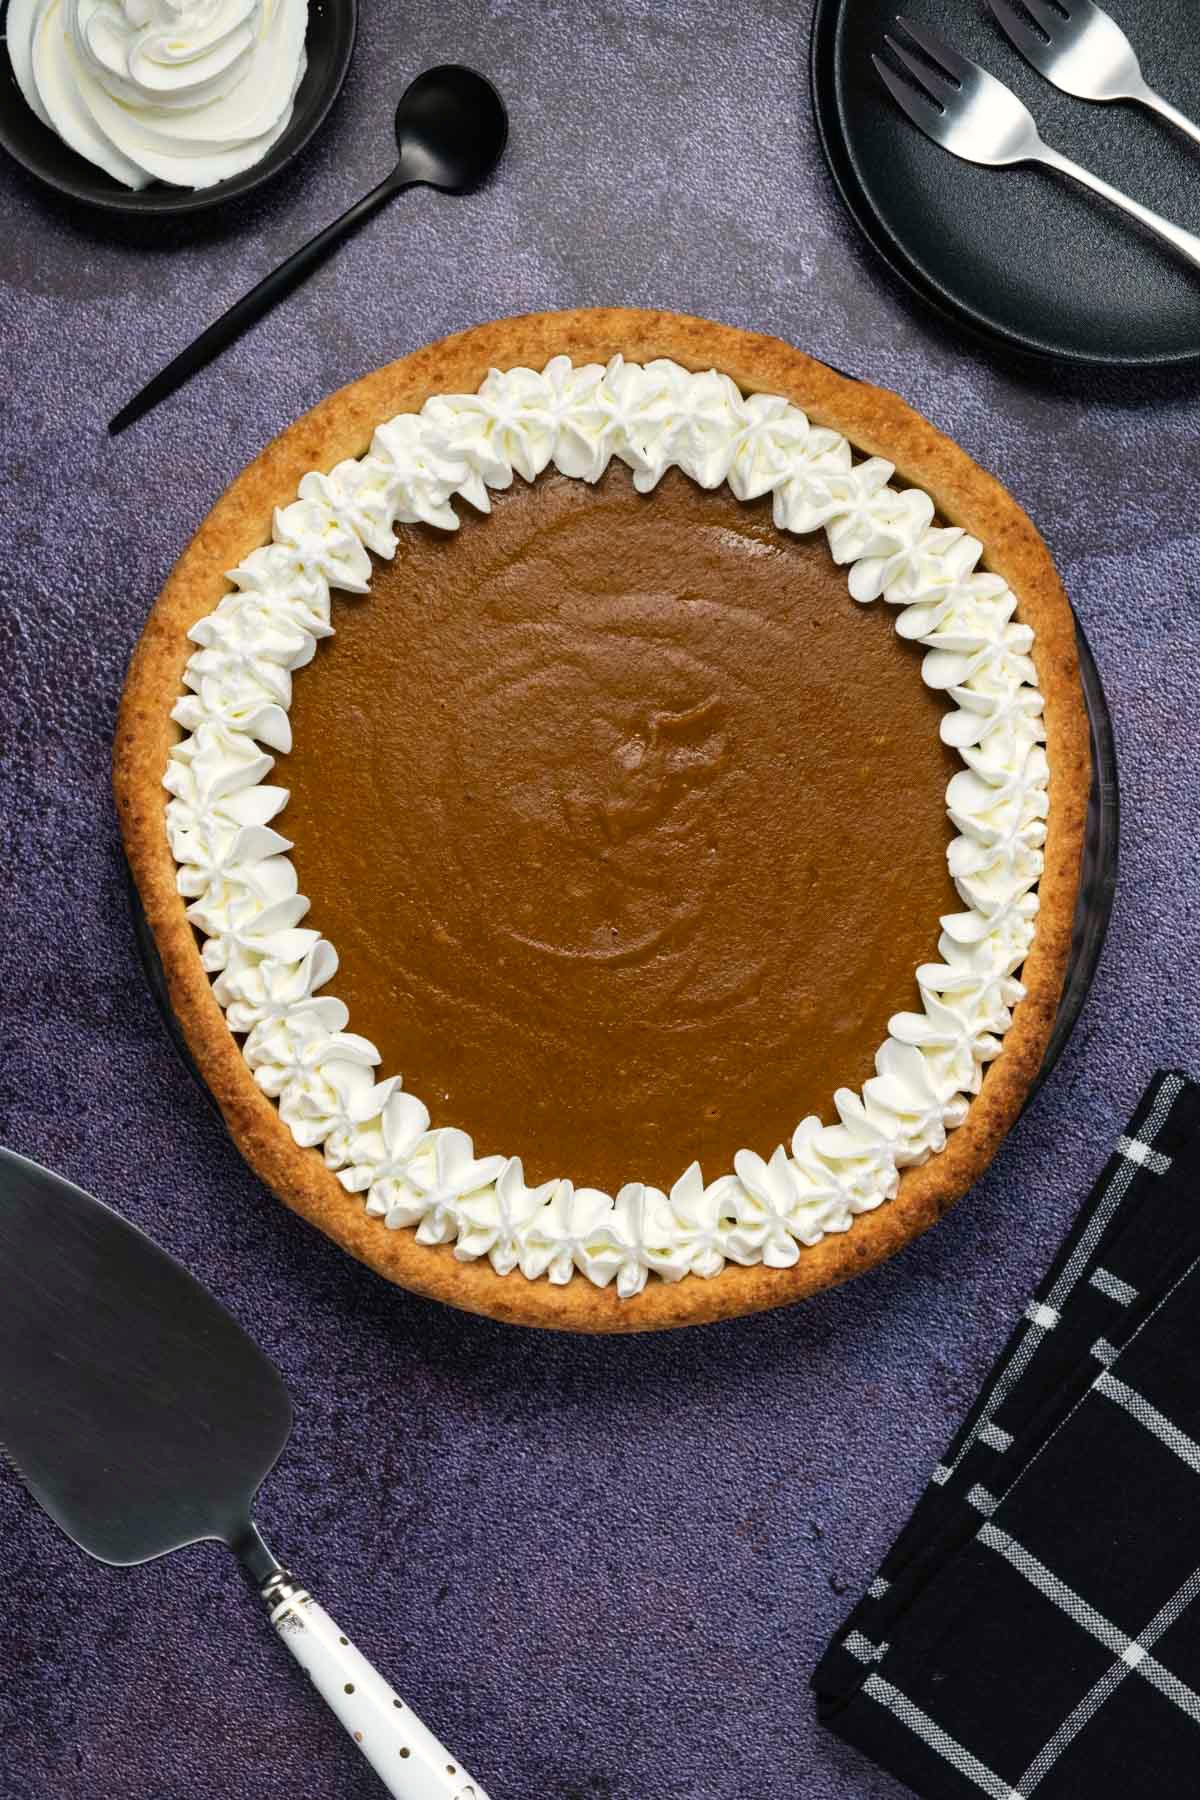
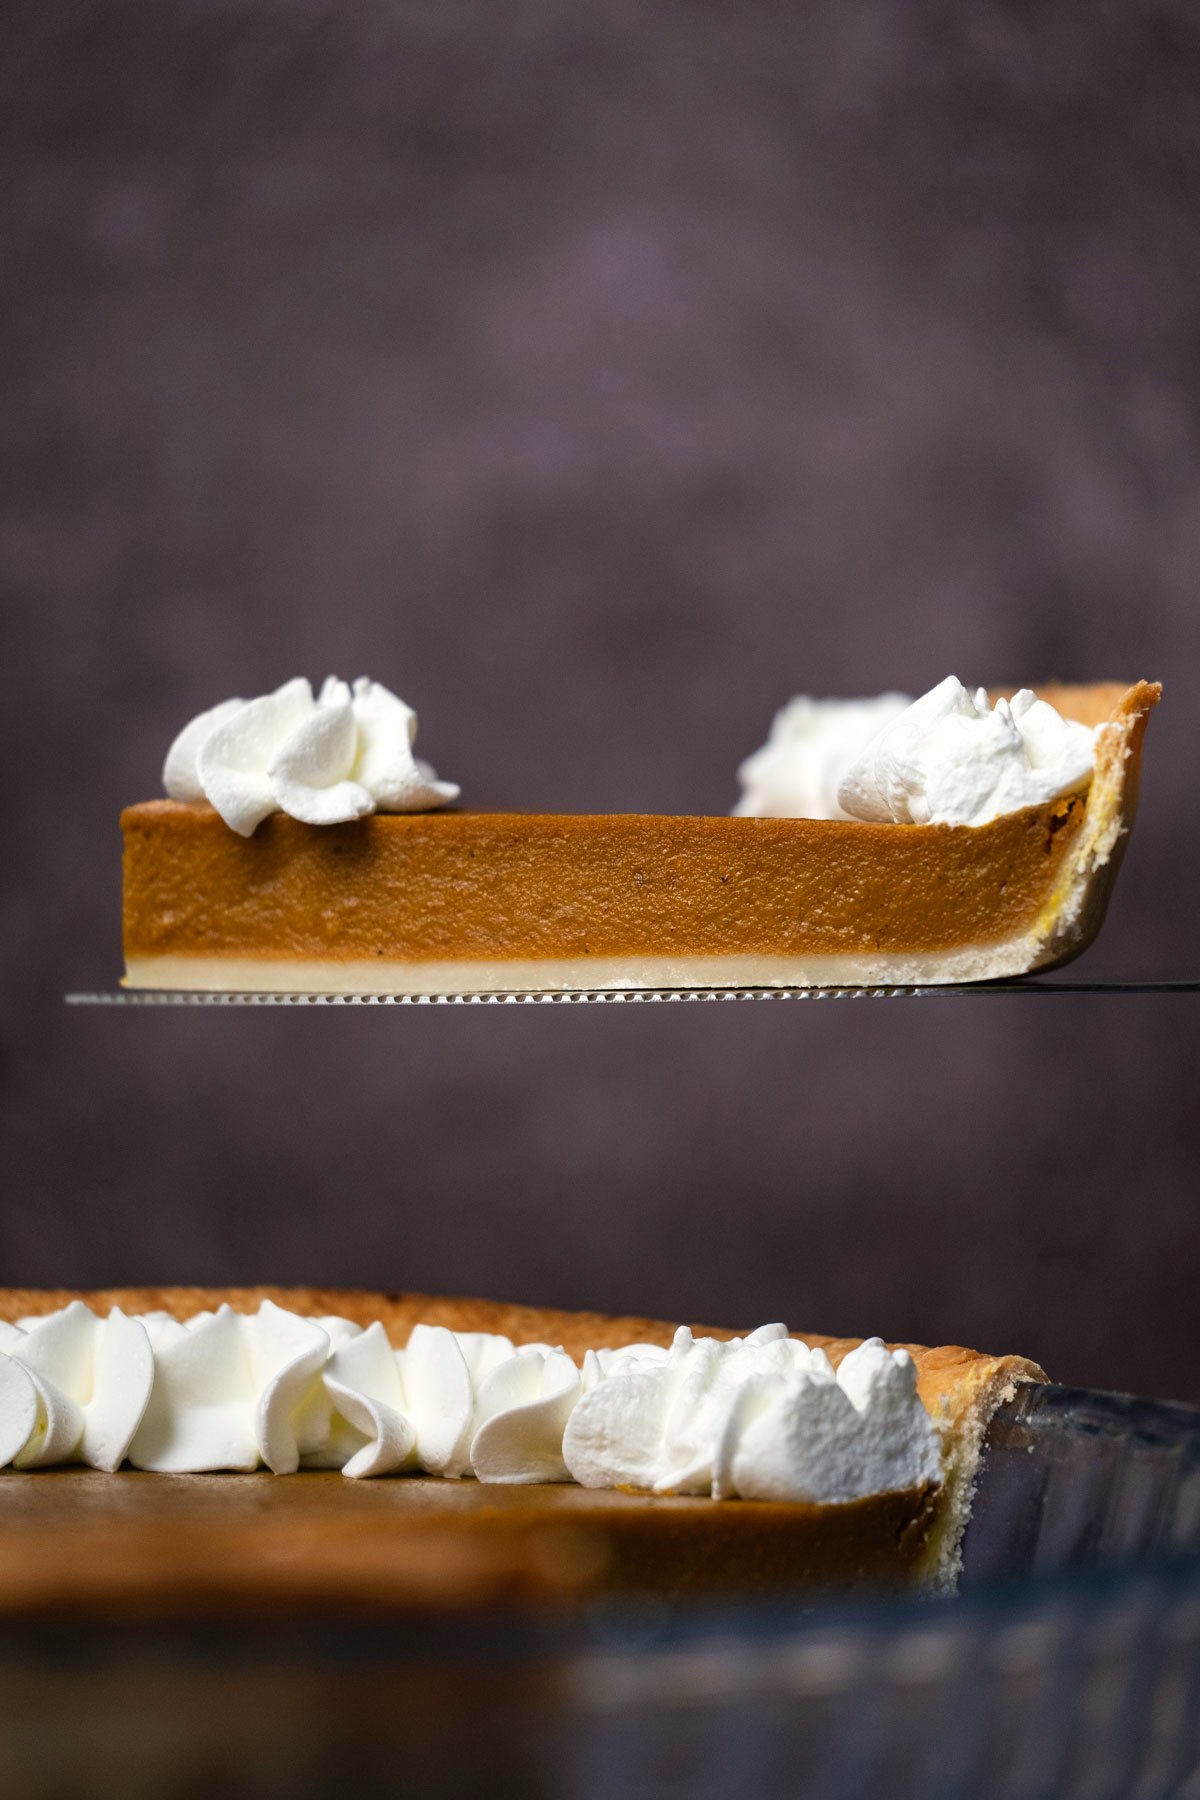
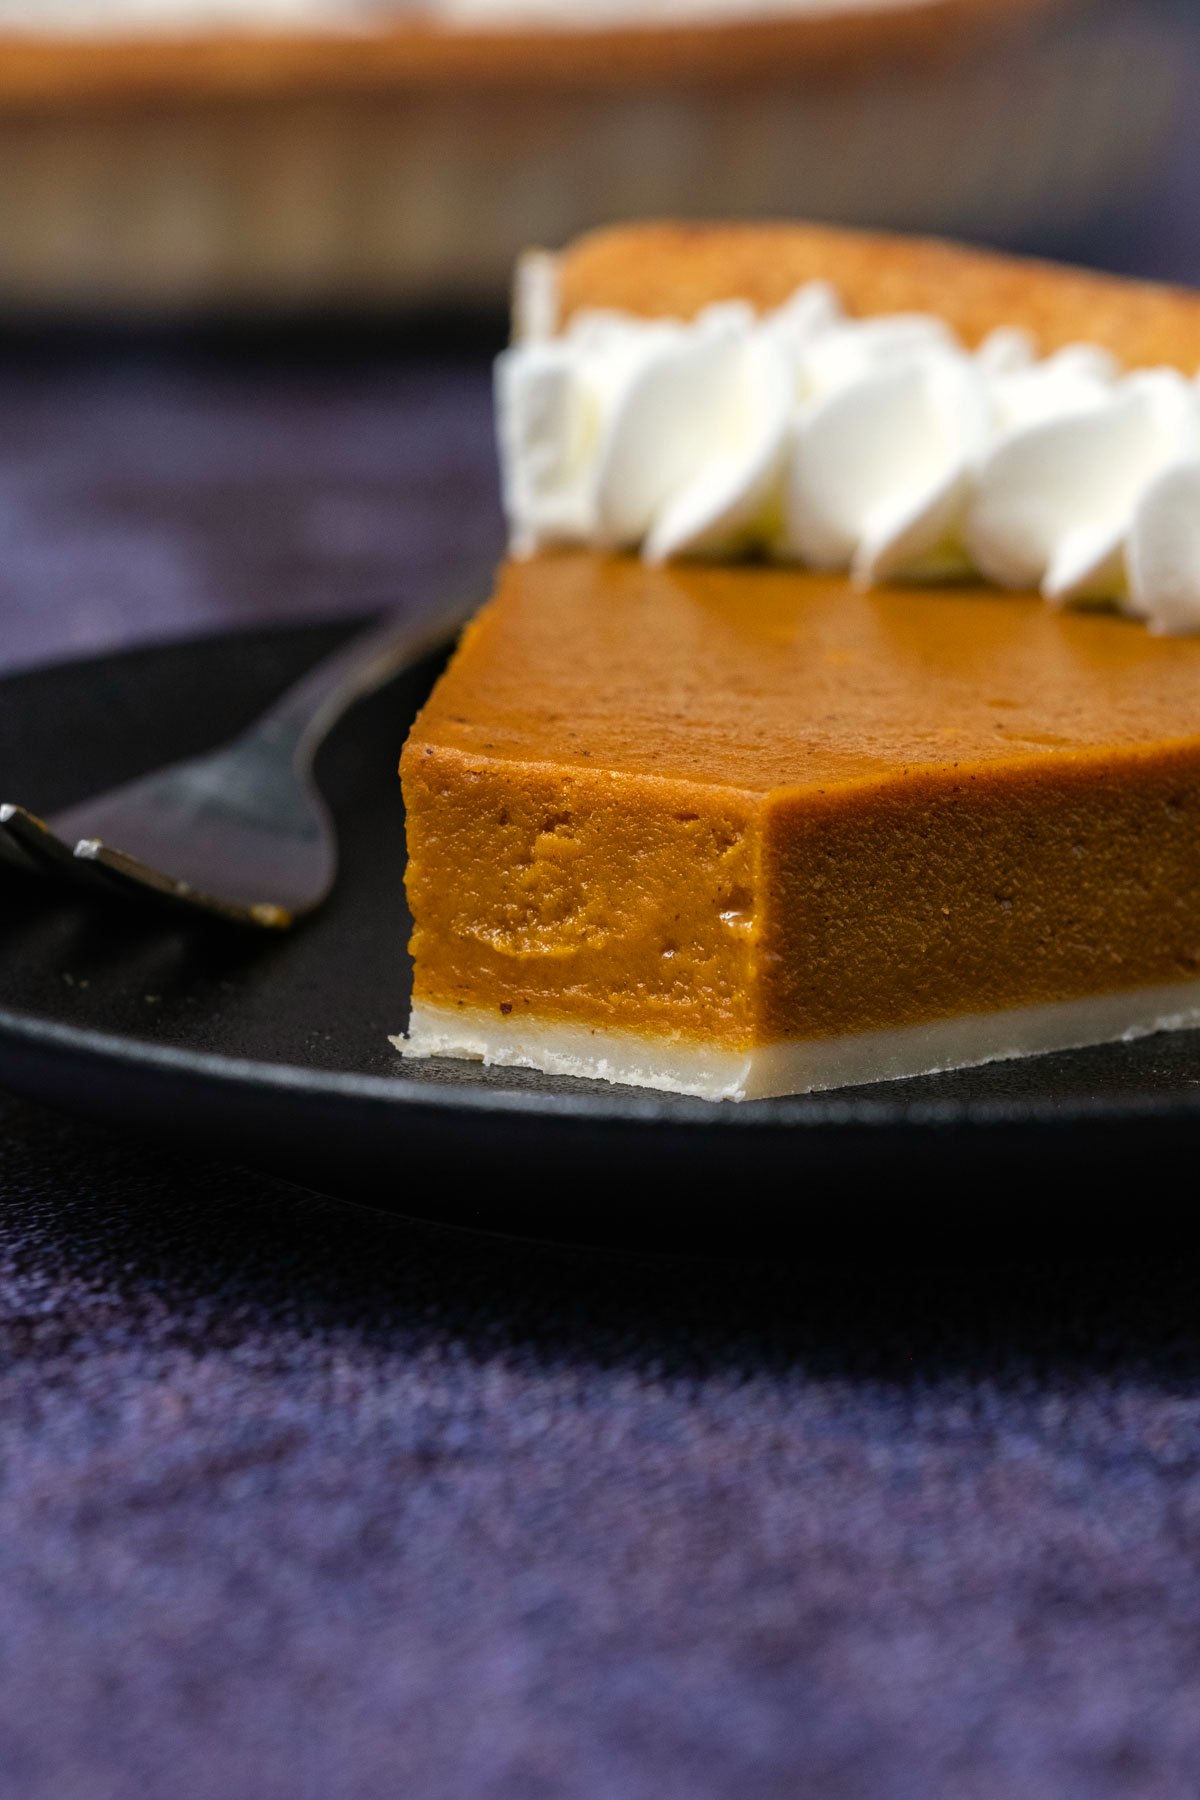
- Serve with vegan whipped cream.
Recipe Tips
THE PIE CRUST: The pie crust is made with coconut oil. The recipe is from our vegan pie crust recipe and works wonderfully as an easy, homemade option.
If you prefer a buttery crust: Check out the crust from our vegan apple pie that is made with vegan butter. If you’re using that pie crust then you can halve the recipe as the apple pie crust makes a double crust (top and bottom).
Alternatively, if you want to save time in this recipe, you can use a store-bought unbaked 9-inch pie crust.
TENTING WITH FOIL: We find it useful to tent the pie with foil after 40 minutes of baking and then place it back into the oven to bake for the final 20 minutes. This prevents the pie from over-browning. Sometimes the full 60 minutes baking time can result in some uneven browning on top of the pie and over-browning of the crust. If you have a pie crust shield then you can use that instead which will prevent the crust from over-browning. However, you may still have some uneven browning on top of your pie.
BROWNING: In these photos, we tented the pie with foil at the 40 minute mark. You can see that the browning is nice and even on top. Nonetheless, the pie when it first comes out of the oven is very dark in color, but it lightens as it cools.
In our video we didn’t tent the pie with foil and you’ll notice there is some uneven browning on top of the pie when it comes out of the oven. However, it also lightens up as it cools.
TIP: The best thing is to tent the pie with foil after 40 minutes of baking (or use a pie crust shield), or your pie crust may be over-browned.
How To Tent With Foil
Tenting with foil is to loosely cover the pie with foil in a tent like shape so that it doesn’t press down on the pie from the top. It prevents the pie and the crust from over-browning while allowing it to bake for the full 60 minutes, so that it bakes through and sets perfectly.
Ingredient Tips and Substitutions
Pumpkin Purée: The easiest option is to use canned pumpkin purée. It must be plain pumpkin purée and not pumpkin pie filling.
You can also use fresh homemade pumpkin purée. We have tested it with this recipe and it works perfectly. It’s just important that you make sure your pumpkin purée isn’t too wet. It must be similar in consistency to what you would get in a can. The best way to do this is to place peeled and chopped pumpkin onto a parchment lined baking tray. Bake at 350°F for 30 minutes (no oil or spices) until soft and cooked. Let it cool and then add to the food processor and process into a purée. Let the purée stand in a strainer over a bowl and let any excess water drain off before using.
Coconut Milk: This must be canned, full fat, unsweetened coconut milk. It needs to be thick and creamy so that your pie will be the right consistency. There is no coconut flavor in the end result. If you switch this for a thinner non-dairy milk such as almond milk then your pie may be too thin and won’t set properly.
Brown Sugar: You can also use coconut sugar if you like. The sugar can also be slightly reduced if you prefer.
Maple Syrup: You can switch this with a different kind of syrup if you like. Or you can just replace it with extra brown sugar.
Cornstarch: This helps the pie to set so it is a crucial ingredient. You can possibly also use tapioca starch but you may need to use double the amount. Arrowroot (in the same quantity as cornstarch) will likely also work.
Pumpkin pie spice: I used my super awesome homemade pumpkin pie spice in this pie. You can also make your own or use a store-bought option, it will be the same either way.
Pumpkin Pie Q&A
How long should I let my pumpkin pie cool?
Let it cool on the counter until it reaches room temperature. Then transfer to the fridge for at least 4 hours or overnight.
Can I use fresh pumpkin purée instead of canned?
Yes you can! You just need to make sure that your freshly made pumpkin purée isn’t too wet. It should be the same consistency as what you will find in a can. To achieve this, let your homemade pumpkin purée stand in a strainer so any excess water can drain off.
Can I make it gluten-free?
The filling for this pie is already gluten-free, so to make an entirely gluten-free pie you’ll just need to use a gluten-free pie crust. You can either purchase an already made gluten-free unbaked pie crust, or you can make your own. This recipe from Detoxinista looks awesome.

Make Ahead, Storing and Freezing
Make Ahead: This is a perfect pie to make ahead of time. It needs a few hours to chill and set in the fridge anyway and overnight is even better. So if you make the whole pie the day before, then you can simply store it in the fridge. When you’re ready, add vegan whipped cream and serve.
Storing: Keep your pie stored in the fridge (covered) where it will keep for up to a week.
Freezing: It is also freezer friendly for up to 3 months. Let it cool completely and chill/firm up in the fridge as usual. Then wrap it in several layers of plastic wrap, followed by foil to prevent any freezer burn and freeze. Thaw overnight in the fridge.
More Vegan Pumpkin Recipes
- Vegan Pumpkin Cake
- Vegan Pumpkin Muffins
- Vegan Pumpkin Bread
- Vegan Pumpkin Pancakes
- Vegan Pumpkin Cookies
- Vegan Pumpkin Cheesecake
Did you make this recipe? Be sure to leave a comment and rating below!
Vegan Pumpkin Pie
Ingredients
For the Pie Crust:
- 1 cup + 2 Tablespoons All Purpose Flour (145g)
- 1 Tablespoon White Granulated Sugar
- ½ teaspoon Salt
- ¼ cup Coconut Oil (55g) Solid
- 4 Tablespoons Ice Water
For the Filling:
- 15 ounce Can Pumpkin Purée (425g) not pumpkin pie filling*
- ¾ cup Coconut Milk (180ml) Canned, Full Fat, Unsweetened
- ¾ cup Light Brown Sugar (150g)
- ¼ cup Maple Syrup (60ml)
- ¼ cup Cornstarch (32g)
- 3 teaspoons Pumpkin Pie Spice
- 1 teaspoon Vanilla Extract
- ½ teaspoon Salt
For Serving:
Instructions
- Prepare the crust: Add all purpose flour, sugar and salt to the food processor and pulse to combine.
- Add the coconut oil (must be solid, not melted) and pulse until the mixture is crumbly.
- Add ice water and pulse it to combine. It should look like a dough now and if you break off a piece and roll it in your hands it should easily roll into a ball.
- Remove the dough from the food processor, transfer to a floured surface and roll the dough into a big round ball.
- Using a rolling pin roll out the dough from side to side into a large circle that is wider than your 9-inch pie dish.
- Spray your pie dish with non-stick spray and then roll up the crust in your rolling pin (or just pick it up carefully) and carefully unroll it over the top of your pie dish. Carefully tuck the crust in along the edges of your pie dish.
- Take a scissors and trim off any excess dough but make sure that there is a little overhang over the edges of the dish. Place your pie crust into the fridge while you prepare your pie filling.
- Prepare your filling: Add canned pumpkin, coconut milk, brown sugar, maple syrup, cornstarch, pumpkin pie spice, vanilla extract and salt to your blender and blend until smooth. If you don't have a blender, then just add all ingredients to a mixing bowl and use a hand whisk to whisk it until smooth.
- Pour this out over your pie crust and smooth down with the back of a spoon.
- Place into the oven to bake for 60 minutes at 350°F. To prevent over-browning, bring it out after 40 minutes, tent it with foil and then return to the oven for the remaining 20 minutes (*see notes).
- When you remove the pie from the oven, it will still be quite wobbly in the center, this is completely fine, it will firm up when cooling. Your pie may also be quite dark in color when first removed from the oven, it lightens up a lot when cool.
- Allow to cool on the counter and then place into the refrigerator to set completely, around 4 hours at least or overnight if possible until completely chilled and set. Serve with vegan whipped cream.
Video
Notes
- Pie Crust: You can use a store-bought 9-inch unbaked pie crust instead of making a crust from scratch if you want to save time on this recipe. It must be an unbaked crust though to work well in this recipe.
- Pumpkin Purée: The easiest option is to use canned pumpkin purée. It must be plain pumpkin purée and not pumpkin pie filling. You can also use fresh homemade pumpkin purée. We have tested it with this recipe and it works perfectly. It’s just important that you make sure your pumpkin purée isn’t too wet. It must be similar in consistency to what you would get in a can. The best way to do this is to place peeled and chopped pumpkin onto a parchment lined baking tray and bake at 350°F for 30 minutes (no oil or spices) until soft and cooked. Let it cool and then add to the food processor and process into a purée. Let the purée stand in a strainer over a bowl and let any excess water drain off before using. You will need 1 and ¾ cups homemade pumpkin purée.
- Coconut Milk: This must be canned, full fat, unsweetened coconut milk. It needs to be rich and creamy so that your pie will be the right consistency. There is no coconut flavor in the end result. If you switch this for a thinner non-dairy milk such as almond milk then your pie may be too thin and won’t set properly.
- Brown Sugar: You can also use coconut sugar if you like. The sugar can also be slightly reduced if you prefer.
- Maple Syrup: You can switch this with a different kind of syrup if you like, or replace it with a ¼ cup extra brown sugar, or omit it altogether for a less sweet version.
- Cornstarch: This helps the pie to set so it is a crucial ingredient. You can possibly also use tapioca starch but you may need to use double the amount. Arrowroot (in the same quantity as cornstarch) will likely also work.
- Pumpkin pie spice: You can make your own homemade pumpkin pie spice or use a store-bought option, it will be the same either way.
- Tent with foil: Tent the pie with foil after 40 minutes of baking and then place it back into the oven to bake for the final 20 minutes. This prevents the pie from over-browning. Sometimes the full 60 minutes baking time can result in some uneven browning on top of the pie and over-browning of the crust. If you have a pie crust shield then you can use that instead which will prevent the crust from over-browning. However, you may still have some uneven browning on top of your pie.
- Make Ahead: This is a perfect pie to make ahead of time as it needs a few hours to chill and set in the fridge anyway and overnight is even better. So if you make the whole pie the day before, then you can simply store it in the fridge and when you’re ready, add vegan whipped cream and serve.
- Storing and Freezing: Keep your pie stored in the fridge (covered) where it will keep for up to a week. It is also freezer friendly for up to 3 months. Let it cool completely and chill/firm up in the fridge as usual. Then wrap it in several layers of plastic wrap, followed by foil to prevent any freezer burn and freeze. Thaw overnight in the fridge.
- This recipe was first published in November 2016. We have given it a makeover with some new photos and lots of extra tips and tricks. The recipe itself is unchanged.
any suggestions on a substitute for coconut milk? I imagine it helps the pie to set at room temp and cooler; however, I have a pretty strong allergy to coconut products. Thanks for the recipe!
Hi Travis, you can try a different non-dairy milk, but I would try and use one that is more creamy to more closely mimic the creaminess/richness of coconut milk.
Hi,
Do you know if any substitute for coconut milk might work?
Hi Sydney, you can use a different non-dairy milk, but it would probably work best if you choose one that is quite creamy as well to more closely mimic the creaminess of coconut milk. All the best! 🙂
Can you use arrowroot instead of corn starch? i have a corn allergy
Hi Joan, I haven’t tested it with arrowroot but from what I can find out online I think it would work. According to Taste Of Home you could use the same amount as you would have used cornstarch. Let us know how it goes! 🙂
First this recipe looks amazing and exactly what I have been looking for. Since I too am allergic to corn I was wondering how it came out with the arrowroot substitution?????
This is a strange question, but could I make this WITHOUT the crust? Is there a way to make that happen? (I have many digestive issues and the crust poses a problem for me)
Thank you!
Hi Dana, I don’t really see why not! I haven’t tried it that way so maybe there is something I’m not foreseeing, but off the top of my head I think it should really be fine! 🙂
maybe try it on parchment paper instead of crust?
Use gluten free cookies to make the crust
So I did it without crust and I also did it using GF DF puff pastry sheets as the crust and BOTH turned out amazing!!! When I used the puff pastry, I put them in a muffin tin to make individual tarts. Sooooo good!! Thank you!!!
Awesome! So glad it worked out, thanks so much for updating us!
Just be sure to grease well whatever dish you bake it in if not using crust. My mom would bake the leftover filling for me in a little mixing bowl. Heaven!
Crustless pumpkin pie recipes have been floating around Weight Watchers for years, so you should be fine. I would try baking the filling in individually sized ramekins, possibly with some water in a larger baking dish. Look at recipes for individual custards for ideas.
Hi, you said the pie will last in the refrigerator but do you know if it can be frozen as well? Thank you I am looking forward to making this for a kid with serious dairy, nut, tree nut and wheat allergies…. but he wants a pumpkin pie!
Hi Betsy, yes this can be frozen. Let it cool and set in the fridge as normal and then wrap in plastic wrap and possibly foil as well and freeze. Let it thaw in the fridge again when you’re ready to serve it.
I made the pie and put into a gluten free crust. It is soooo delicious. Going to make this recipe for everyone else in a regular crust. Thank you
Awesome! So happy to hear it worked well! Thanks for posting! 🙂
I’ve baked other crustless pumpkin pies without any problem. I’ve also put them into ramekins. It’s also a great way to enjoy the pie without the extra calories of the crust!
My family loved this more than the regular pumpkin pie!! Delicious flavor. Great texture. Def thinner liquid but thickens up nice.
So glad to hear that! Thanks for the great review Alyssa! 🙂
Never had pumpkin pie before but didn’t want to waste the kids pumpkins after Halloween so I ended up finding this recipe. Turned out great, thank you.
Awesome Keri! Thanks so much for sharing and the great review. 🙂
making now no pressure but with or without something under like bake sheet or cookie tin?
I don’t put anything under it.
This recipe is bomb! Second year in a row I’ve been using it and I highly recommend. Definitely let it chill as that’s very crucial to it setting.
Yay! Thanks for sharing Sarah! 🙂
Made it twice.
It is unbelievably delicious. Thank you, Alison!
Wonderful! Thanks so much Eva!
Hi Alison, is it necessary to place in the refrigerator? Can we eat immediately
Hi Moses, it is necessary to chill the pie as it does a lot of the setting while in the fridge. 🙂
This came out amazing!
Yay! I’m so pleased to hear that Eleni, thank you for the wonderful review. 🙂
Thank you so much for this delicious recipe Alison! I used sweet potato as I can’t eat pumpkin, used only 80g of coconut sugar, missed out the maple syrup completely and slightly upped the volume of coconut milk to compensate. It’s really hard to only eat one piece at a time!
Sounds great Nicola! So happy you enjoyed it. 🙂
Can I use blended silken tofu in place of the coconut milk?
Hi Blossom, I have no idea sorry! Never tried that, of course it might work but I have no idea. 🙂
hey blossom did you try the substitution? how did it work out?
Hello there can I sub out the sugar for just the maple syrup? Thank you!
Hi Jules, if you read the other comments, it has been noted that cutting the sugar and maple syrup down by 50% still worked out fine! So you can experiment with reducing the sugar and see how you go with it. 🙂
Hi, Alison, can I use tapioca flour instead of corn starch?
Thank you
Hi Malvina! I have never tried that so I’m not sure! But what I have found out is that it would take double the amount of tapioca to replace cornstarch. If you do try it let us know how you go. 🙂