
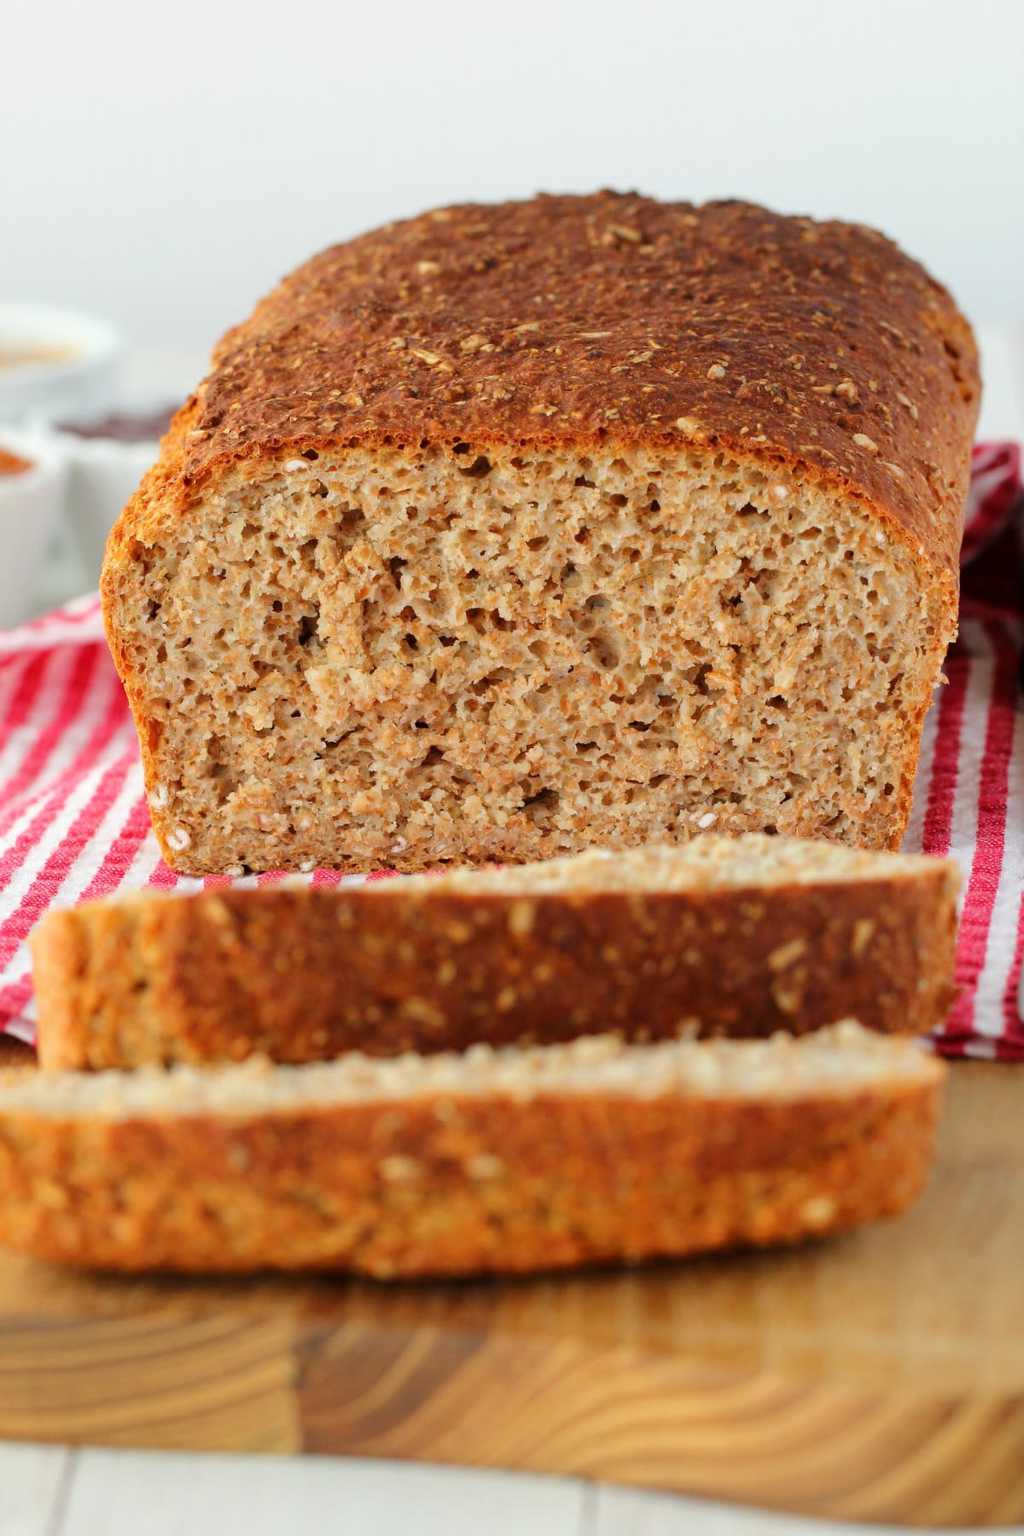
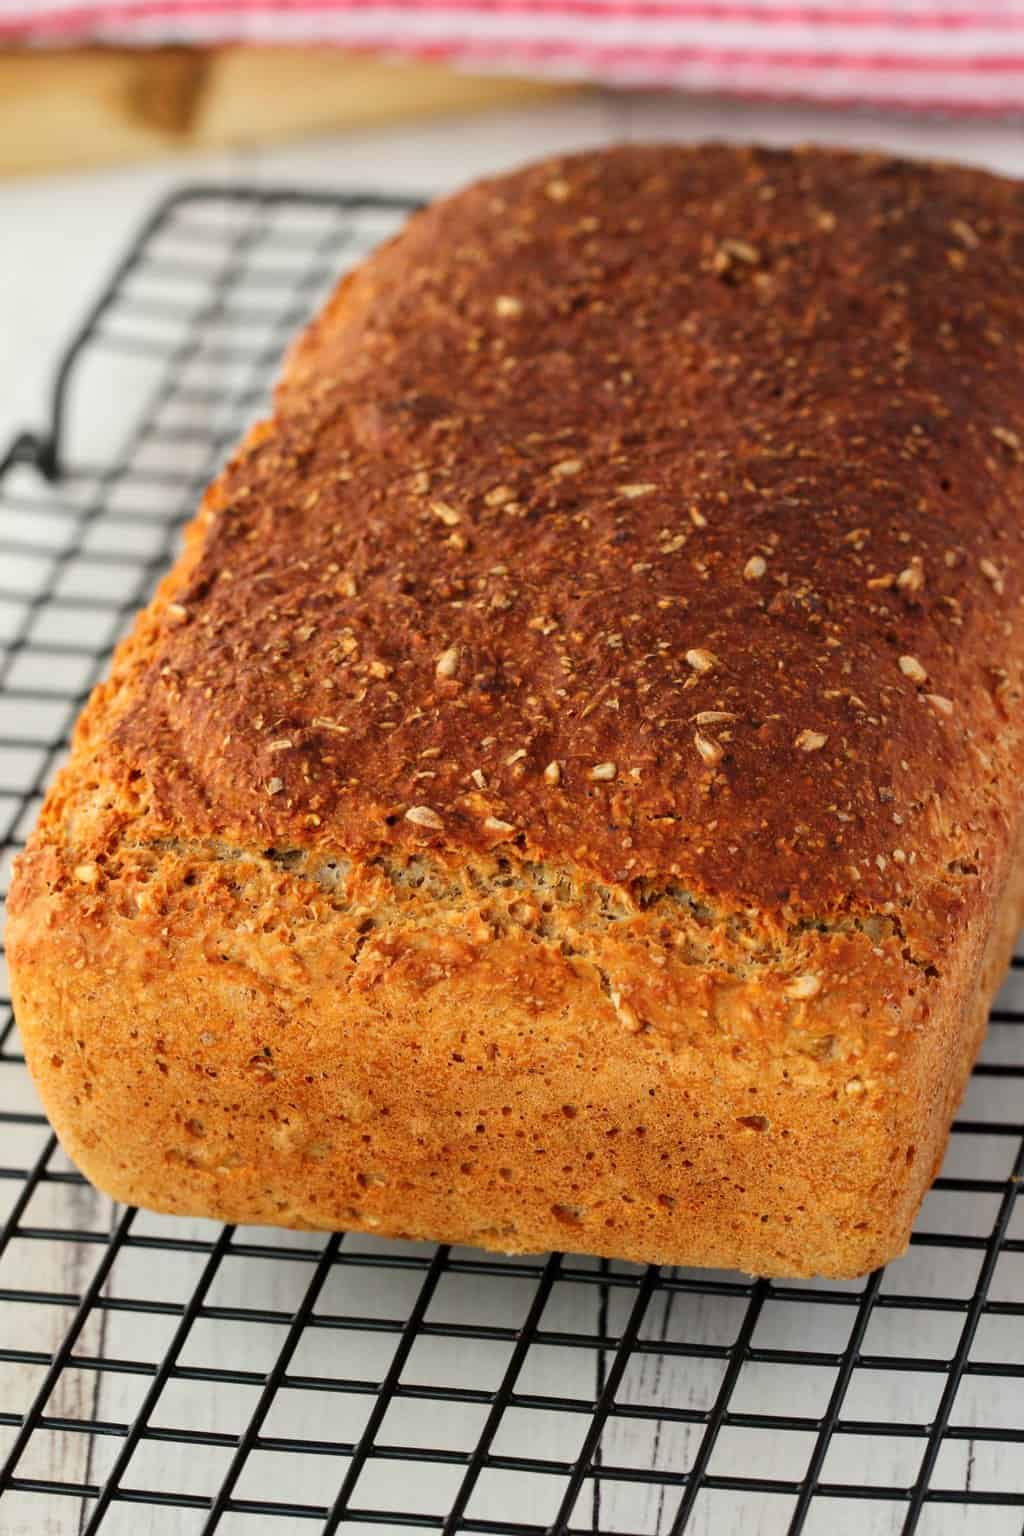
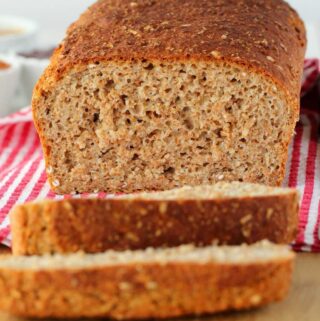
Simple 5-ingredient whole wheat bread. You just don’t get easier than this no-fail and no-knead recipe! Hearty, wholesome, nourishing and delicious!
You know, I always wanted to be the kind of person who makes their own hummus and bakes their own whole wheat bread. So I’m pretty chuffed that I have become this person!
So now I can feel all wholesome and earth-motherish. Well, at least I would if I had some kiddos other than my two cat babies.
Recently someone was saying to me that they’re ‘eating clean’ now.
And ‘eating clean’ is quite the popular phrase in diet culture. But depending on which diet camp you’ve found yourself, ‘clean’ can have vastly different meanings. Like for some it means eating plenty of meat but cutting out grains and processed foods. And of course that is not at all what it means in the vegan community.
But anyway, I am not a fan of labelling foods like this because it’s a value judgement, like ‘good’ or ‘bad’. Which some can take to extremes and it can lead to eating disorders (not good).
But that being said, lately it can be hard to find a loaf of bread in the store that doesn’t have a heap of junk in it. There is one particular loaf of wholewheat bread that I bought, and we just didn’t get around to eating it (or throwing it out).
However, it was just as perfectly fresh 3 weeks after purchase as it was on the day I brought it home from the store. Hmmm.
So I do like to make some whole wheat bread myself, and when it’s as easy as THIS, then there’s no reason not to! Also check out our other super easy bread recipes, our vegan white bread, vegan soda bread and vegan focaccia.
How To Make Whole Wheat Bread
You will find full instructions and measurements in the recipe card at the bottom of the post. This is a summary of the process to go along with the process photos.
I have literally never come across a recipe as easy as this. It’s just 5-ingredients, and you don’t even have to knead it.
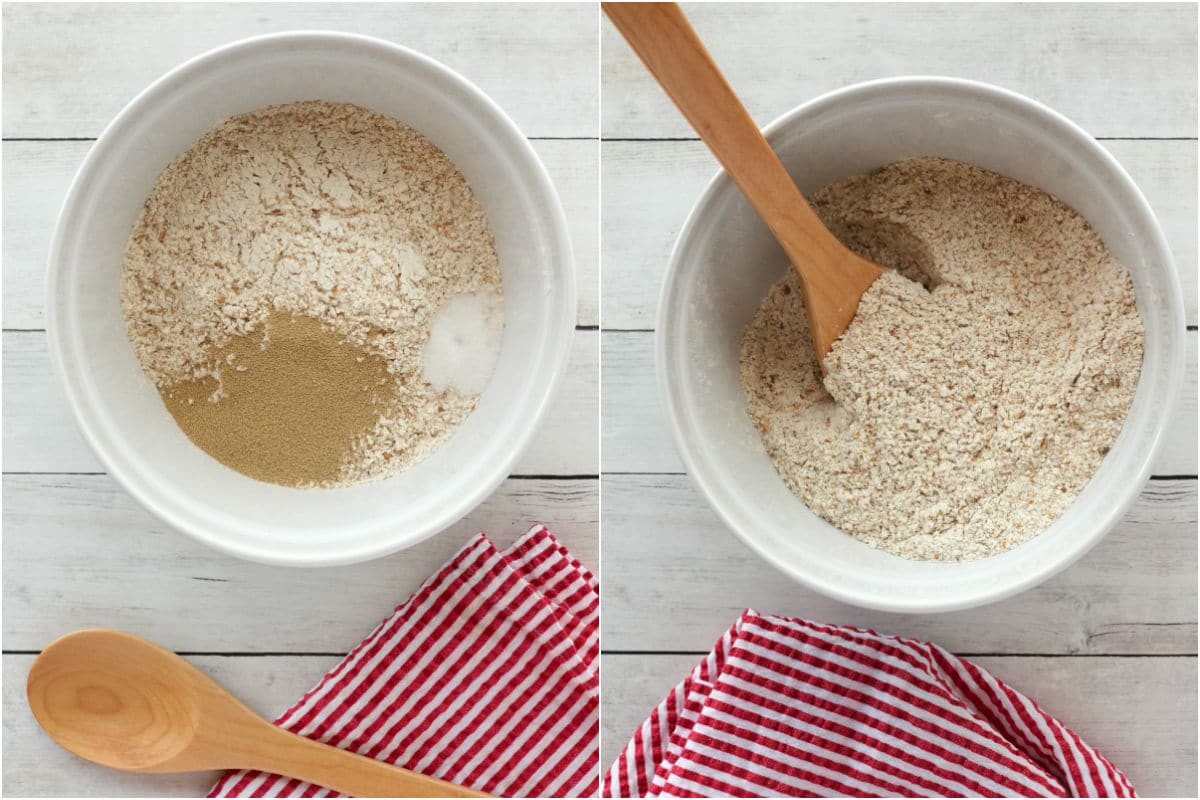
In fact, kneading is out with this recipe. You just throw some whole wheat flour, instant yeast and a little salt to a mixing bowl.
Then mix maple syrup with warm water and then add the wet ingredients to the dry.
Mix in to just combine (no kneading! I’m not going to tell you again you super-keen kneading fan), move it into a greased loaf pan (a little parchment paper on the bottom is also a good idea), cover it and leave it to rise for 20 minutes.
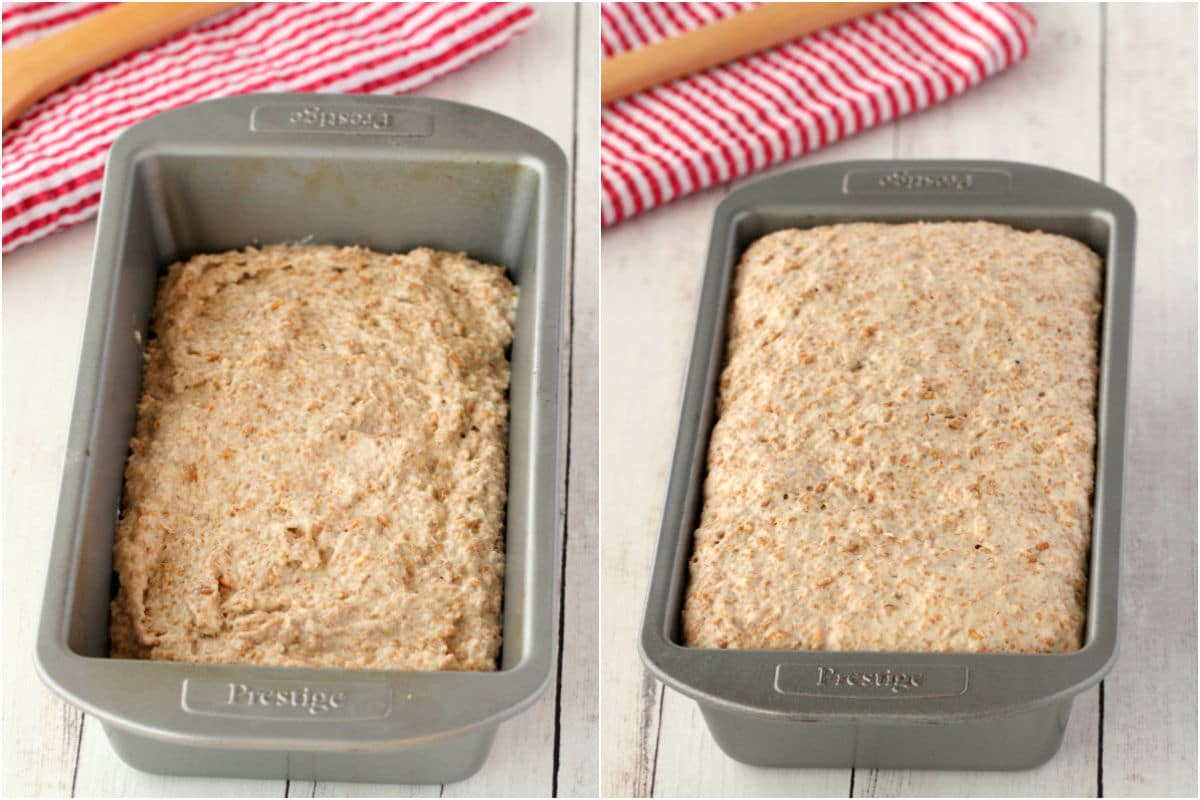
It does all its rising before it even hits the oven. So the height it is when it goes in is pretty much the height it is when it comes out.
Put it into the oven and bake for 40 minutes. And bingo you have freshly baked bread!
Who Needs A Bread Machine?
I mean really I don’t think it could be easier even if you used a bread machine. Well, I’ve never used a bread machine so I can’t really compare, but with a recipe as easy as this, who needs a bread machine?
Well, don’t quote me on that, maybe I’ll get one, one of these days. I do like nifty little appliances.
And the BEST thing about baking your own whole wheat bread is your whole house smells delicious and you get to eat it warm from the oven.
Serving Suggestions
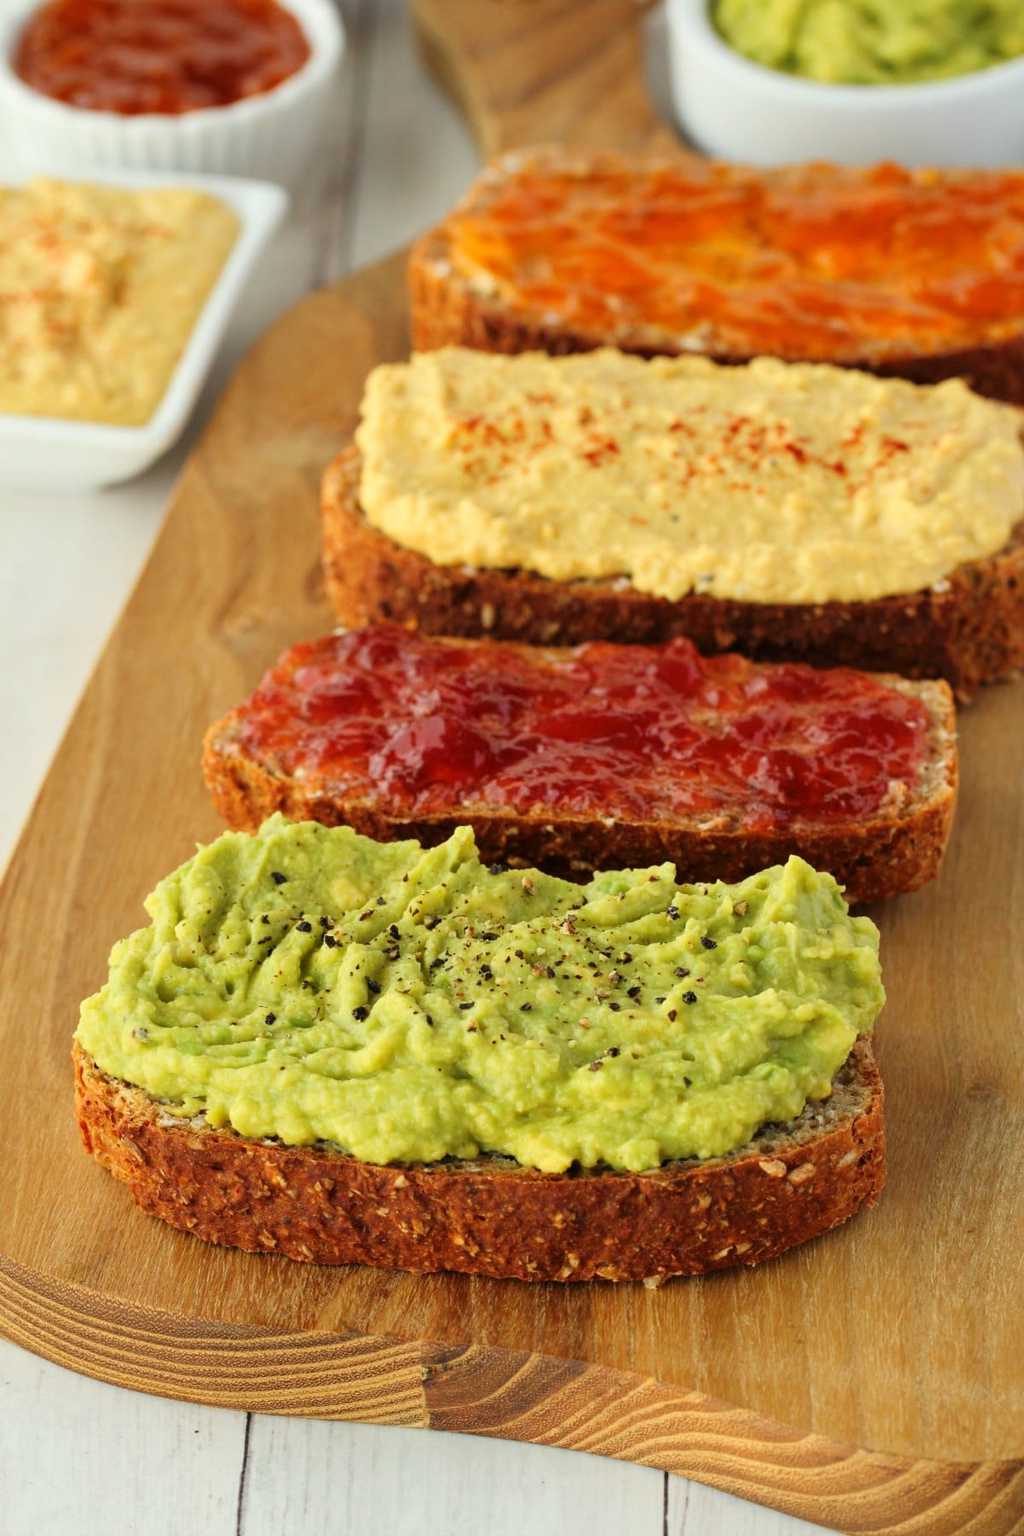
I mean really if you don’t feel like cooking, just make a loaf of this (it barely counts as ‘cooking’ it’s too easy), and serve it with a huge salad, maybe some roasted garlic hummus and avocado and various other toppings and dinner is done and dusted!
Of course it goes immensely well with any homemade soups too! So if you’re having a delicious vegan potato leek soup or vegan tomato soup or vegan lentil soup for dinner, then this is going to be awesome for dipping.
Recipe Variations
This recipe is very versatile and has worked great when we’ve switched up the flours. We have tried this recipe as follows and all have worked out great:
- 4 cups whole wheat flour
- 3 cups whole wheat flour, 1 cup all purpose flour
- 2 cups whole wheat flour, 2 cups all purpose flour
- 1 cup whole wheat flour, 3 cups all purpose flour
- 4 cups all purpose flour
Make It Gluten-Free
It even works with a gluten-free all purpose flour blend. I find that adding a tablespoon or two of olive oil (at the same time as the other wet ingredients) makes the gluten-free version come out softer.

Storing Tips
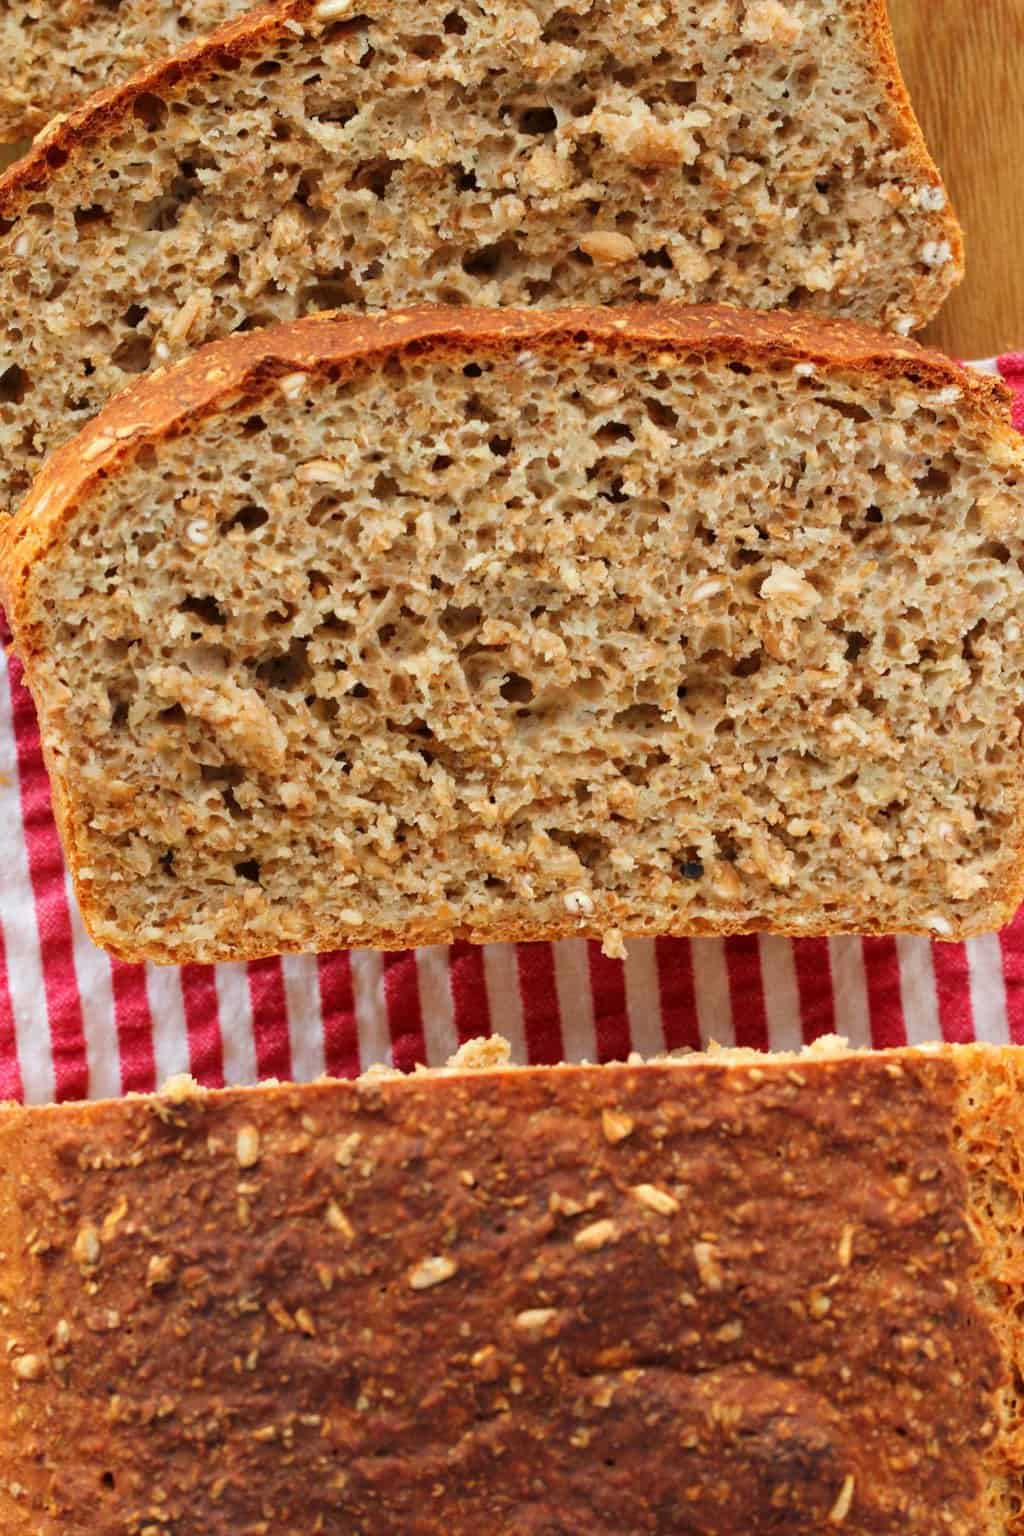
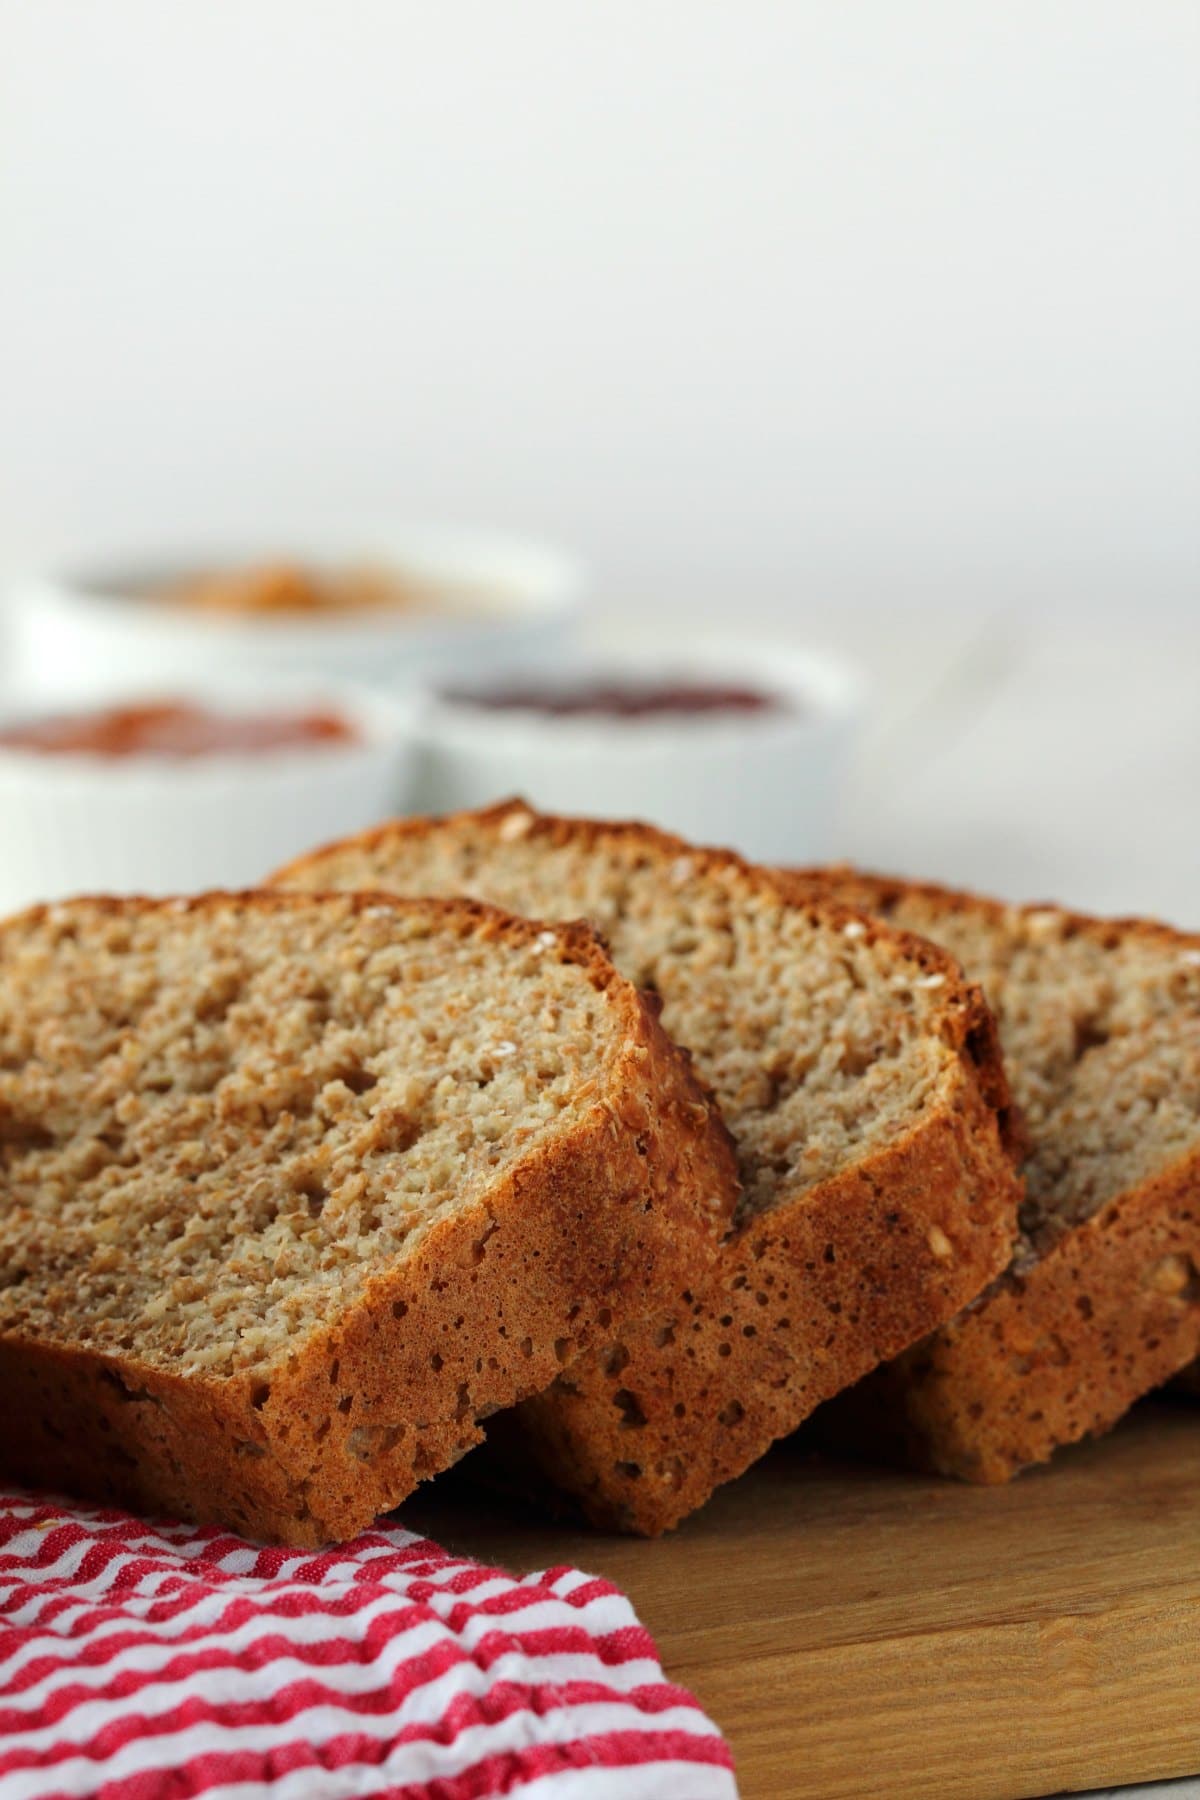
It’s best when very fresh (the day of making it) but it will keep for a couple of days in a closed container and it also makes very delicious toast!
You can freeze it, and that’s best done on the day of baking to lock in the freshness. If you freeze it on the second or third day then you can use it for toast straight from the freezer.
Want Some Toppings For Your Whole Wheat Bread?
- Homemade Vegan Butter
- Homemade Peanut Butter
- Homemade Cashew Butter
- Homemade Almond Butter
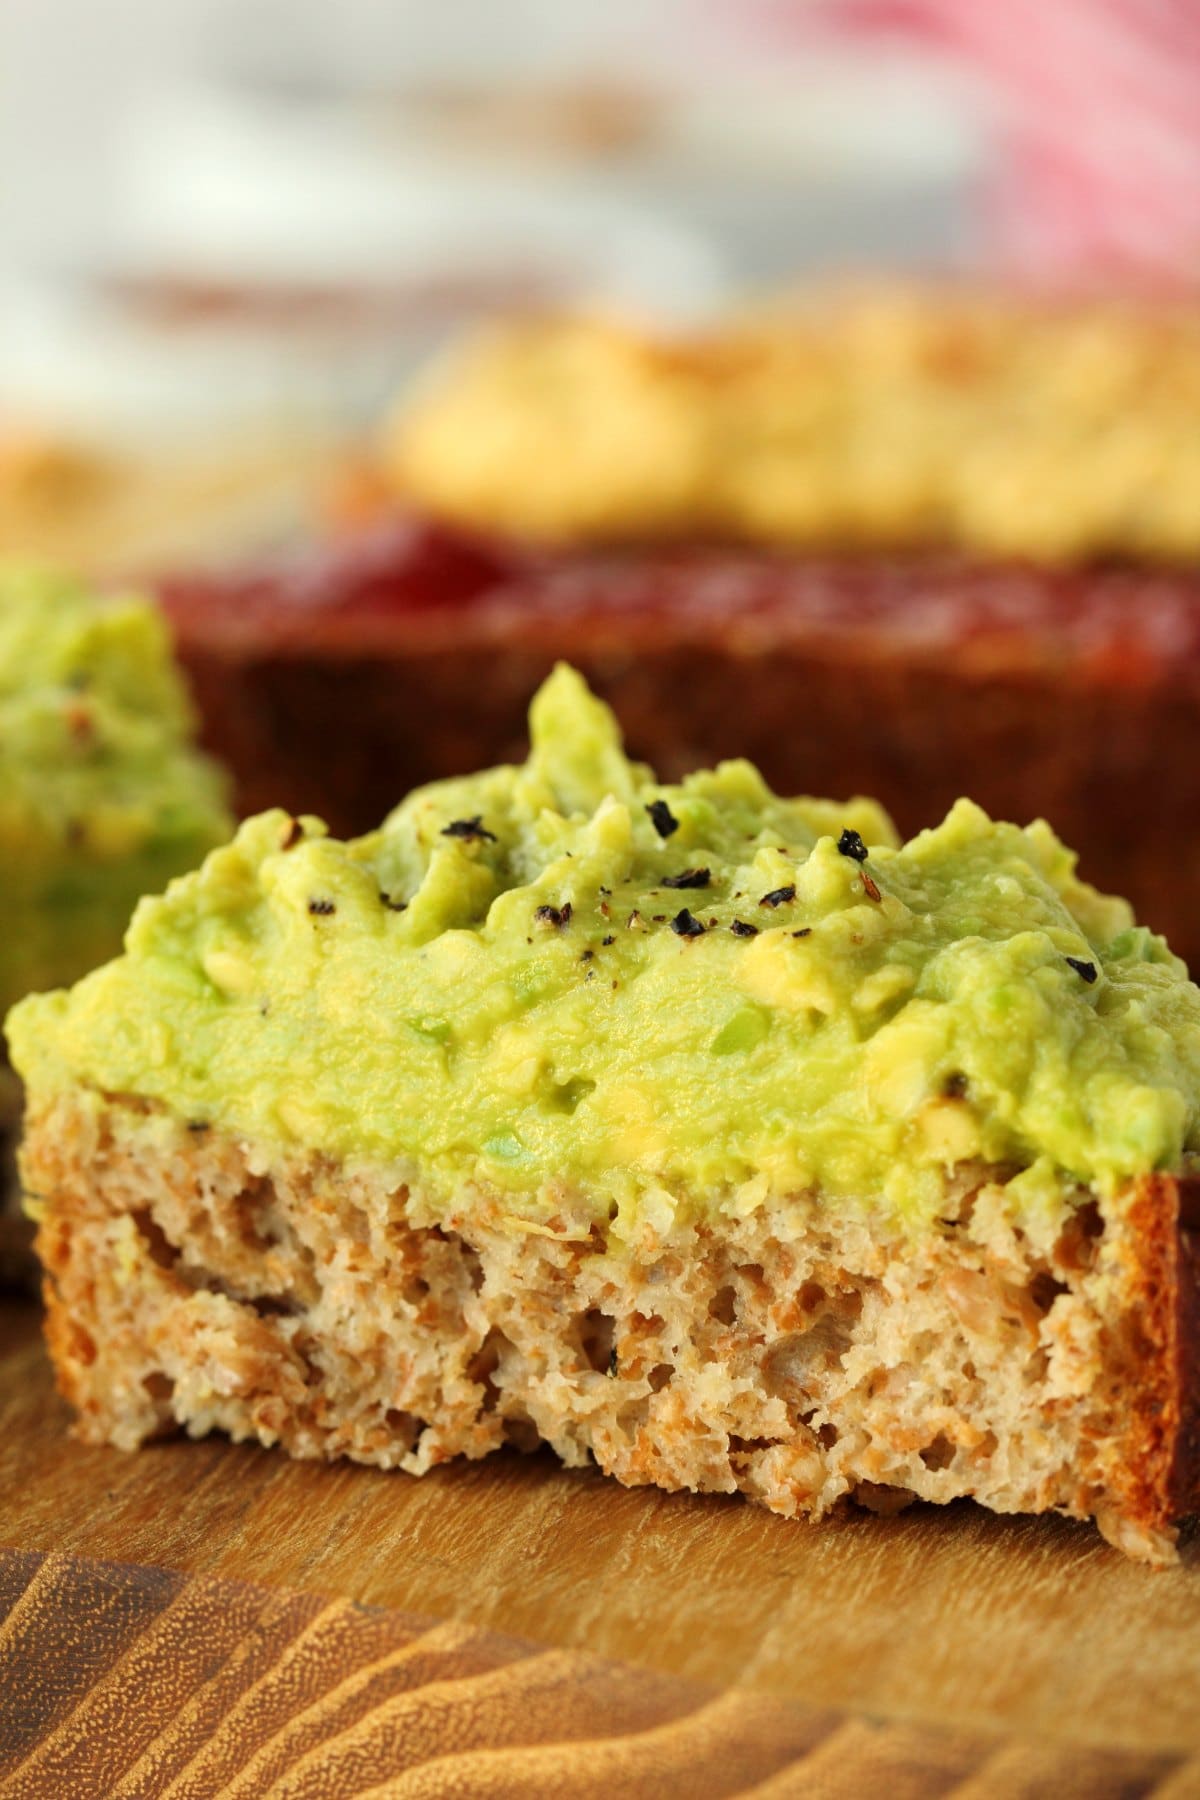
- Simple Vegan Guacamole
- Creamy Avocado Hummus
And for more breads, check out our vegan cornbread, vegan banana bread and our easy vegan dinner rolls!

Did you make this recipe? Be sure to leave a comment and rating below!
Easy No-Fail Whole Wheat Bread
Ingredients
- 4 cups Whole Wheat Flour (520g)
- 1 Packet Instant Yeast 2 ¼ teaspoons
- ½ tsp Salt
- 2 tsp Maple Syrup
- 2 cups Warm Water (480ml)
Instructions
- Add the flour to a mixing bowl with the yeast and salt and mix together.
- Dissolve the maple syrup in the warm water and then add to the dry ingredients.
- Mix – don’t knead – until you have a sticky well combined dough.
- Transfer to a greased 9×5 loaf pan. You can also line the bottom with parchment paper if you think there will be any chance of it sticking.
- Cover and leave to rise for 20 minutes.
- While the dough is rising, preheat the oven to 390°F (200°C).
- After 20 minutes* when the dough has risen, bake in the oven for 40 minutes.
- Absolutely BEST when fresh, but will keep for a day or two in a closed container. After which you can make the most delicious toast.
Video
Notes
- Weigh your flour for the most accurate results.
- Maple syrup can be replaced by another sweetener such as agave nectar or other syrup.
- If your dough hasn’t quite risen as high as mine in the picture at the 20 minute mark then leave it a couple more minutes, sometimes it takes a couple of minutes longer to get to the perfect height, but don’t leave it too long or it will rise too high and then you’ll get a muffin top loaf!
- Prep time includes the 20 minutes spent rising.
I tried this reciped today and it turned out wonderfully, thanks Alison!
It took double the time to rise (40mins), so I guess not all instant yeast is the same.
But I made that time up in cooking time – I have a smallish rotating air convection oven, and the bread was done in 25mins.
Thanks again for this recipe!
Awesome! Thanks for sharing Steve!
This recipe is awesome! So simple & easy. I just had a veggie sandwich with the bread freshly out of the oven 🙂
Definitely a keeper! Thanks for sharing ????
So glad you enjoyed it! Thanks for posting!
Thank you for such a great recipe! Super easy and yummy whole wheat bread. Doubt I’ll ever buy store bread again!
Thanks Anila!
I love this bread! I make a loaf about every 5 days. Has anyone else had trouble with the middle not getting quite done? I also let my dough rise at least 30-40 mins. I am tossing in a couple TBS vital wheat gluten.
Middles don’t get done often because temp is to high, the outside cooks to fast and “insulates” the middle. Go down to 375 and allow it to bake another 8-10 minutes. See if that helps.
Just made this. I added 1/3 cup each of sunflower and pumpkin seeds. Did not reduce the flour. Turned out fantastic. Only problem will be not to eat the whole loaf myself today! Yummy!!!! Thank you for such a wonderful recipe!
Awesome! Thanks Michele!
This recipe worked out great. Only thing I did different is I put the salt in with the flour, and the yeast with syrup and water, then mixed them together – because I’ve read that salt kills yeast.
Thanks for the great recipe, I will definitely be making this regularly.
I love this bread and have made it at least 5 times. I do experiment sometimes with adding seeds. I reduce the amount of flour by the same amount of seeds I add. I have been searching for a recipe for sandwich buns that would be similar to this and not having any luck. Could this be made into individual “dinner roll” size balls to make buns?
Hi Gloria, if you read the other comments, this has been done! I haven’t tried it myself yet!
made this 3 times now! like a few other commenters, I also like to let it rise for longer.
This is my go-to recipe for sandwich bread. 🙂
Hi Alison,
This looks like a wonderful recipe and as I have never baked home made bread before, I would really like to give this a try ????
Only I was wondering if I wanted to add 1/2 a cup of rolled oats for a little more texture… would I need to reduce 1/2 cup of the wholewheat flour?
Or can I just add it on without reducing anything?
Many thanks.
Hi Cynthia, if you read the other comments you’ll see others have experimented with this. I would reduce the flour to allow for it, but it’s not something I’ve tried.
Can molasses be used instead of maple syrup? 🙂
I do this all the time. I use half and half maple syrup/molasses or all molasses and it comes out beautifully.
Hi I made this loaf and it’s so easy to do and tastes really lovely. The only problem I’ve got, is that it’s very crumbly and hard to slice – it’s still all been eaten though! Have you any tips for my next attempt please?
Hi, I just discovered this recipe, and have made it 3 or 4 times now. I mix the yeast in the water with a little brown sugar just to make sure the yeast foams up, indicating that it’s doing its yeasty thing. I also increase the salt to 1 tsp, and I’ve experimented with baking the bread for a few extra minutes. I’m up to 44 minutes, and it’s still yummy, with a slightly firmer crust, which I like.
For Ann-Marie: Every time I’ve made this bread, I’m amazed at how firm the loaf is and how well it holds together. I wonder why yours is turning out crumbly? I stir it up until all the flour is JUST moistened. I wonder if that’s a factor? I hope you can make this recipe work. It’s a great bread and SOOO easy!
Thanks for sharing Liz! xo
Amazing thank you!!!!
Awesome, thanks Aimee!
I love this recipe! It’s so quick and easy to do and tastes fantastic. The only problem I have, is that the crust is very crumbly when I cut it. Should I have baked it a little longer or maybe taken it out of the tin and baked it on a baking tray for a little while to crisp up the crust? Would really appreciate your feedback
Thsnks
This is brilliant, so glad I found this recipe. Changed syrup for honey and added caraway seeds WOW. Thanks for posting this ????????
Awesome! Thanks Les!
As simple and no-fail as described! What an easy sandwich loaf. I made the slightest change in that I used 1/2 cup of AP white flour to 2 1/2 cups whole wheat, and used honey as the sugar (I realize it isn’t vegan—it’s what I had!) I let it proof for closer to thirty minutes because I like the muff-top/Pullman look, and baked it just a few minutes more to about 205 degrees F internal. I sprayed some water on the loaf too once it had hardened in the oven to give it a bit of a crust. I also wasn’t crazy about the coloring on the top of the loaf at the halfway point, and so brushed on a little bit of honey and some butter and stuck it back in the oven to finish. Beautifully burnished loaf, perfect for toast and dead simple. I 100% will be making this again. I might add a little Apple cider vinegar in and replace maybe 3-4 tablespoons of the liquid to give it some more flavor.
Nice work and thank you! Wish I could share a photo, it’s gorgeous.
Glad you enjoyed it Rae. You can always share a photo on instagram and tag us @lovingitvegan if you’re on insta. 🙂