
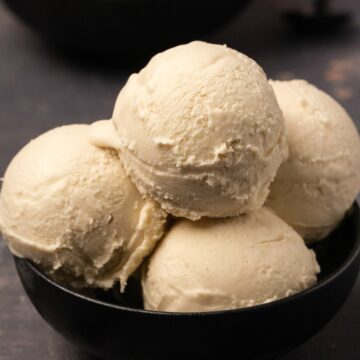
This vegan ice cream recipe is truly the best! It is creamy and smooth and has the perfect ice cream texture. You will definitely not miss the dairy in this delicious dessert!
I have been making vegan ice cream for years and I truly think this is the most divine recipe.
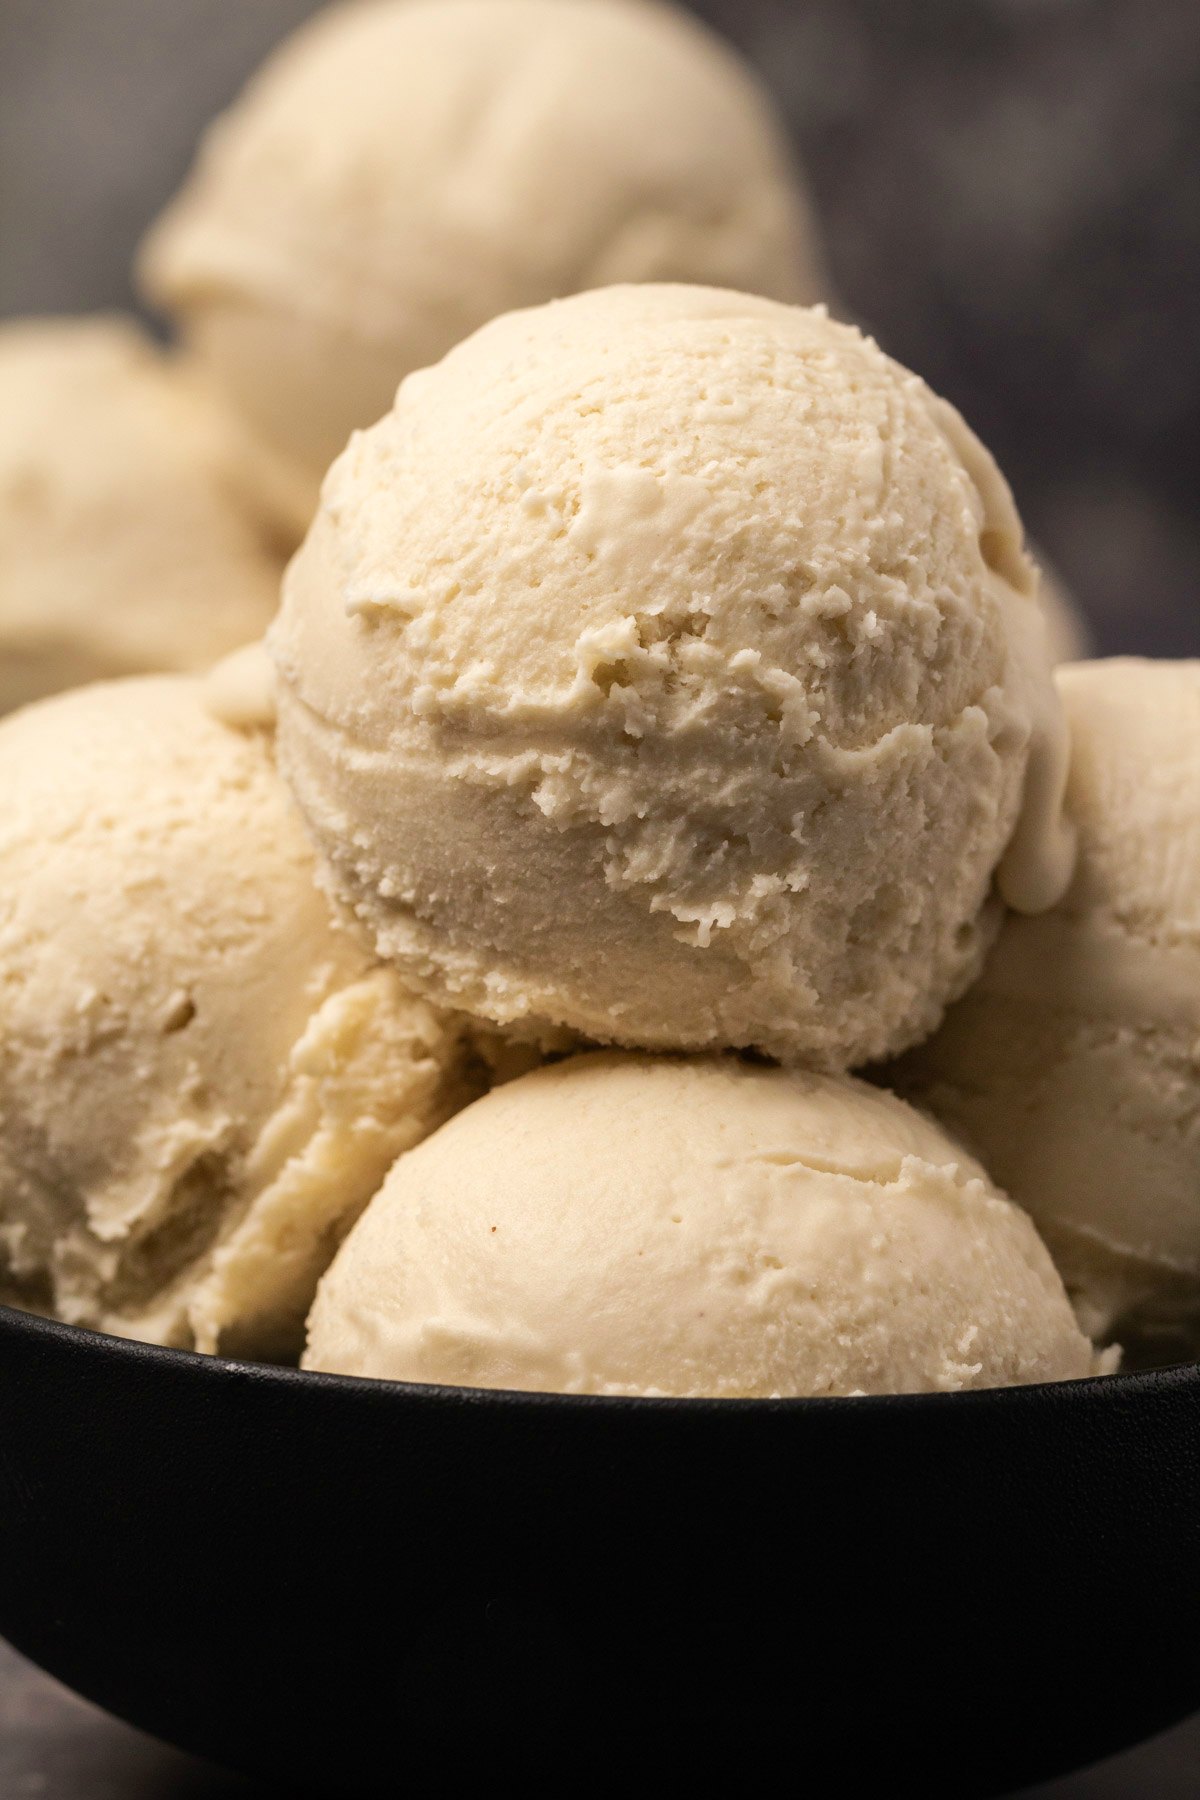
Our goal was to create a texture that is pretty much identical to regular dairy-based ice cream. And we’ve done it!
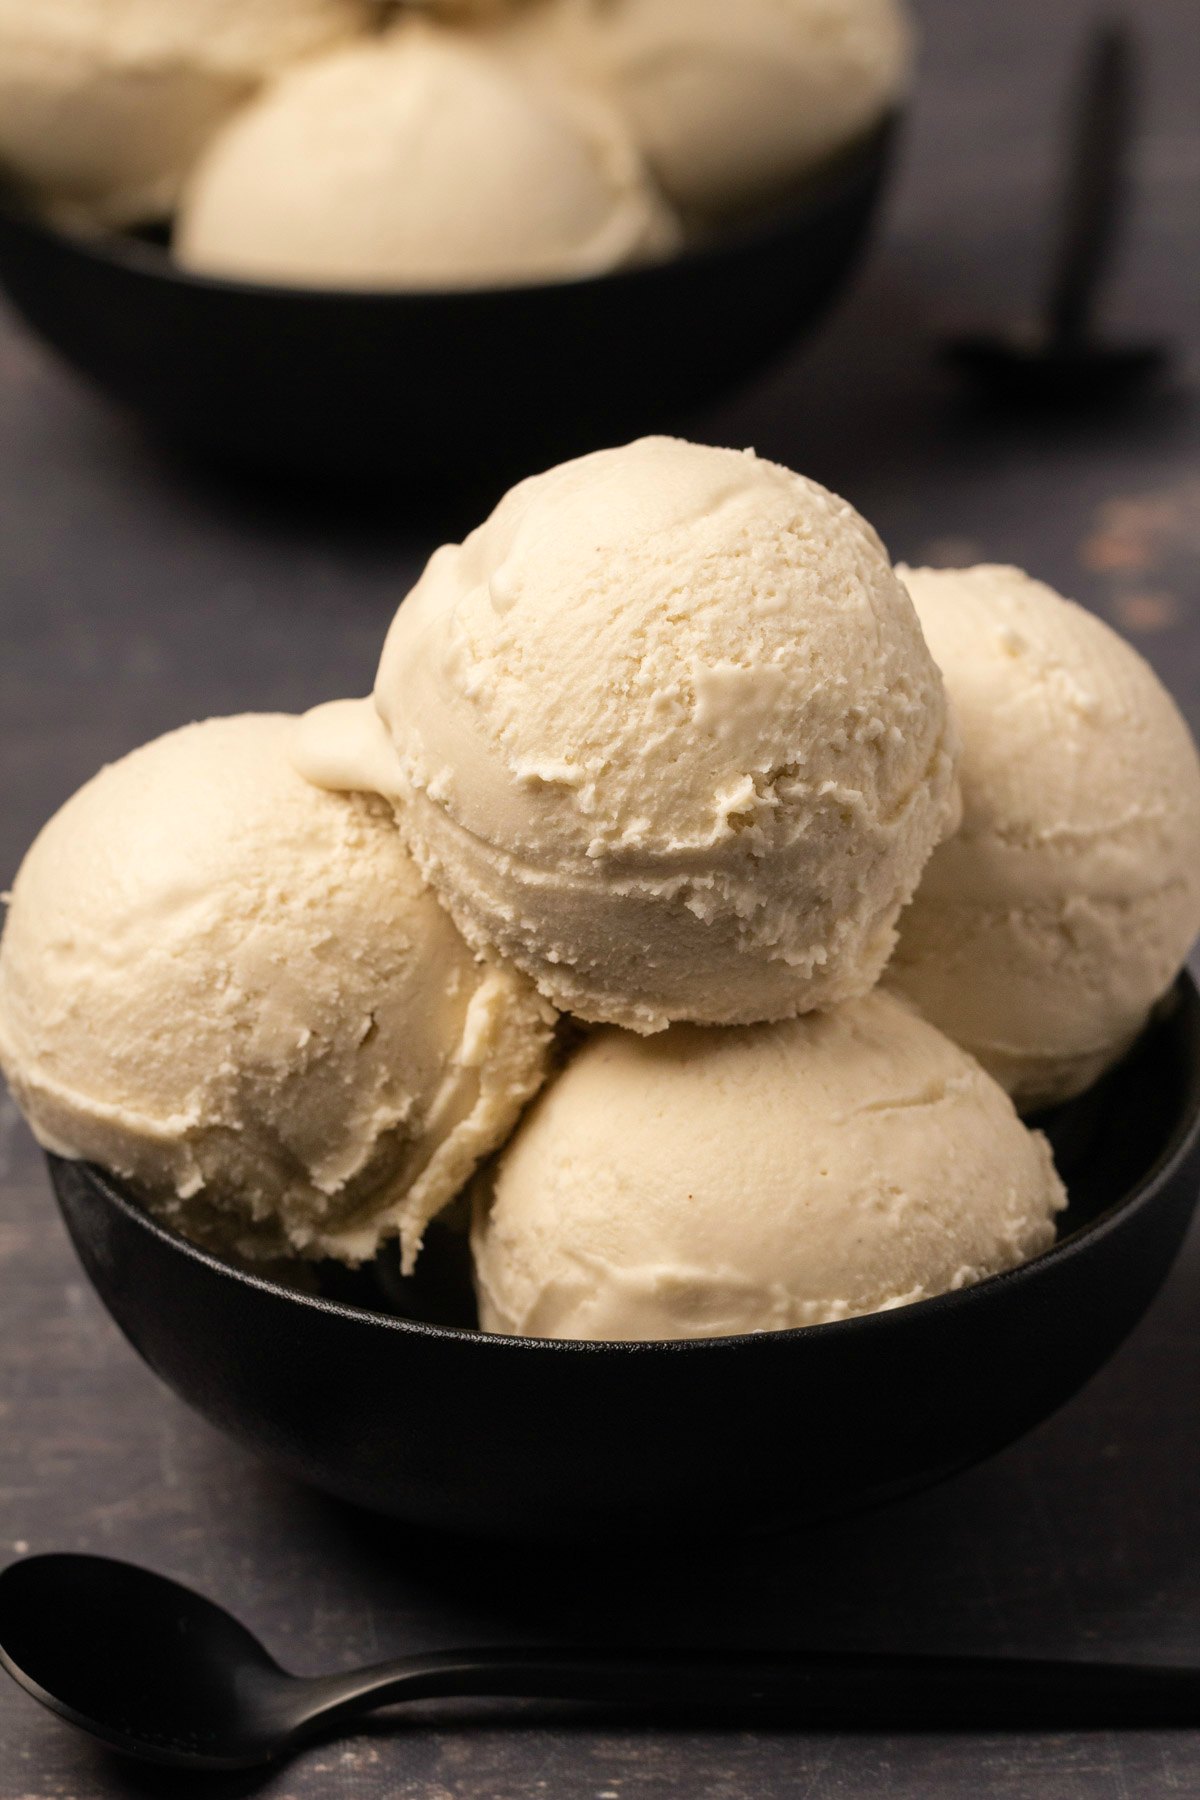
It’s everything you want an ice cream to be, perfectly textured and perfectly sweet, ultra creamy and smooth and melts in your mouth.
The secret? We use a mix of homemade cashew cream and coconut milk to create the neutral creamy base that very closely matches a dairy cream base in terms of flavor. And to that we add cacao butter and coconut oil which creates the perfect texture.
If you love making vegan ice cream then you’ll also love our cashew ice cream and our vegan banana ice cream.
Serve it topped with vegan chocolate sauce or vegan caramel sauce or with add-ins like vegan cookie dough or vegan brownie pieces.
Ingredients You’ll Need For This Ice Cream:
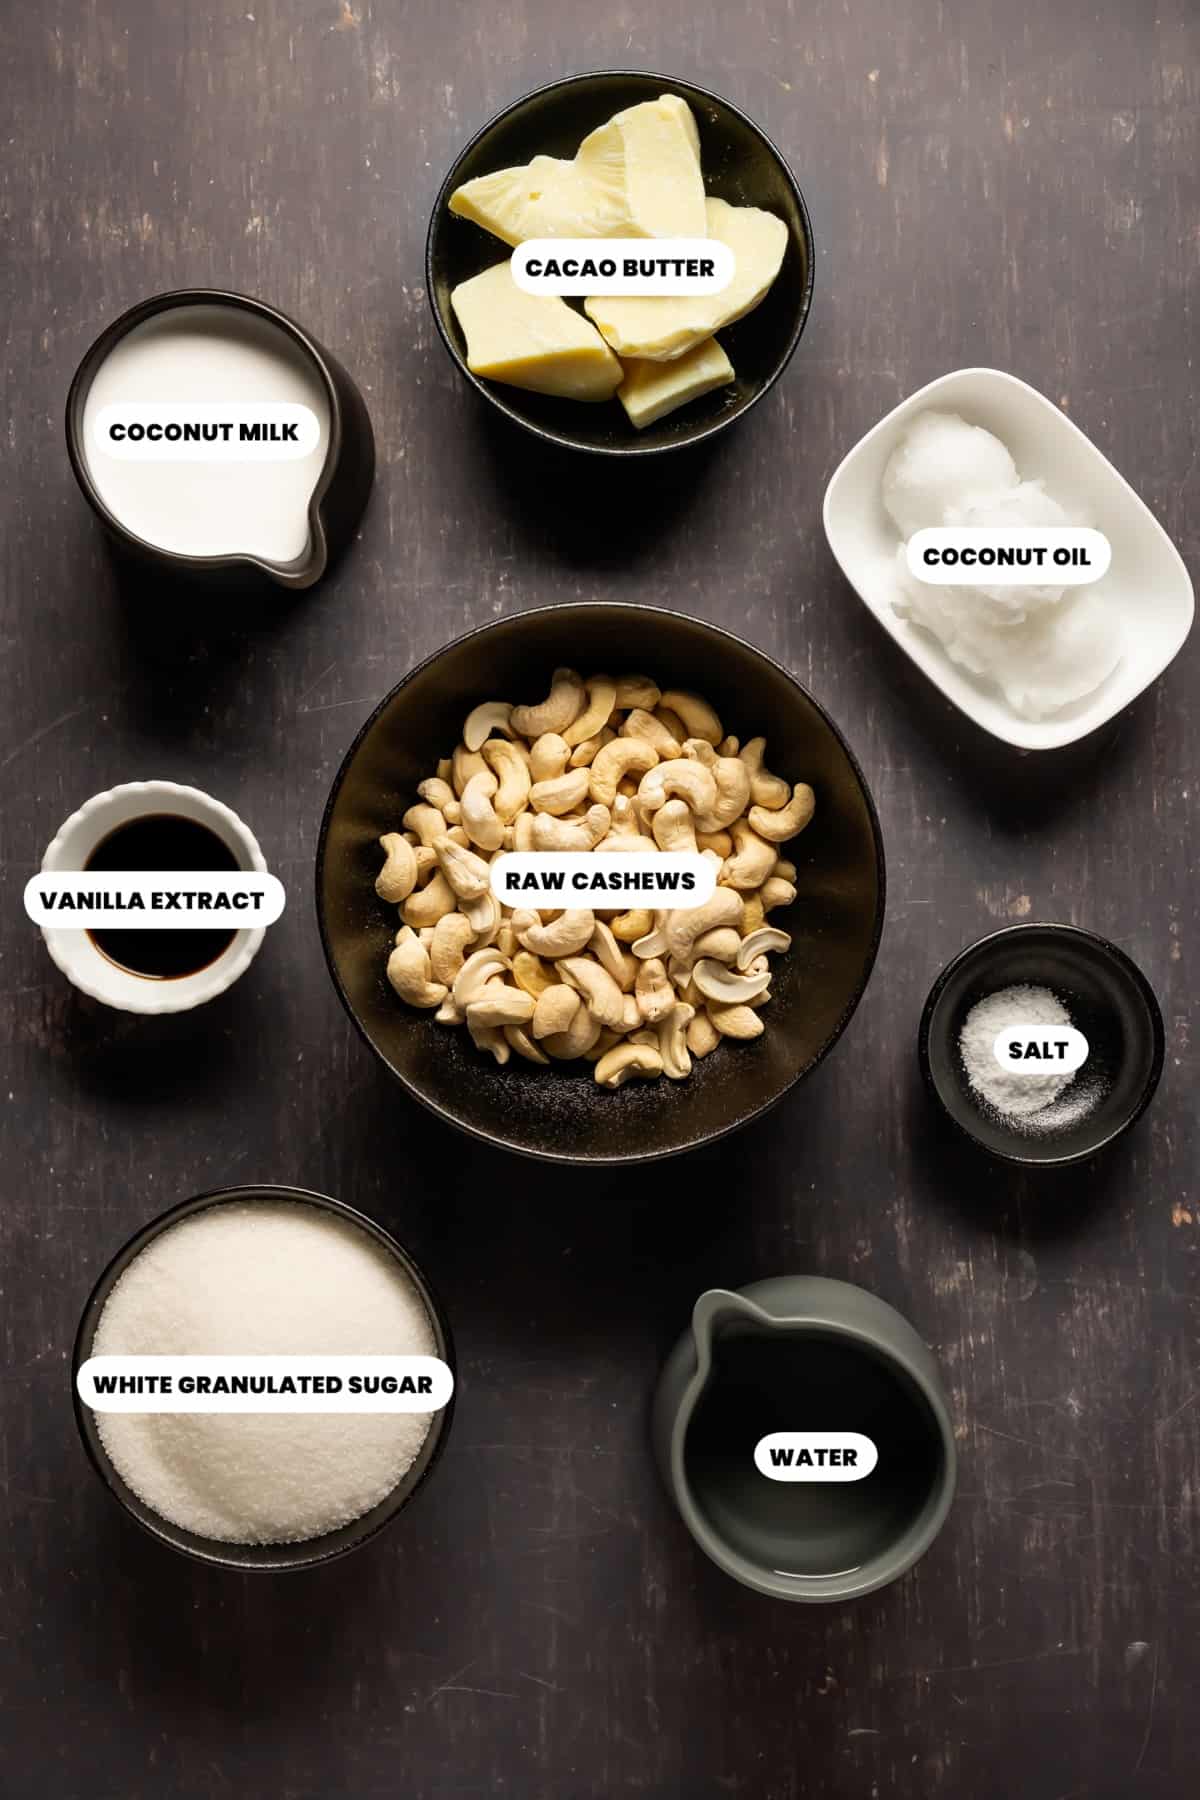
Ingredient Notes
- Coconut milk – should be canned, full fat coconut milk.
- Cacao butter – cannot be mistaken for cocoa butter or coconut butter or any other ingredient that may sound similar. It HAS to be cacao butter. It looks like white chocolate and comes in hard uneven pieces. We chop it up and melt it down for this recipe. There isn’t a substitute, but if you don’t wish to use it, you can omit it from this recipe. However, it will result in a texture that isn’t quite as good.
- Coconut oil – you can use regular virgin coconut oil or switch it for refined coconut oil where the coconut flavor has been removed.
- Raw cashews – are soaked in hot water for an hour and then blended up with water to make a thick and ultra creamy cashew cream. This, together with the coconut milk creates the neutral creamy base for this ice cream.
How To Make Vegan Ice Cream
You will find full instructions and measurements in the recipe card at the bottom of the post. This is a summary of the process to go along with the process photos.
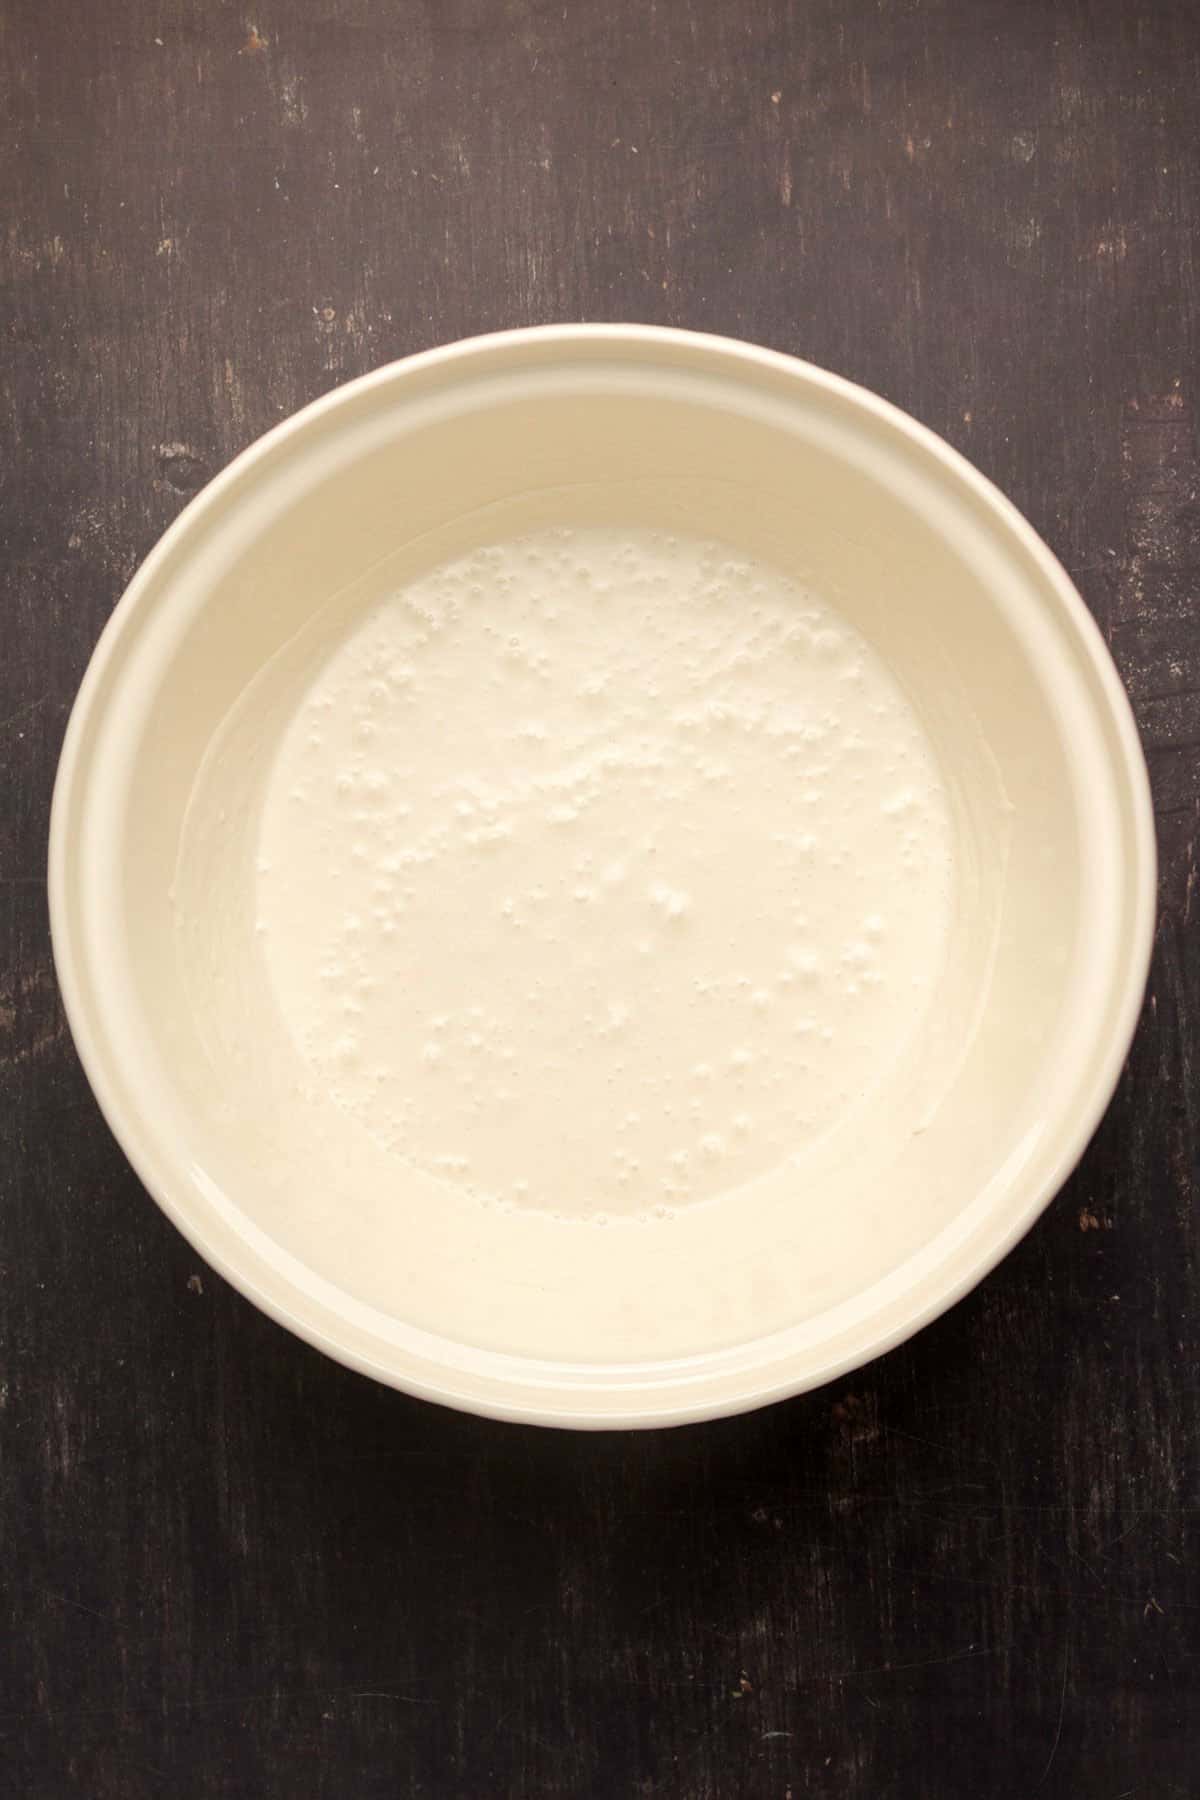
- You start with making homemade cashew milk. It has to be homemade cashew milk because it’s creamy to the extreme and there is no store-bought option that will be this creamy. It’s really more like cashew cream than cashew milk.
- To make it, soak some cashews in hot water for an hour. Put your cashews in a bowl and pour boiling water from the kettle over the top. Leave them to soak for one hour. Then drain them and add them to your blender jug along with some water and blend up into a very thick and creamy cashew milk.
- Add the cashew milk to a mixing bowl along with full fat canned coconut milk and mix them together.
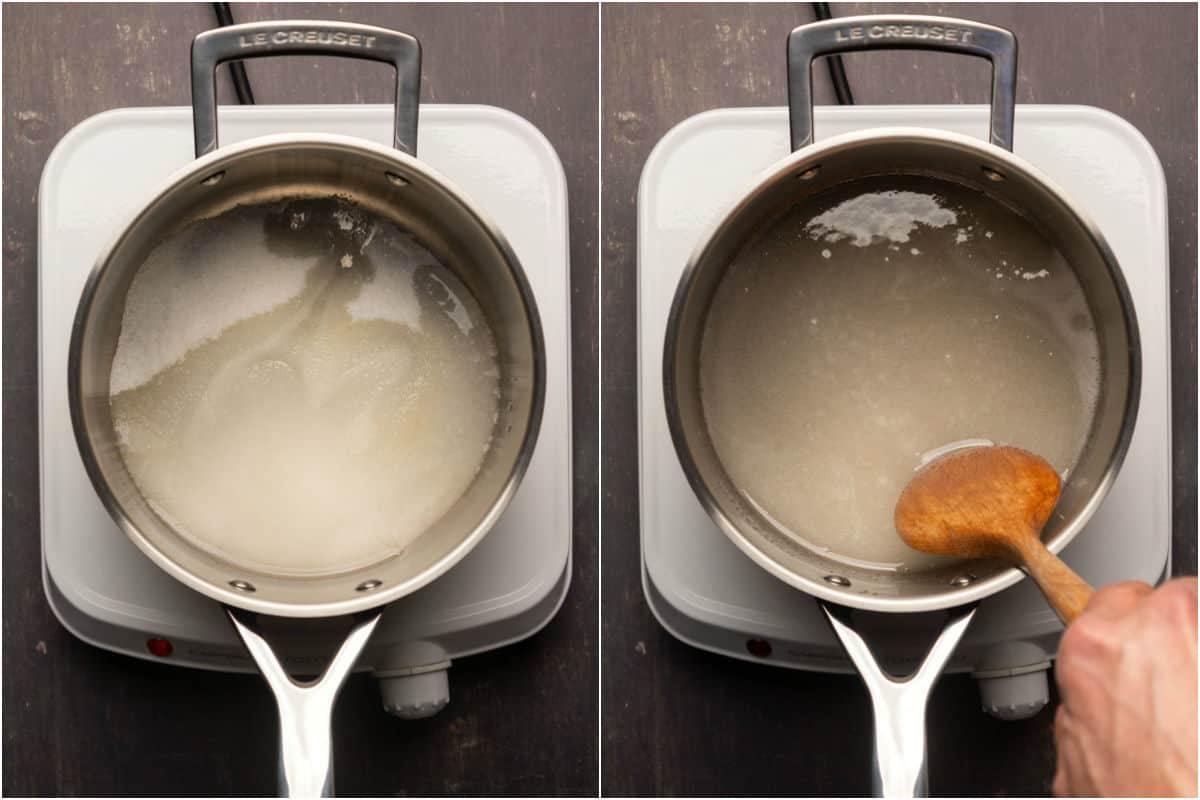
- Add white granulated sugar and water to a saucepan and heat, stirring constantly until the sugar is melted.
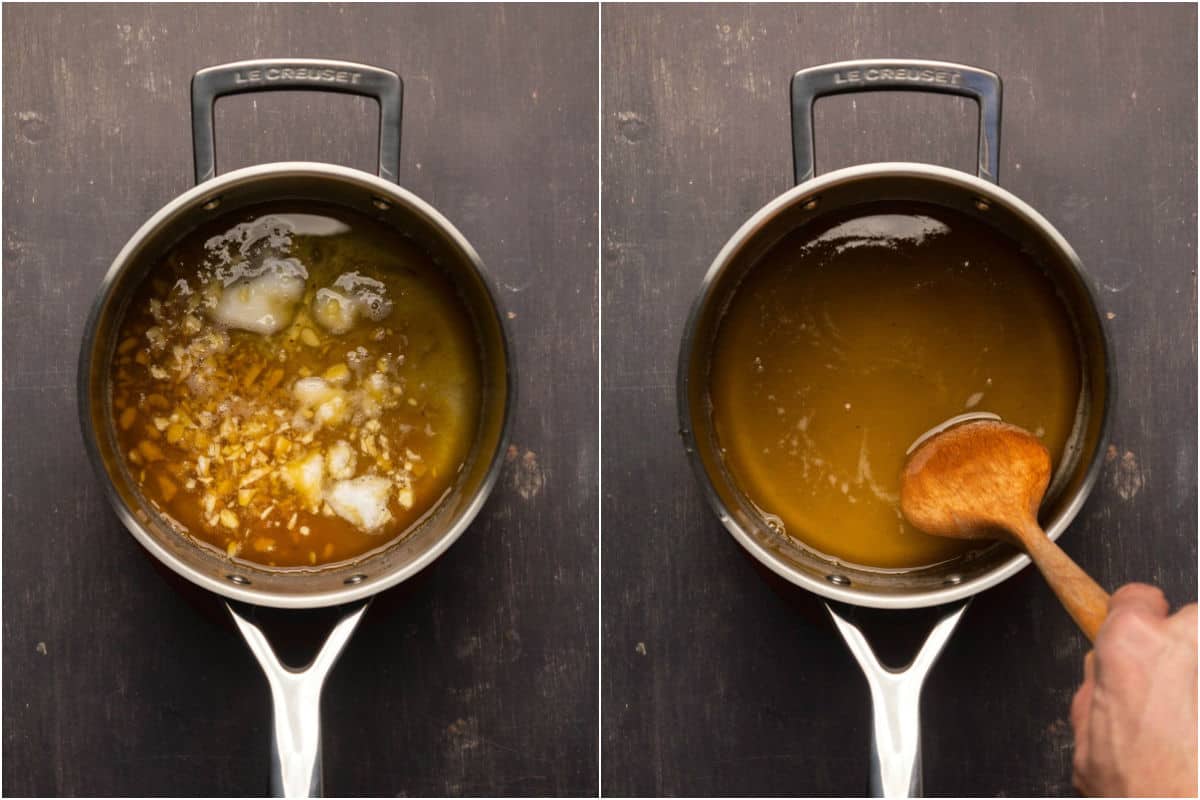
- Add chopped cacao butter, coconut oil and salt to the melted sugar and mix in until it’s all melted together.
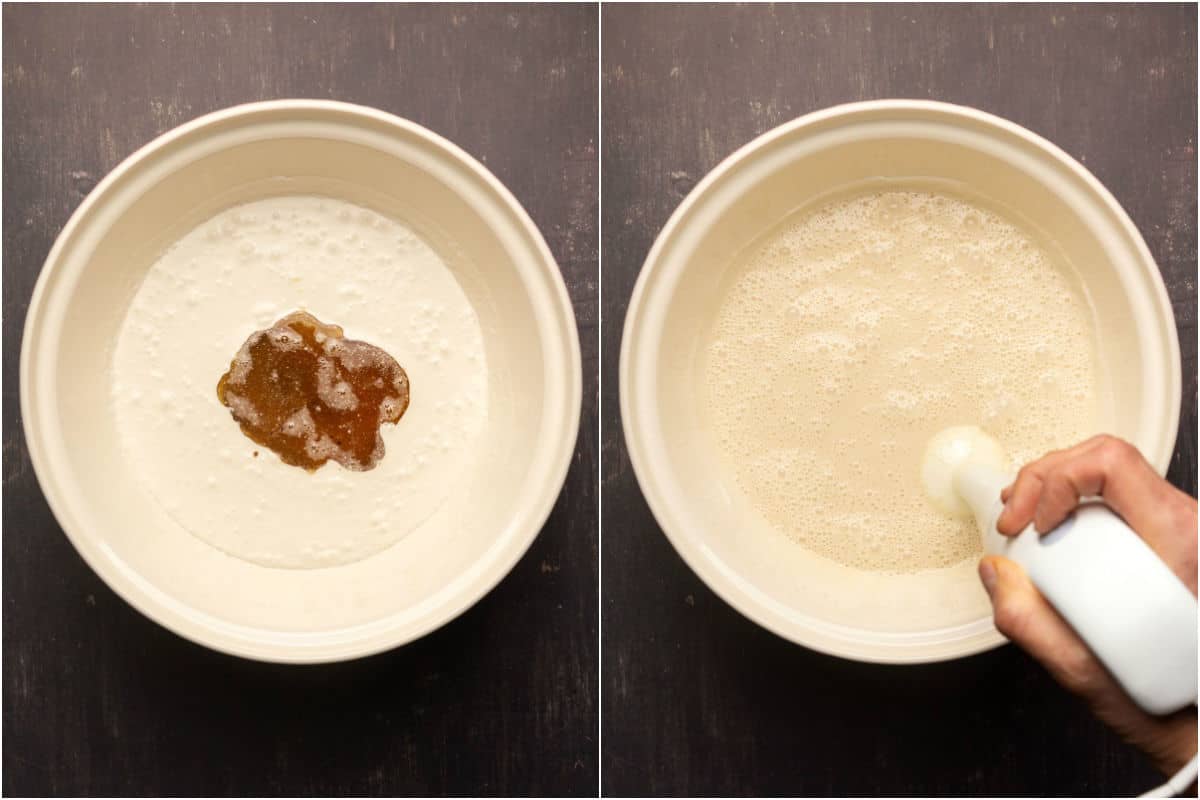
- Pour this out into the bowl with the cashew milk and coconut milk mix, add vanilla extract and then use an immersion blender to get it all blended together.
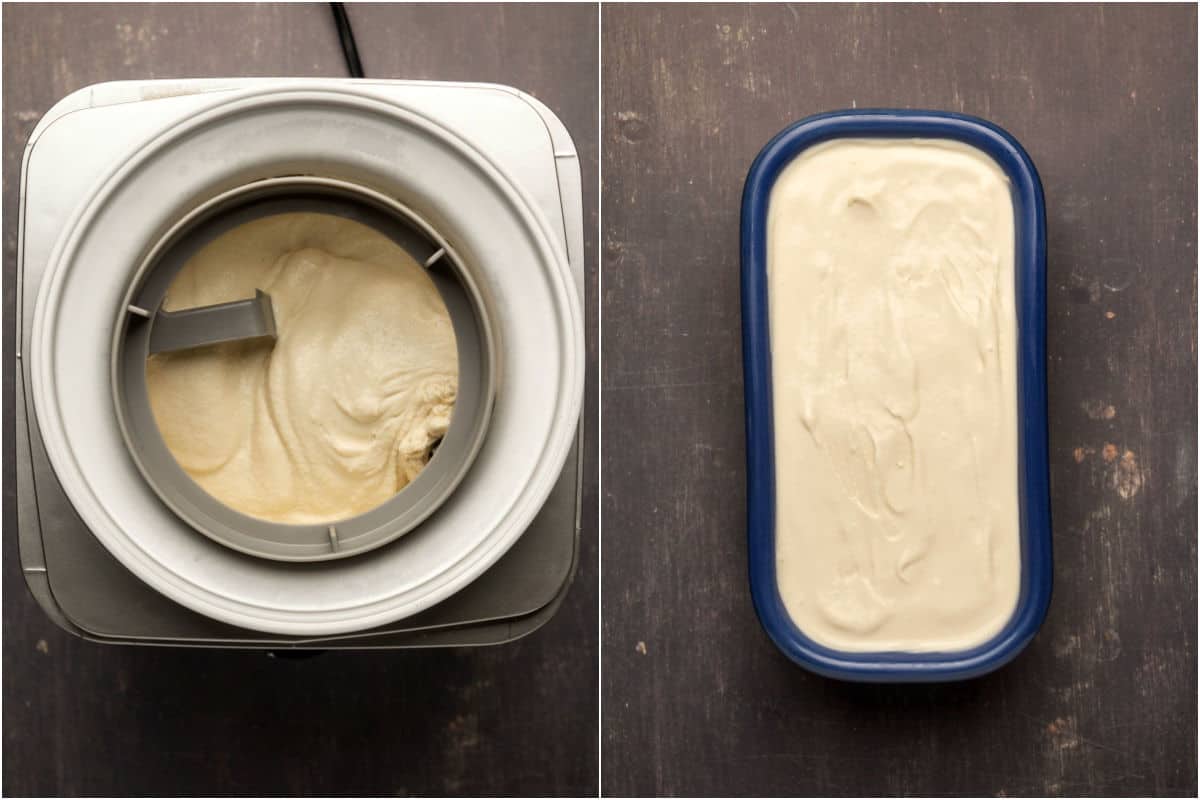
- Place the bowl into the freezer for 15 minutes to get the mix nice and chilled, and then churn it in your ice cream machine until it reaches soft serve consistency.
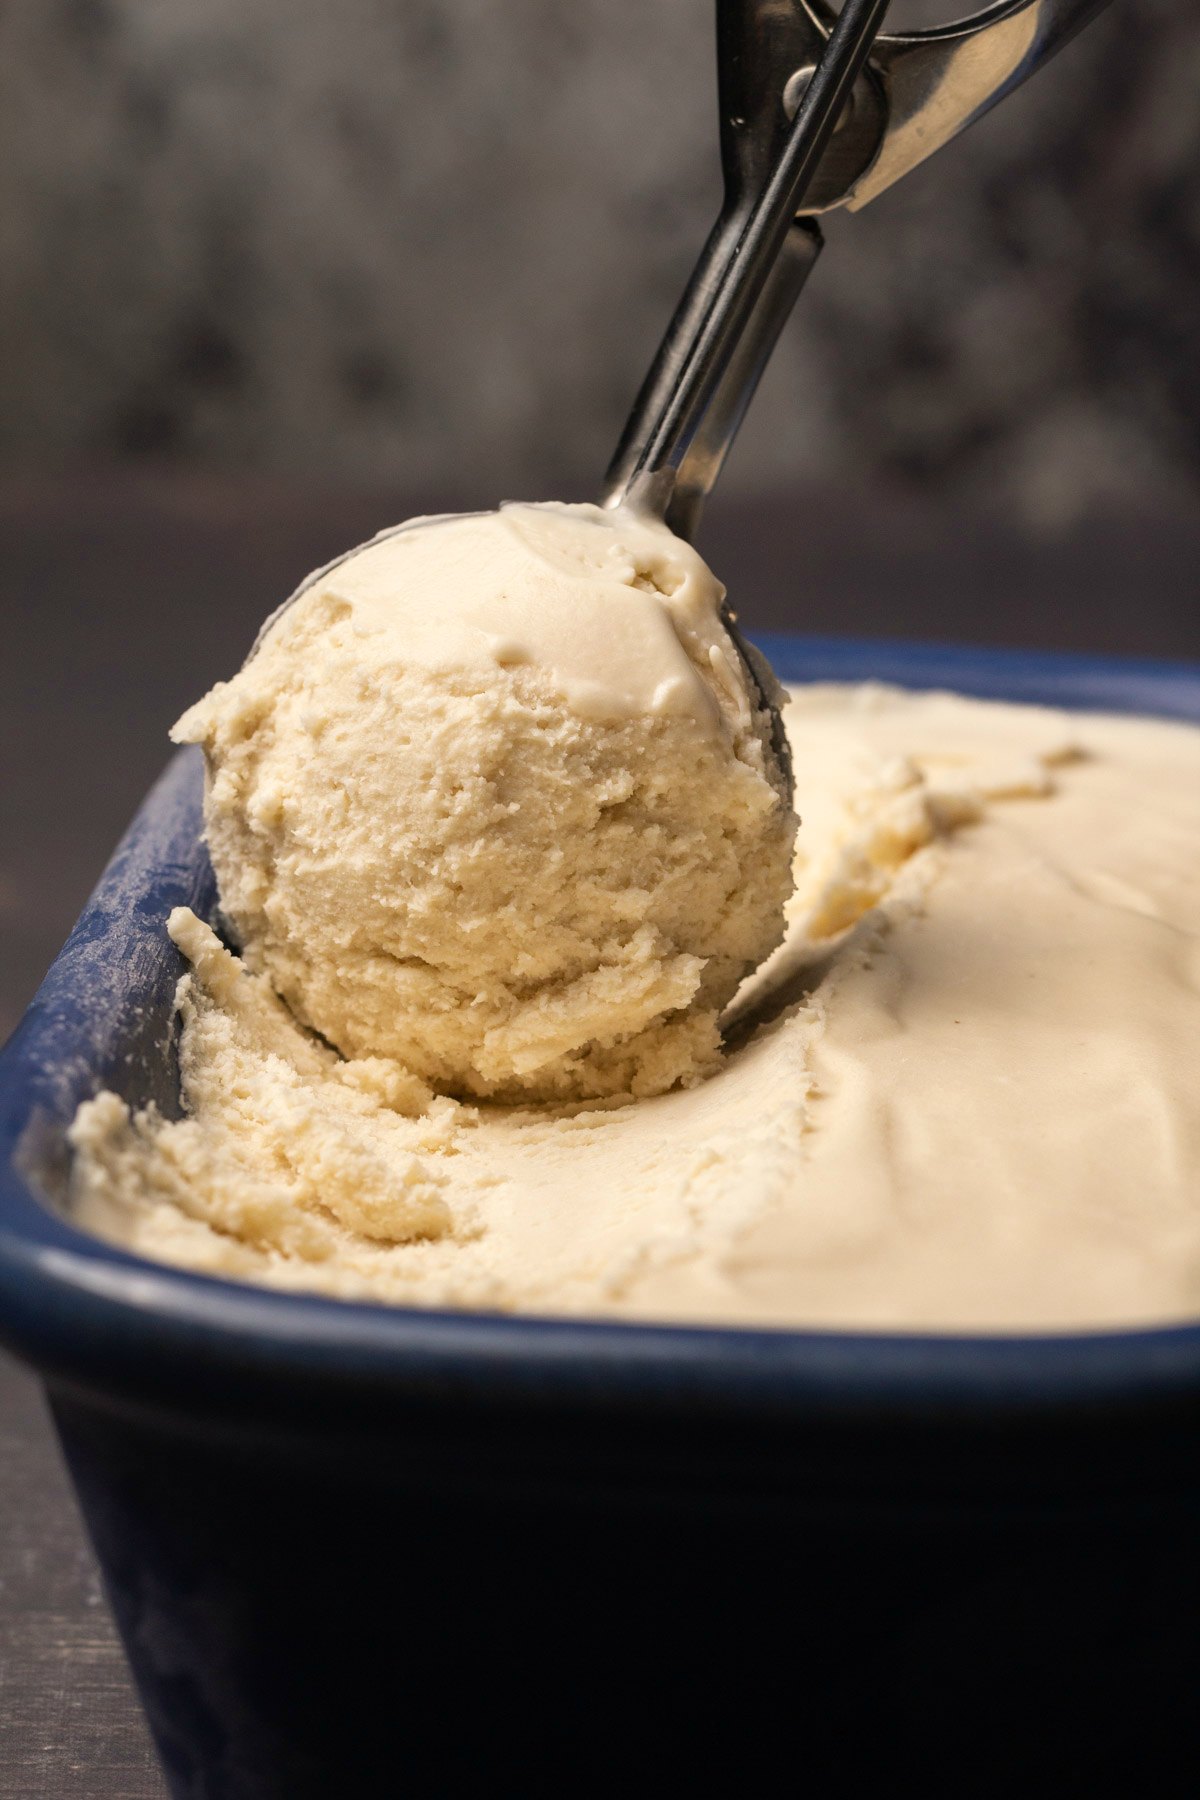
- Transfer the ice cream to a loaf pan and smooth it down.
- Then cover with foil and place into the freezer to set.
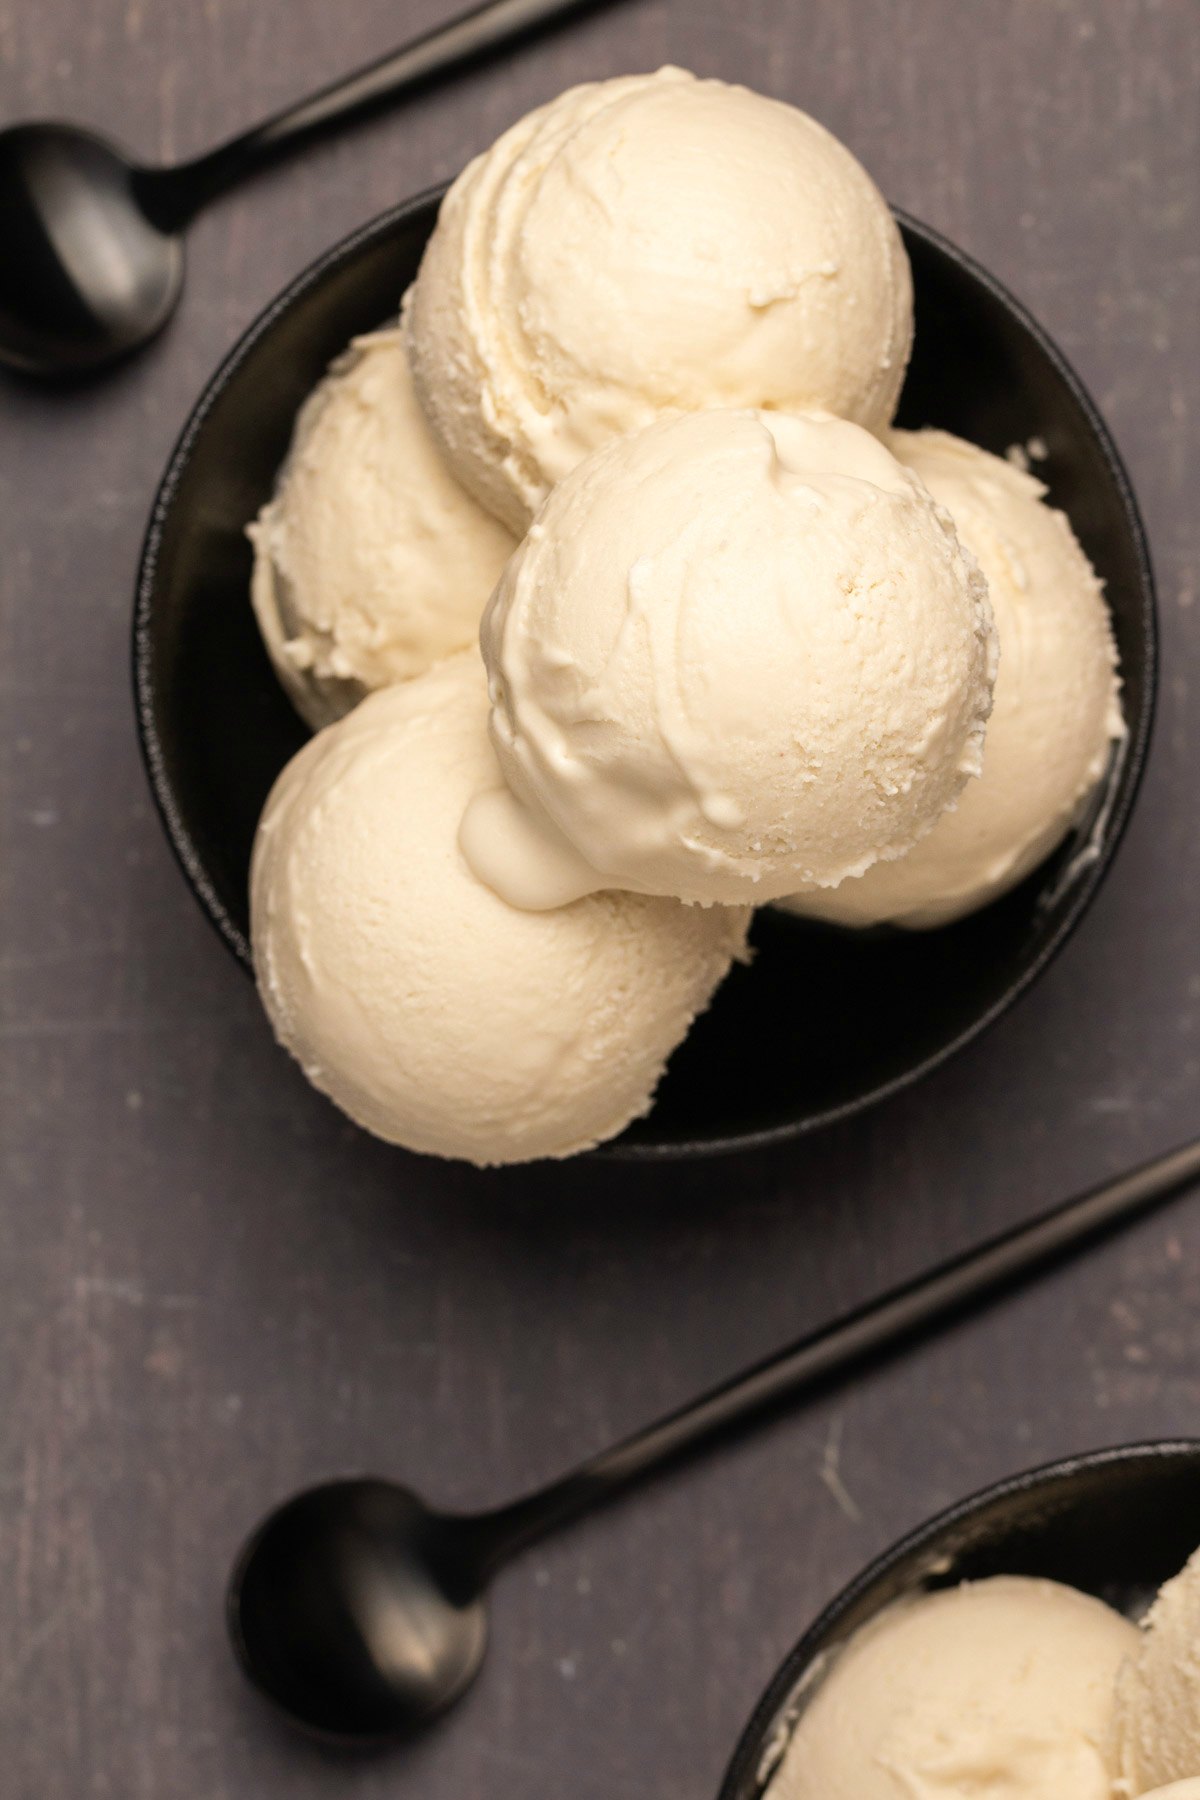
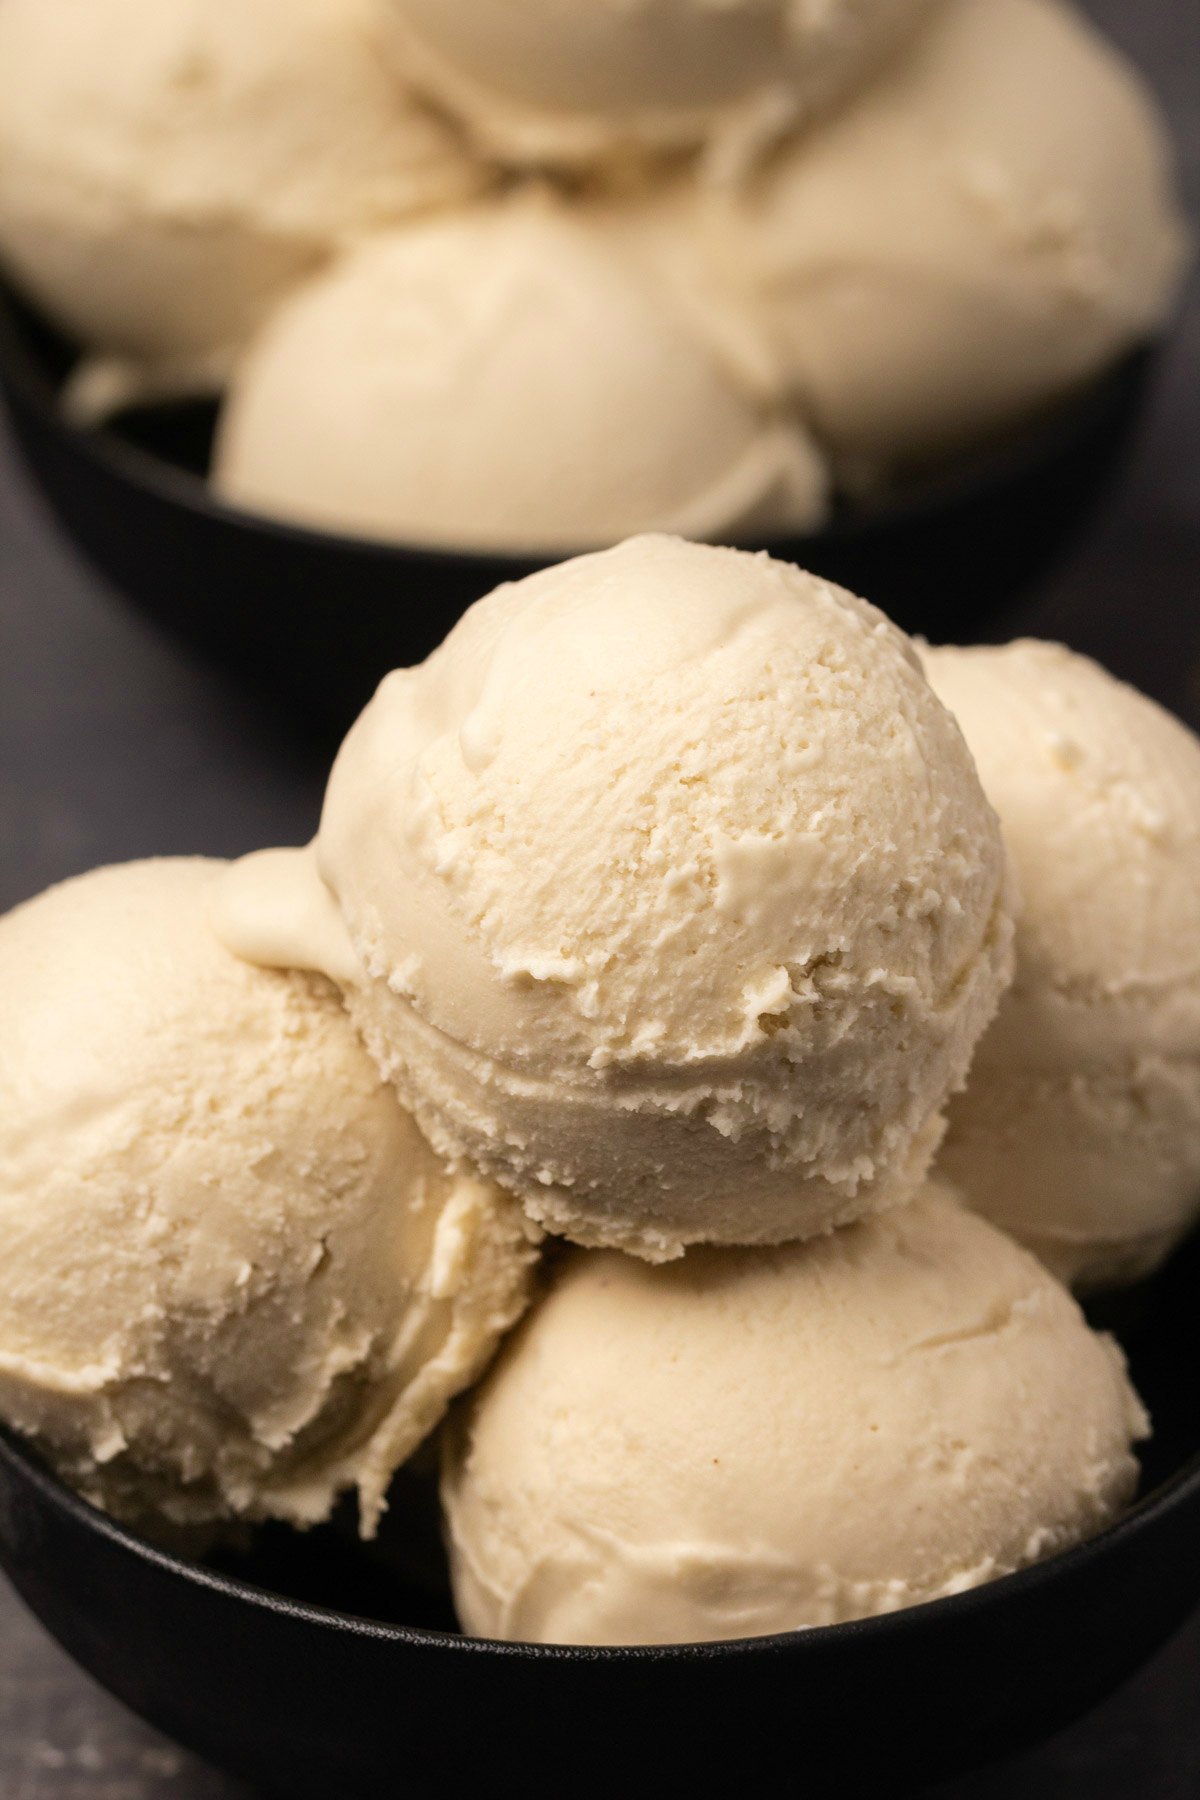
- When the ice cream is set, scoop and serve.
Recipe Tips
Freeze the bowl. Don’t forget to freeze the bowl of your ice cream maker in advance (at least overnight). We just keep ours permanently stored in the freezer so it’s always ready to go when we want to make ice cream.
Let the ice cream sit on the counter at room temperature for 20 minutes. Vegan ice cream does tend to set VERY firmly. I have noticed the same thing in store-bought vegan ice cream so this is a common scenario. You can let the ice cream sit on the countertop for 15-20 minutes before scooping it so that it has softened up a little before scooping.
Heat the ice cream scoop. You can also heat your ice cream scoop in hot water to make scooping the ice cream easier. Just pour hot water from the kettle into a cup and then dip your scoop in the hot water before scooping.

Storing Tips
Homemade ice cream doesn’t last quite as long as store-bought ice cream. It tends to start forming ice crystals after about 2 weeks.
So it’s best to consume all your ice cream within the first 2 weeks after making it.
How To Make Vegan Ice Cream Without A Machine
It is possible to make vegan ice cream without a machine, and we have a couple of recipes that are designed around not needing to churn the ice cream at all, like our vegan cookies and cream ice cream or our peanut butter banana ice cream made in a food processor.
However, if you love making homemade ice cream recipes then getting an ice cream machine is very worthwhile. We have a Cuisinart and it is the bomb diggity. I love it! It churns almost any ice cream I make into a lovely soft serve consistency within about 25 minutes (which is fast).
But, of course if you don’t have one yet then this doesn’t help you.
What an ice cream machine does is incorporate air into the ice cream while it churns and freezes it. It also helps to keep the ice crystals really small so that it has a lovely smooth texture.
So the way to cheat this if you don’t have an ice cream maker is to beat the ice cream mixture in your stand mixer if you have one of those. Then place it into the freezer and before it’s frozen, bring it out a couple more times and beat it again. This will come closest to what you’ll get with an ice cream machine.
More Vegan Ice Cream Recipes
- Vegan Coffee Ice Cream
- Vegan Mint Chocolate Chip Ice Cream
- Vegan Avocado Ice Cream
- Vegan Pistachio Ice Cream
- Vegan Strawberry Ice Cream
- Vegan Coconut Ice Cream
Did you make this recipe? Be sure to leave a comment and rating below!
Vegan Ice Cream
Ingredients
For the Homemade Cashew Milk:
- 1 cup Raw Cashews (150g) Soaked in hot water for one hour
- 1 cup + 2 Tbsp Water (270ml)
For the Ice Cream:
- 2 cups Homemade Cashew Milk (480ml)
- 1 cup Coconut Milk (240ml) Canned, Full Fat, Unsweetened
- 1 cup White Granulated Sugar (200g)
- ¼ cup Water (60ml)
- ¾ cup Cacao Butter (100g) (finely chopped)
- ¼ cup Coconut Oil (55g)
- 1 tsp Salt
- 2 tsp Vanilla Extract
Instructions
- The day before you want to make ice cream, put the bowl for your ice cream machine into the freezer to freeze.
- Prepare your homemade cashew milk. Add the cashews to a bowl. Pour boiling water over the top until they are completely covered and then let them soak for 1 hour. After 1 hour, drain the cashews and add them to the blender jug along with 1 cup + 2 Tbsp fresh cold water and blend very well until smooth and creamy. No need to strain this milk and you will use all of it in your ice cream.*
- Add the homemade cashew milk to a big bowl along with the coconut milk and set aside.
- Then get all your other ingredients ready before proceeding.
- Add the sugar to a saucepan along with the quarter cup of water. Stir constantly until the sugar is melted. You’ll know it’s melted when the wooden spoon is no longer making a scratching sound along the bottom of the saucepan.
- When the sugar is melted, add in the cacao butter, coconut oil and salt and mix in until everything is melted together.
- Add this to the bowl with the cashew milk and coconut milk along with the vanilla extract.
- Blend everything together in the bowl using an immersion blender. If you don’t have an immersion blender, then transfer everything to your blender jug, blend it and then return to the bowl.
- Place the bowl into the freezer for 15 minutes to chill. If you find that the mixture has hardened slightly along the sides of the bowl when chilling, then just stir it up again.
- Pour the mixture into the ice cream machine and churn according to manufacturer instructions until you reach a soft serve consistency. Depending on the ice cream machine you use this could take anywhere from 25-45 minutes.
- When it’s reached soft serve consistency, transfer the ice cream to a loaf pan and smooth it down with the back of a spoon, cover and place into the freezer to set completely.
- When the ice cream has set, scoop into bowls and enjoy.
Video
Notes
- If your batch of cashew milk makes slightly more or slightly less than 2 cups (480ml), don’t worry about it, it should be pretty close so just use all of it in the ice cream. The difference would come about from the amount of water absorbed by the cashews while they’re soaking. It won’t make a difference to your end result if it is a little less or a little more.
- Prep time excludes soaking the cashews, chilling the mixture of the time taken for the ice cream to set in the freezer. It is just for hands on time, including churning.
- Recipe adapted from our cashew ice cream.
I love the sound of this recipe but try not to use sugar. Would this recipe work with a sweetener like Xylitol, Stevia or another sugar replacement?
Hi Linda! That should be fine!
Hello i made this last year and loved it. Going to make again this year but just wanted to check if it would be possible to change the coconut milk with oat or other plant based milk to decrease the coconut flavour?
Hi Jill. We haven’t tested this recipe without the coconut milk. To reduce the taste of the coconut, you can try using refined coconut oil instead of regular coconut oil.
Hi! I love this ice cream and have made it a few times. But the last time I made it, something went wrong and I’m trying to figure out what it was. The ultimate result had the cacao butter kind of clump up and solidify, so that there were small chunks of cocoa butter in there. Not yummy. I figured this could be a temperature issue, but I didn’t combine anything hot with cold…What I did do, is I first brought the coconut milk to a boil with cardamom, and then let that steep for 20 minutes on the counter top. When I added it to my cashew milk, it was room temp; the cashew milk was cold, since I had put it in the fridge after making it about an hour before. Other than the cardamom step, I followed all the other directions precisely.
Any ideas?
My second question is whether or not you have tried arrowroot yourself in this ice cream, instead of cocoa butter. I love the cocoa butter texture, but some people don’t like the flavor it gives.
Thank you!
Alissa
Hi Alissa, I’m not sure what went wrong there. Maybe the cacao butter didn’t melt properly? And no, we haven’t tested the recipe with arrow root. Hope your next try will be a success!
Hi, could this recipe be used with allulose in replacement of sugar. I’m diabetic and would love to enjoy this recipe.
Hi Anthony! Unfortunately we haven’t tested the recipe with allulose so I’m unable to say..
I made it without sugar. I sweetened it with malitol, a small amount of stevia, and fresh coconut water. It was excellent.
Happy to hear it worked out for you! Thanks so much for your great review Adam!
Tried this recipe for the first time tonight and it was a hit. Very creamy, rich and tastes amazing!
Yay! So happy to gear you enjoyed the recipe Giselle! Thanks for your great review!
this ice cream texture is unbeatable!! however, i keep ending up with an odd taste/aftertaste, kind of like store-bought soymilk. it seems like it’s the raw cashews in the homemade cashewmilk. do you have any recommendations to get the taste to be more neutral/vanilla?
Better than a dairy ice-cream!
We all loved it! Thank you so much
You’re welcome Hilde! Thanks for your great review!!
Could you use this as a base for chocolate ice cream? And if so, do you have a personal recommendation on how to do it?
Hi Melissa! We do have a vegan chocolate ice cream recipe! 🙂
Sounds like a great recipe, I’m going to try it! Can you make this recipe with coconut sugar and/or honey nstead of white sugar?
Thanks for your review Christina! It should be fine to substitute with coconut sugar, but not with honey as honey is a wet ingredient and would add more moisture than needed.
I’m not sure what went wrong but mine ended up with tiny gritty blobs of frozen fat and then like a sorbet around it. I think it’s the cacao butter. Potentially I needed to re-blend after it went into the fridge, or maybe it curdled somehow, will have to try again. It’s just expensive for these ingredients isn’t it!
I have made this recipe twice. Once adding cacao powder for chocolate and once adding pumpkin butter for pumpkin ice cream. Both were delicious. The texture is perfect. Scoops easily straight from the freezer. Thanks for such a fantastic recipe!
That’s awesome Judy! Thanks so much for sharing your additions!
This was really like store bought ice cream. Rich and creamy. I doubled the recipe – omitted the cacao butter and simply increased the coconut oil. It did have a slight coconut flavor but it wasn’t overpowering. Excellent recipe. Thanks for sharing.
Thanks so much Mary-Ann!
Hi Alison, new member to your blog! Where do I find Cacao Butter? I have been making vegan ice cream for some while now using a Princess Ice Cream Maker only with coconut cream and coconut milk. Would love to try Cacao Butter. Thanks, Linda
Hi Linda! You’re in South Africa? You can get it from Takealot, it’s called Organic Raw Cacao Butter. All the best! 🙂